Creating an Autotile Tileset
Home | Tilesets | Autotile Tilesets | Working with Autotile Tilesets
A new tileset can be created by providing the artwork for an autotile and specifying the tile size and edge correction method using Autotile section of Create Brush / Tileset window.
-
Select menu command
 | Create Brush or Tileset...
 -
Select Autotile section.

-
Select tab for the type of autotile artwork that you have.
-
Input unique name for tileset.
-
Select autotile artwork and input tile size and Edge Correction.
- Alpha Blending - Select when alpha transparency is required to initialize atlas material with the Unlit | Transparent shader.
Note - Borders can be automatically added for autotile brushes and is usually the better choice. When specifying border size take care to reduce the area of unused atlas space whilst keeping atlas as small as possible.
-
Click Create.
Tileset should then be opened in designer window:
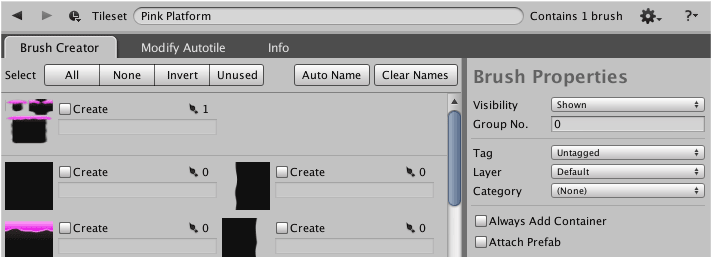
You will need to create autotile brushes and/or tileset brushes before you are ready to use your new tileset.
-
Creating an Autotile Brush
Autotile brushes can be created using the brush creator interface of the tileset designer.