Geoserver Provisioning.
- Set up ssh keys and ensure the provisioning user account can ssh into the new machine.
- Remove password request for the provisioning user account in
/etc/sudoers. - Install docker on the machine if it's not installed.
- Clone the repository into your dev box by running
git clone https://github.com/unicefuganda/necoc.git - Change current working directory to
<PROJECT_ROOT>/geoserver/provision - Provision the geoserver by running
ansible-playbook -i production provision.yaml --extra-vars "ansible_ssh_user=<YOUR_SSH_USERNAME>"
Note: Ansible deployment scripts have been tested only on Debian Linux distributions.
- Access the provisioned geoserver via
http://<YOUR_PUBLIC_IP>:8080/geoserver/web/. - Login with your geoserver credentials.
- Click
Work Spaceson the left nav and then clickAdd new workspace. Fill in the data as show below and save.
- Click
Storeson the left nav and then clickAdd new store. - Select
Shape filefrom the Vector Data Sources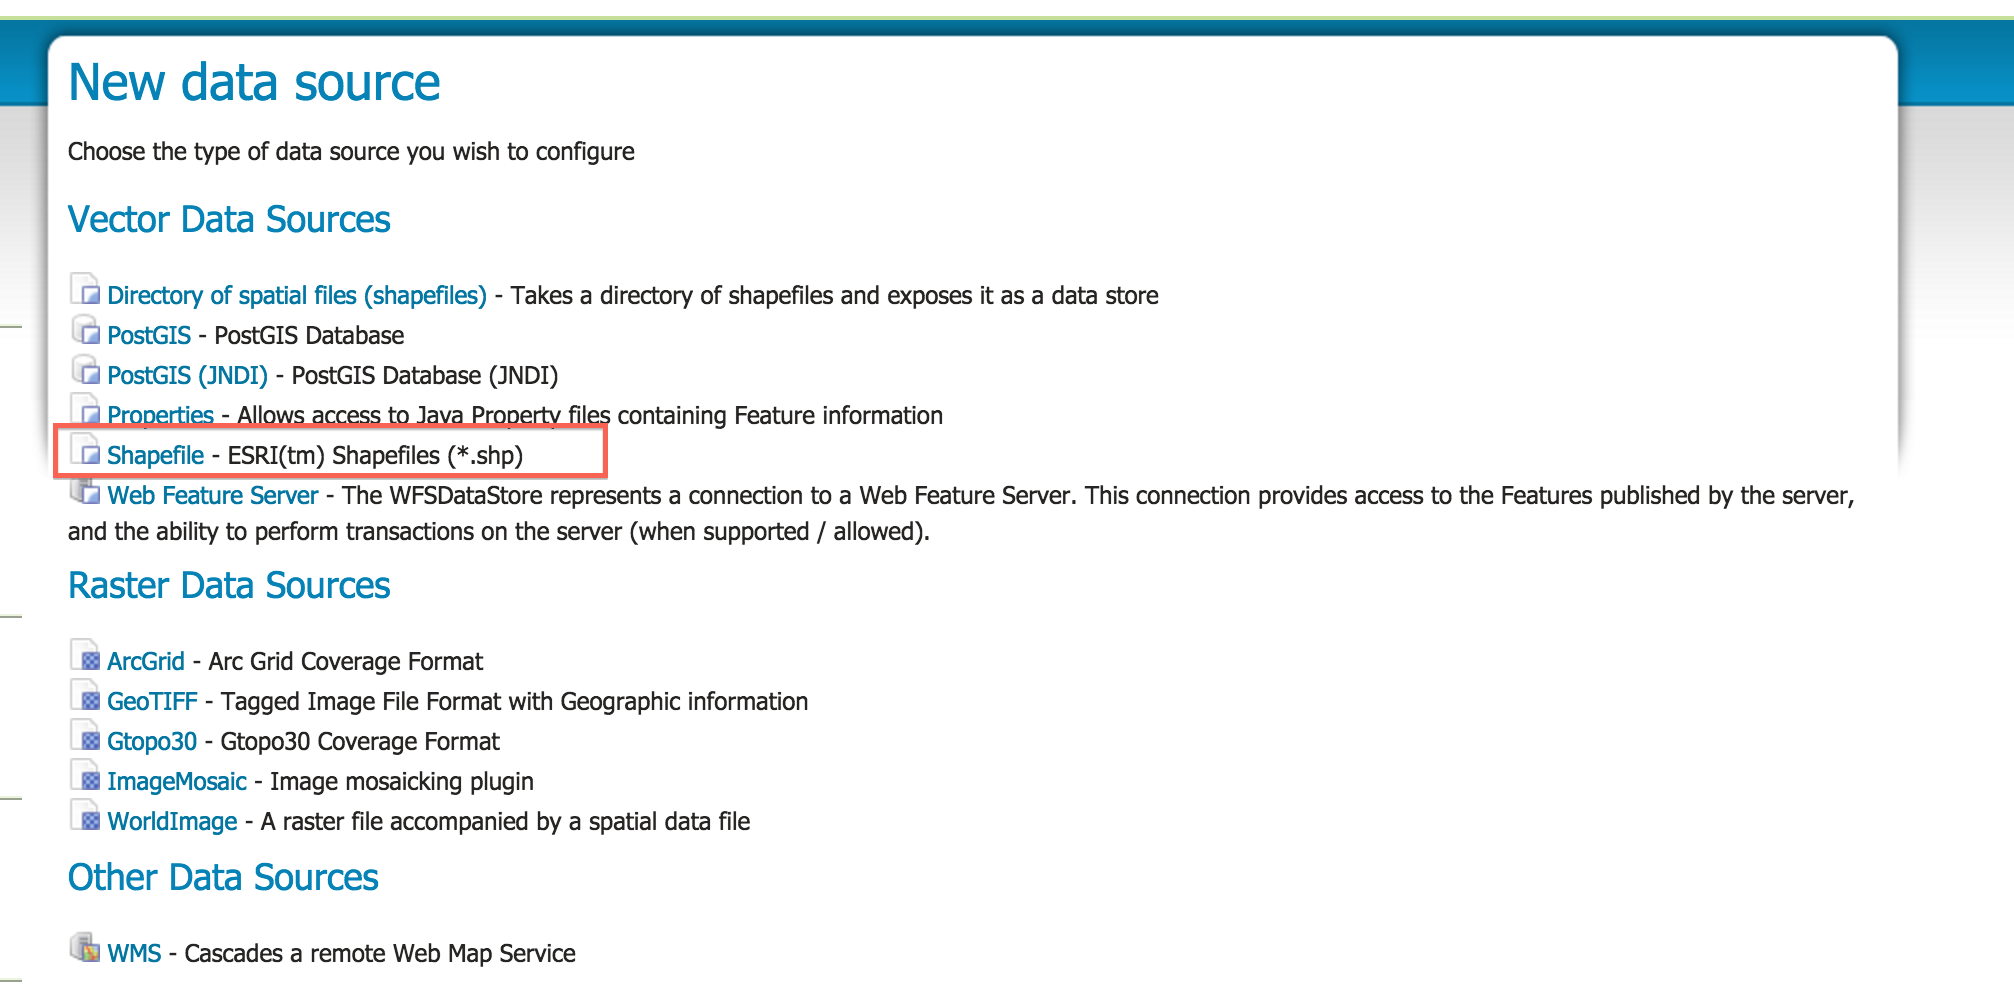
- Import the data files as shown below.

- Click Publish Action

- Under the
Coordinate Reference Systemform section change the Declared SRS toEPSG:102113by searchingWGS84
- Under the
Bounding Boxesform section clickCompute from dataandCompute from native bounds 9 Click Save.