- 📚 Easy Setup: Easy-to-follow installation process
- 🖥️ Desktop Styles: Supports Xfce, LXQt, and Openbox... others with beautiful themes
- 🦾 Hardware Acceleration: It will install all the drivers in order to get hardware acceleration working under termux
- 🖇️ GUI Access:
- Termux:X11 (Default)
- VNC (vnc is optional and only available via the custom install section)
- 📦 Package Management:
- APT (Termux's default and recommended)
- PACMAN (pacman may be buggy, not well tested)
- 🛍️ App Store: A appstore to install apps
- 📦 Container It lets you use a proot/chroot distro as a container to install more apps than Termux normally supports
- And a lot more, just chose the custom install option during the setup and see what you can do
📦 Distro Containers • 🦾 Hardware Acceleration • 🍷Wine • 💡 Others
Note
This Only Works On Termux From Github Or Fdroid. Avoid using Termux from Google Play that doesn't work due to API limitations.
- Android 8+ device
- Termux (download from GitHub or F-Droid)
- Termux:X11
- Termux-API
- Minimum 2GB of RAM (3GB recommended)
- 1.5-2GB of Internet data
- 3-4GB of free storage
- Root: Optional (only for chroot-distro)
- VNC Client RealVNC or NetHunter Kex (Optional)
| Desktop Environments | Window Managers |
|---|---|
| Xfce | Openbox |
| LXQt | i3 |
| MATE | dwm |
| GNOME | bspwm |
| Awesome | |
| Fluxbox | |
| IceWM |
- Learn more about hardware acceleration.
- Check out distro container usage.
Full Installation YouTube Video Guide:- Here
Important
Fresh installations are recommended for best results.
If you are in android 12 or higher then first disable Phantom Process Killer Guide:- Here
curl -Lf https://raw.githubusercontent.com/sabamdarif/termux-desktop/main/setup-termux-desktop -o setup-termux-desktop && chmod +x setup-termux-desktop && ./setup-termux-desktop- You can also do a lite install which will not install all the optional packages to do that run the install this
LITE=true ./setup-termux-desktoporLITE=1 ./setup-termux-desktopinstead of just running./setup-termux-desktop
- Commands for starting and stopping Termux:X11 and VNC sessions are provided below.
tx11start [options]Options:
--nogpu: Disable GPU acceleration.--legacy: Enable legacy drawing.--nodbus: Disable DBus.- Combine options for specific configurations (e.g.,
tx11start --nogpu --legacy). --help: To show help.
Full Example:
tx11startto star Termux:11 with gpu accelerationtx11start --nogputo star Termux:11 without gpu accelerationtx11start --nogpu --legacyto star Termux:11 without gpu acceleration and -legacy-drawingtx11start --nodbusto star Termux:11 without dbustx11start --nodbus --nogputo star Termux:11 without gpu acceleration and dbustx11start --nodbus --nogpu --legacyto star Termux:11 without gpu acceleration and dbus and with -legacy-drawingtx11start --nodbus --legacyto star Termux:11 without dbus and use -legacy-drawing (nodbus and gpu)tx11start --legacyto star Termux:11 with -legacy-drawing (with dbus and gpu)tx11start --debug --OTHER-PARAMETERSTo see log of that commmandtx11start --debug --nogpu To See tx11start --nogpu's log
tx11stop [-f]Options:
-f: Force stop.--help: To show help.
vncstart [options]Options:
--nogpu: Disable GPU acceleration.--help: To show help.
vncstop [-f]Options:
-f: Force stop.--help: To show help.
gui [options]Options:
--start: Start GUI (usevncortx11as arguments).--displayTo launch the current desktop environment on another x11 display server over the same network--stop: Stop GUI.--kill: Stop all GUI sessions.--help: To show help.
Full Example:
gui --start / gui -lto start Termux guigui --stop / gui -sto stop guigui --display / gui -d<IP_ADDRESS>:<DISPLAY_PORT>To launch the current desktop environment on another x11 display server over the same network
gui -l / --startvncto start VNCgui -l / --starttx11to start Termux:X11gui -s / --stopvncto stop VNCgui -s / --stoptx11to stop Termux:X11gui -k / --kill / -killto kill both vncserver and Termux:x11 At Oncegui --display / gui -d<IP_ADDRESS>:<DISPLAY_PORT>To launch the current desktop environment on another x11 display server over the same network- for more click :- Here
setup-termux-desktop [options]Options:
--change style: Change desktop style.--change hw: Modify hardware acceleration settings.--reset: Reset all changes.--remove: Uninstall Termux Desktop.--local-configStart the installation from pre made config file--help: To show help.
Full Example:
setup-termux-desktop --change styleTo Change Desktop Stylesetup-termux-desktop --change hwTo Change Hardware Acceleration Methodsetup-termux-desktop --change pdTo Change Installed Proot-Distrosetup-termux-desktop --change autostartTo change autostart behavioursetup-termux-desktop --change displayTo change termux:x11 display port
setup-termux-desktop --reinstall icons / themes /configTo Reinstall Icons / Themes / Configsetup-termux-desktop --reinstall icons,themes,..etcTo Reinstall Them At Once
setup-termux-desktop --resetTo Reset All Changes Made By This Script Without Uninstalling The Packages
setup-termux-desktop --remove / -rTo Remove Termux Desktop
setup-termux-desktop --local-config / -configStart the installation from pre made config fileEach time you install the desktop environment or made some changes using the script it write all your config to the
/data/data/com.termux/files/usr/etc/termux-desktop/configuration.conffile. Copy that somewhere else, so next time when you want to install the desktop environment with that old config all you have to dosetup-termux-desktop --local-config /path/to/configuration.conf
-
setup-termux-desktop --debug(At The Start) To generate a log file for any of the above commandsetup-termux-desktop --debug --installTo create a log of whole installation process
| XFCE | LXQT |
|---|---|
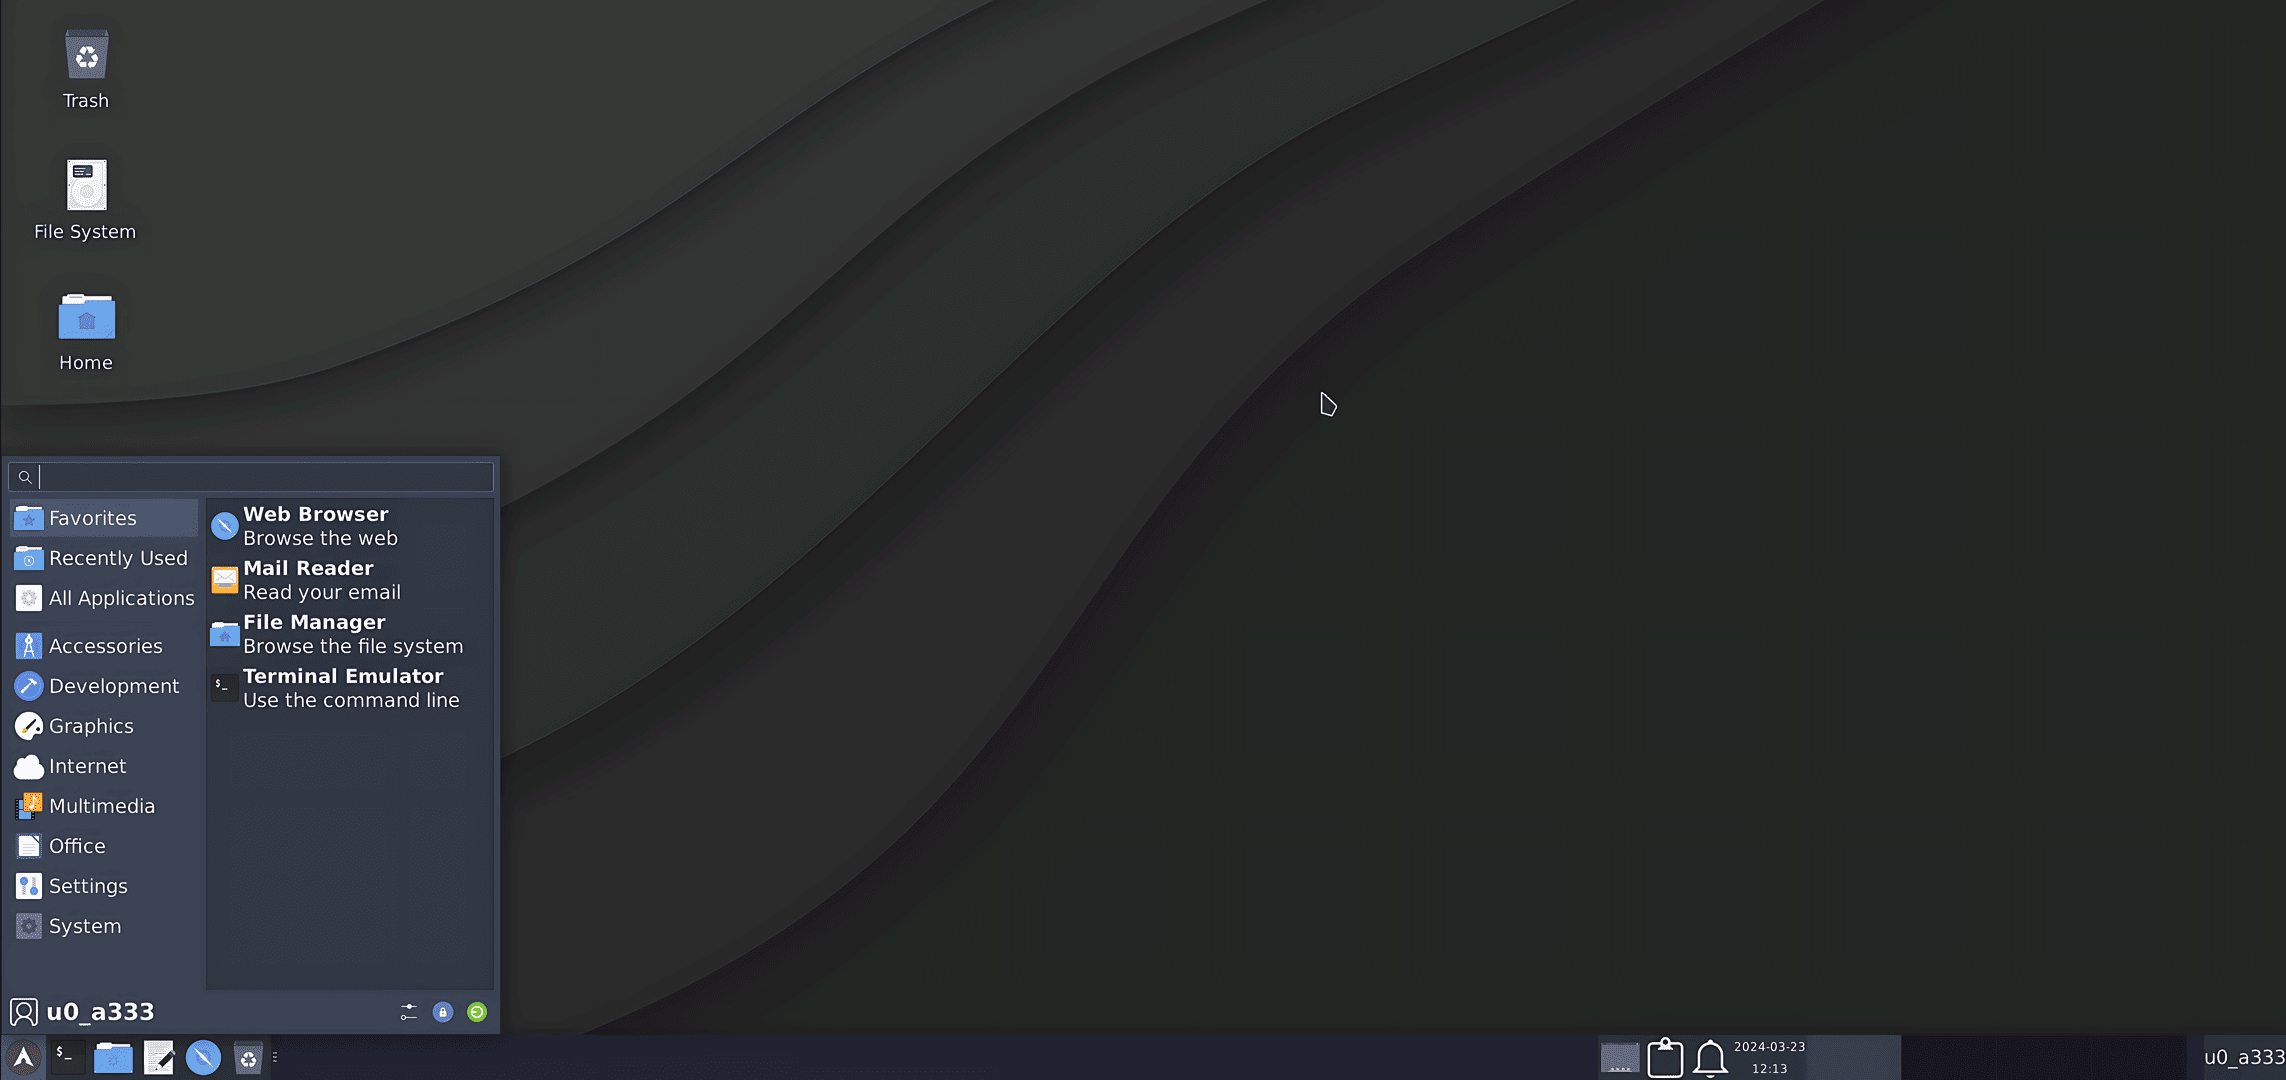 |
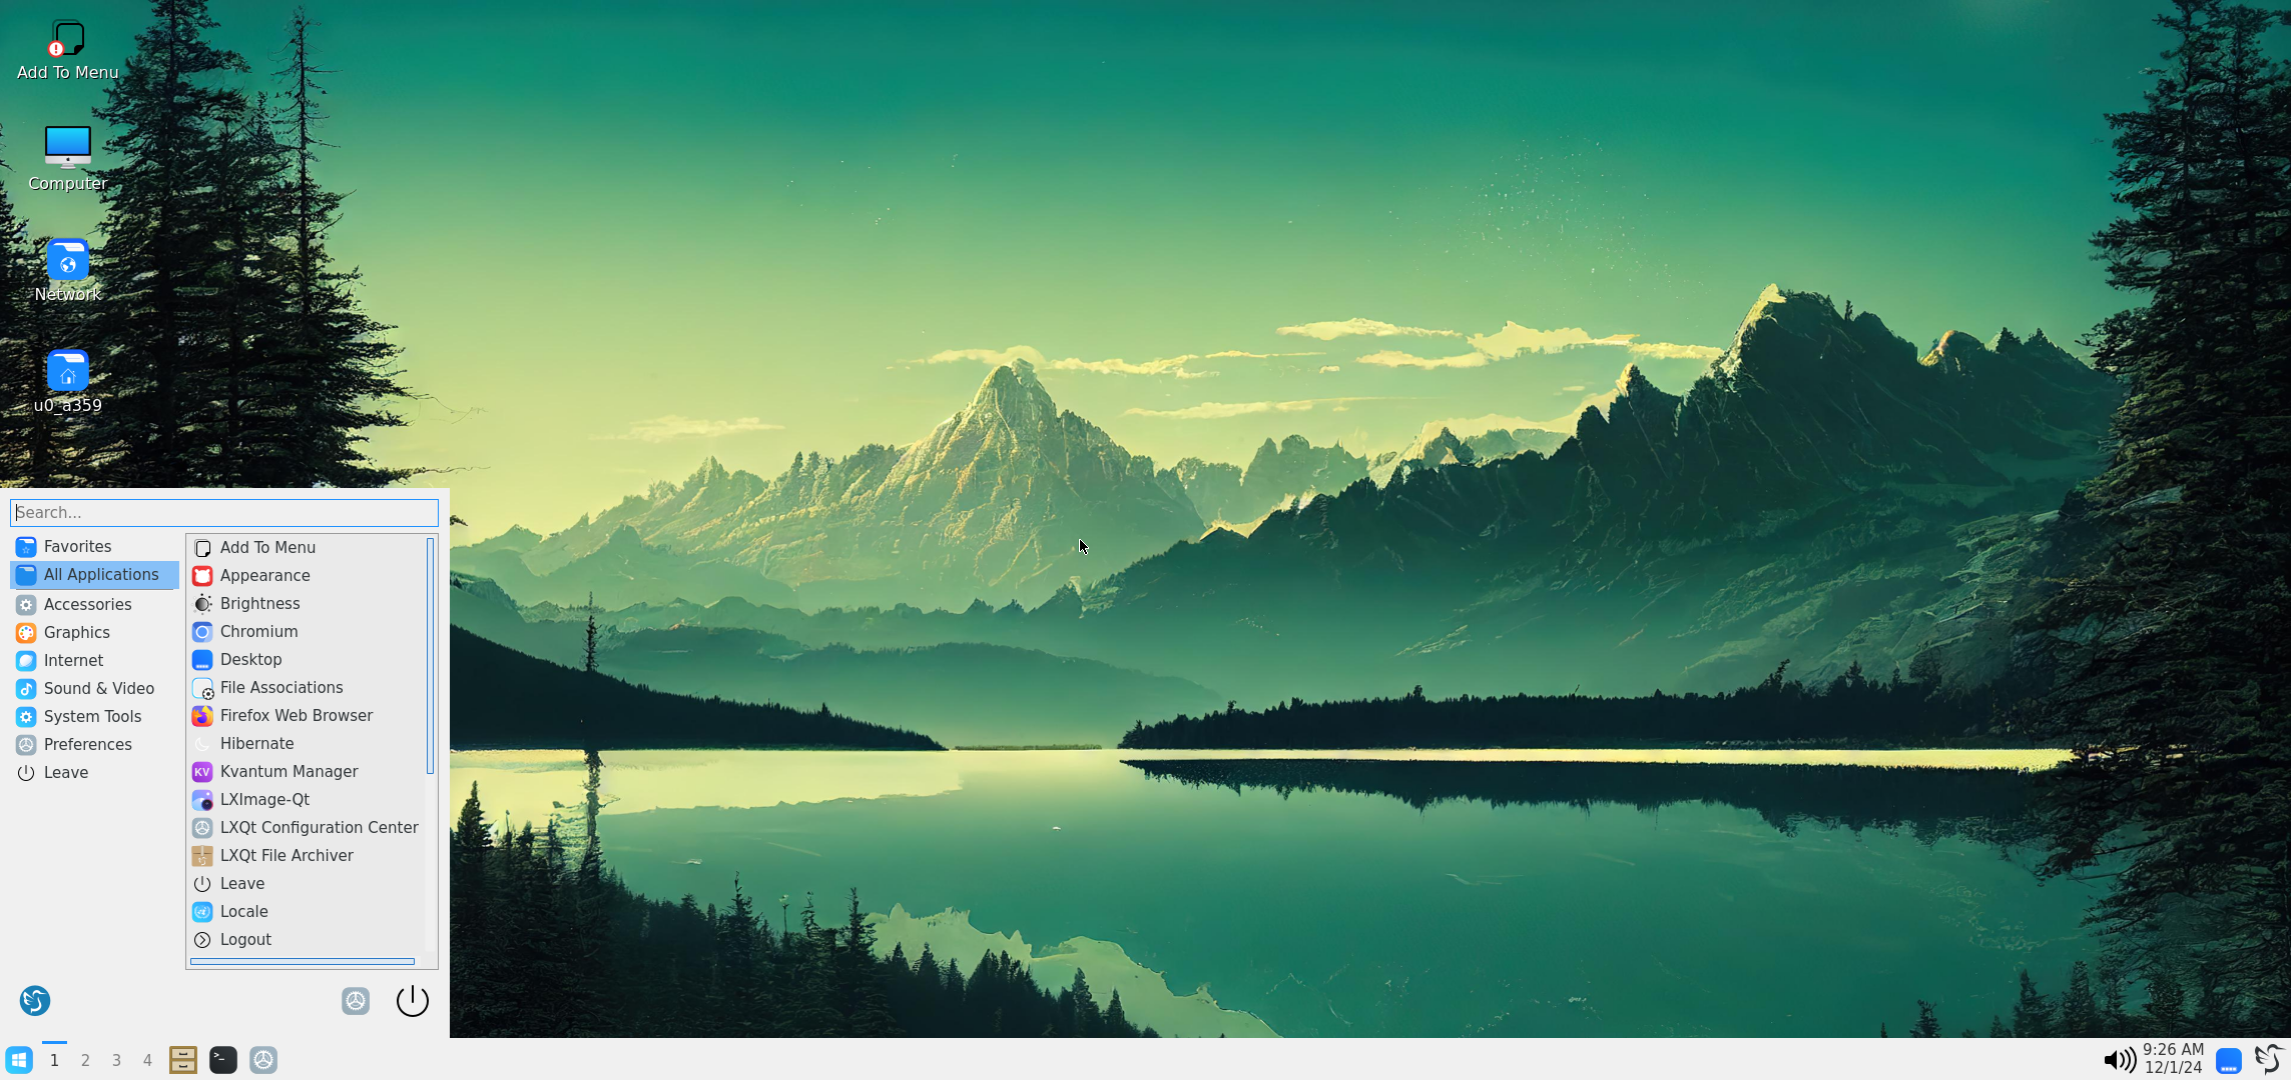 |
| OPENBOX | MATE |
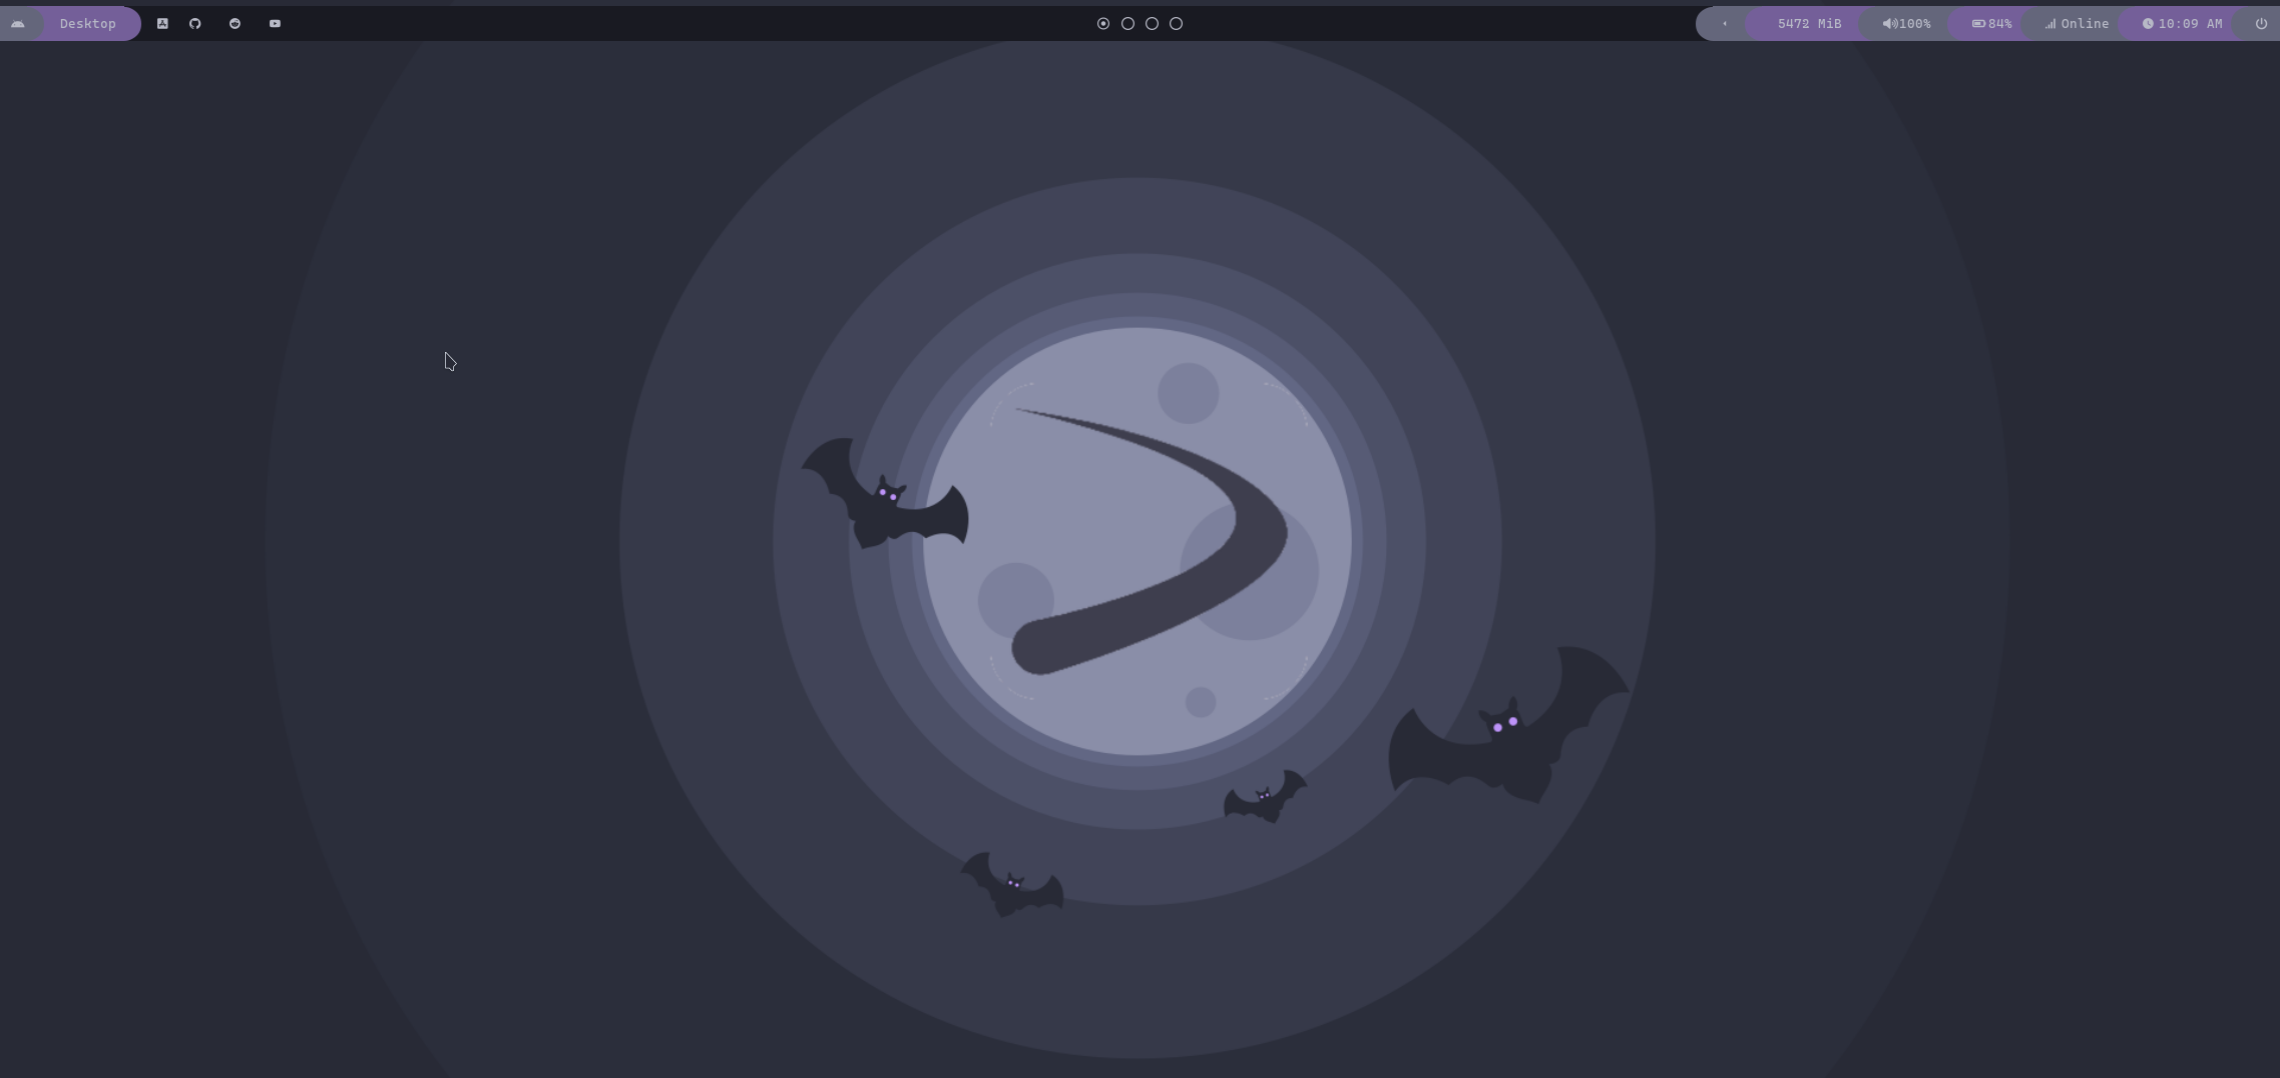 |
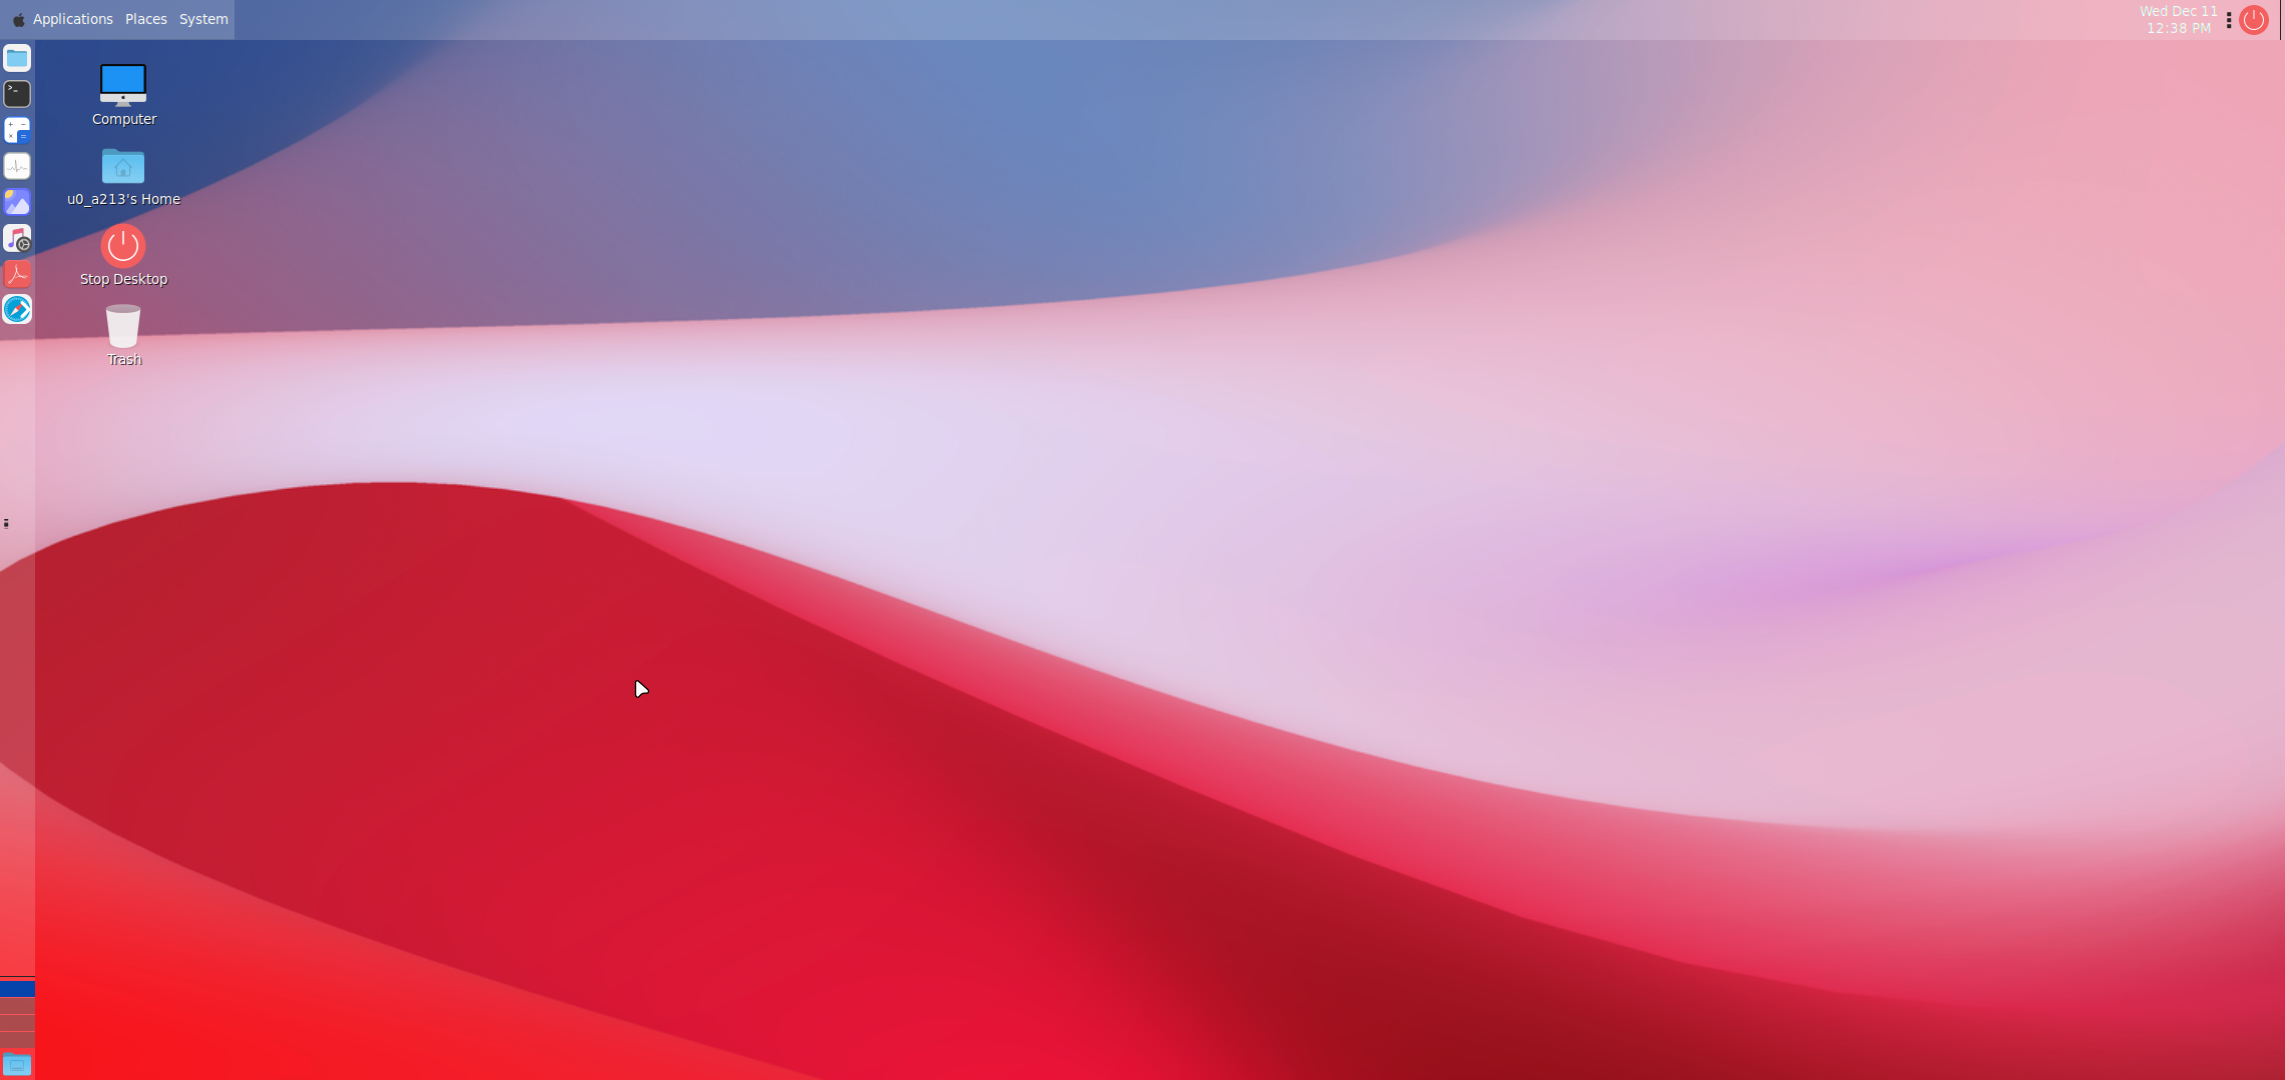 |
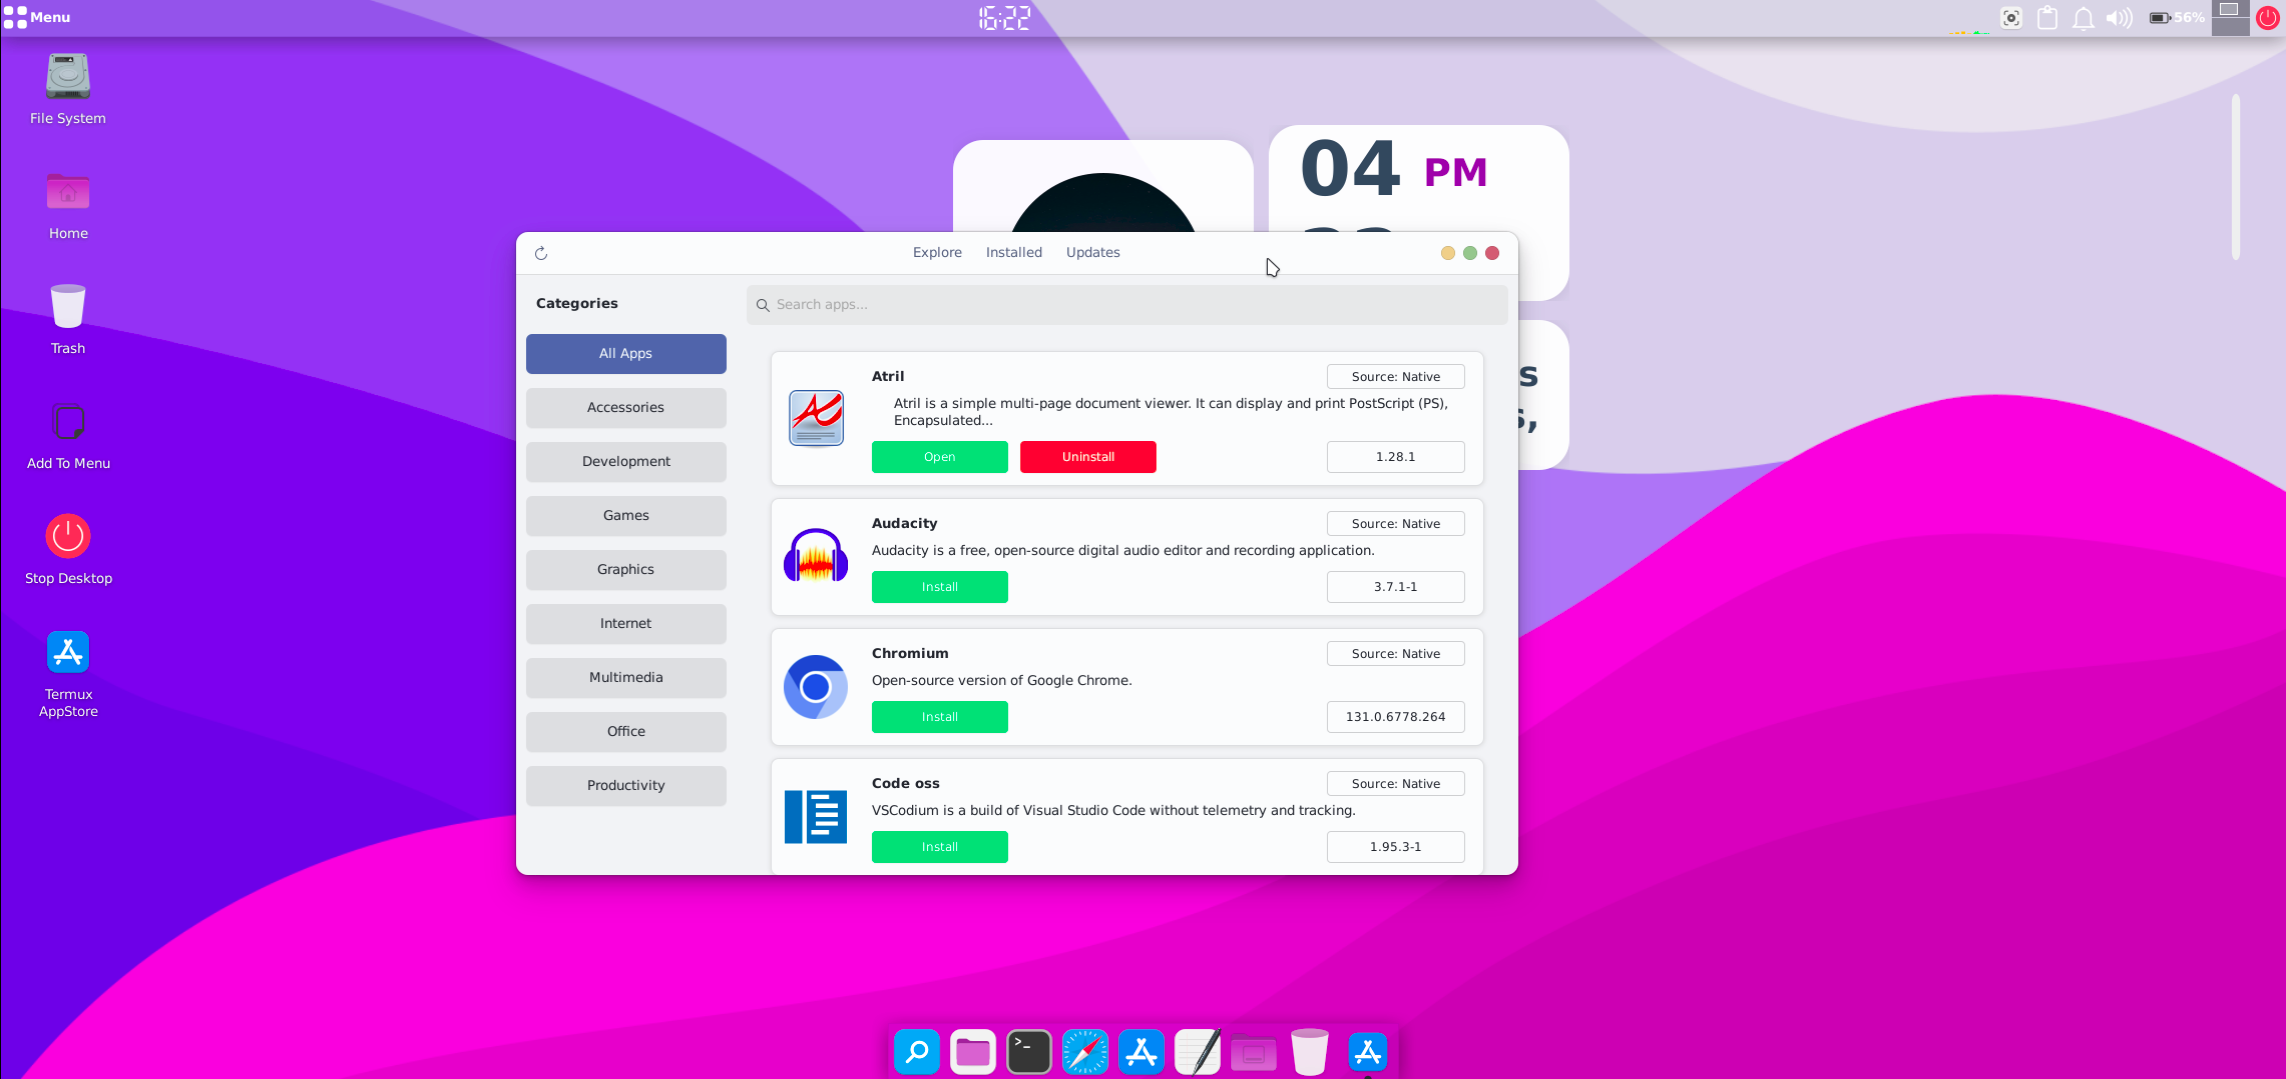
Appstore UI:
| Loading | Installing |
|---|---|
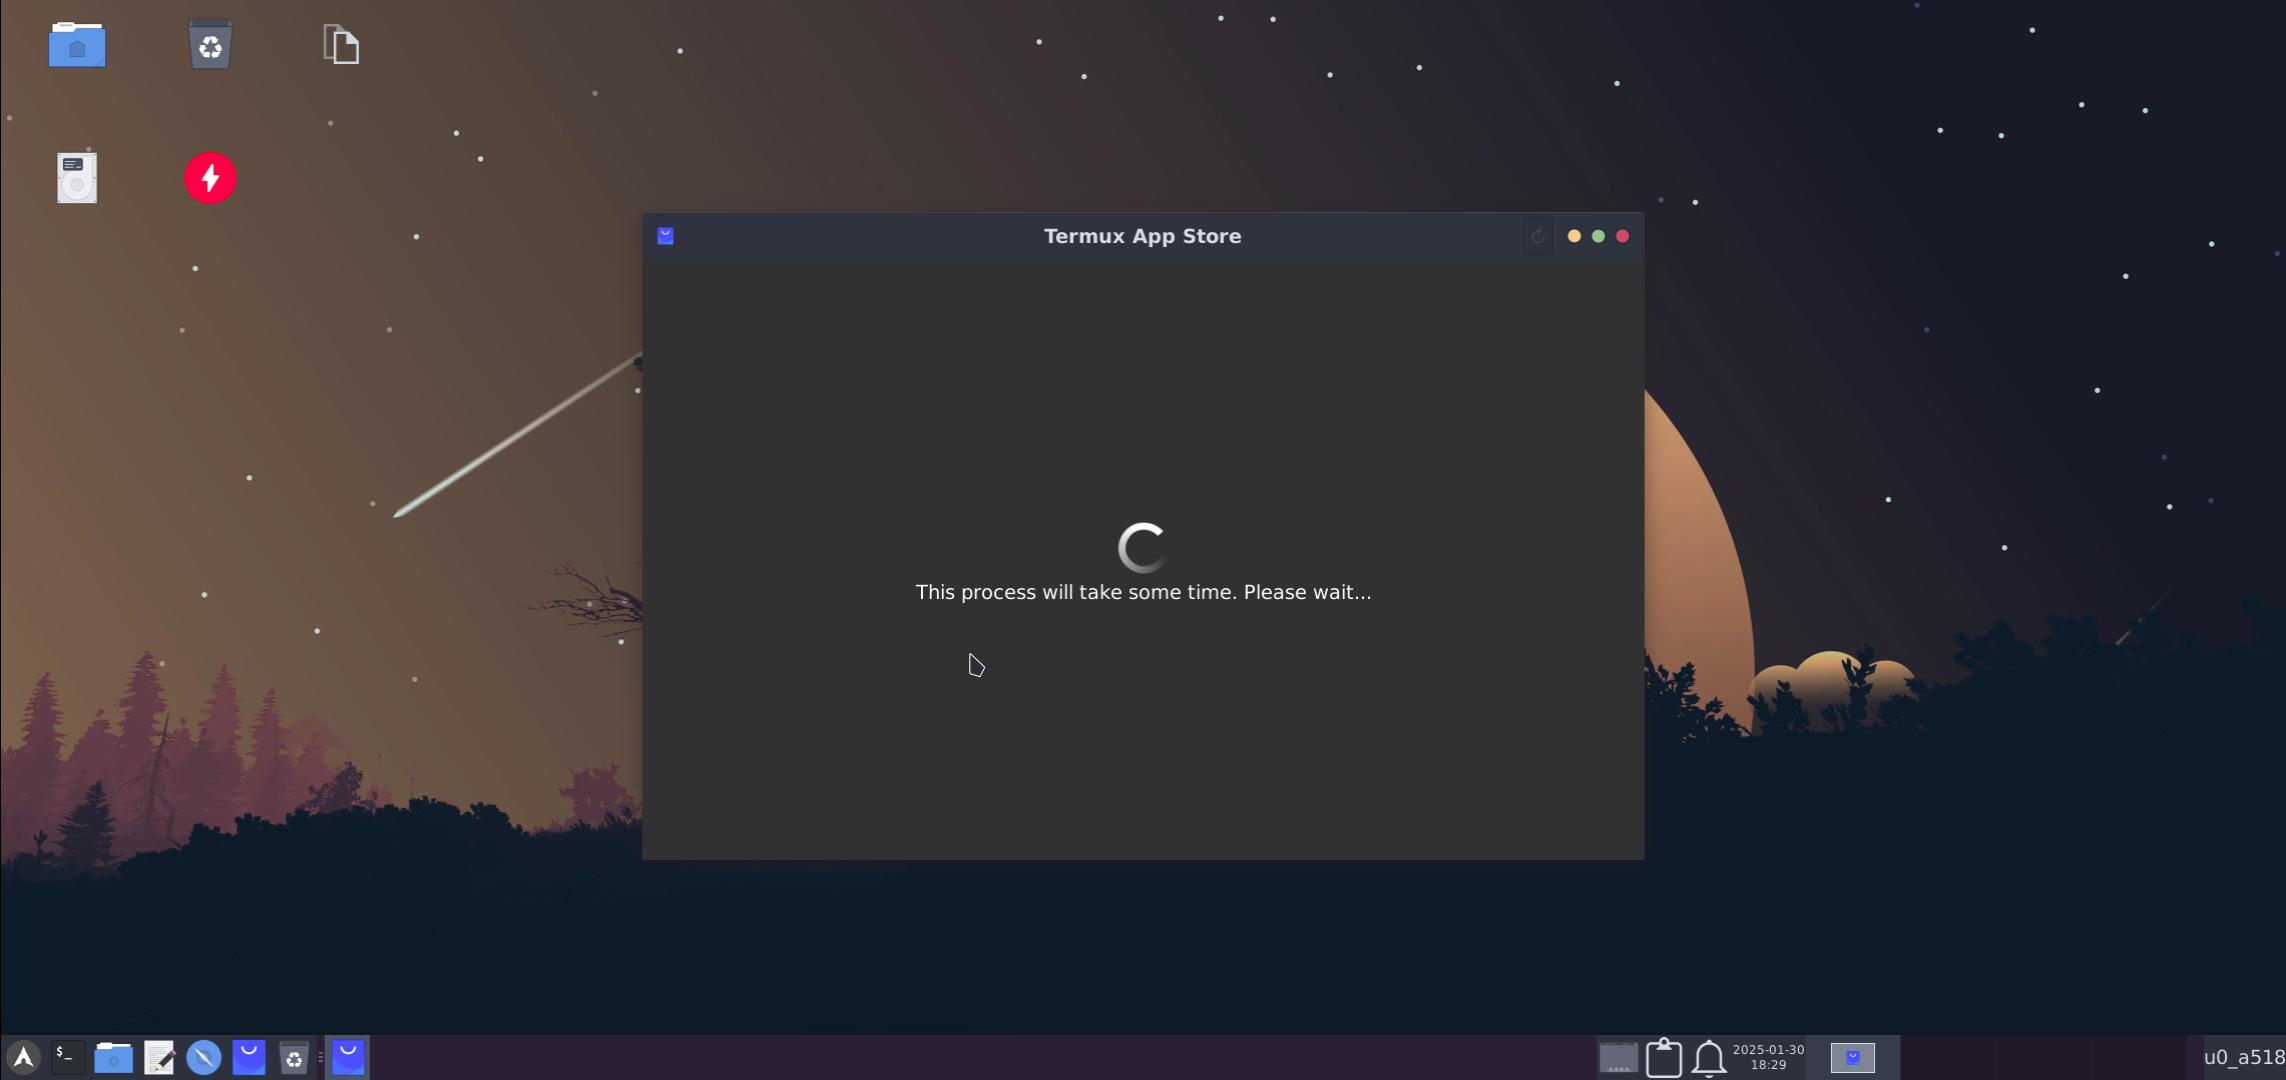 |
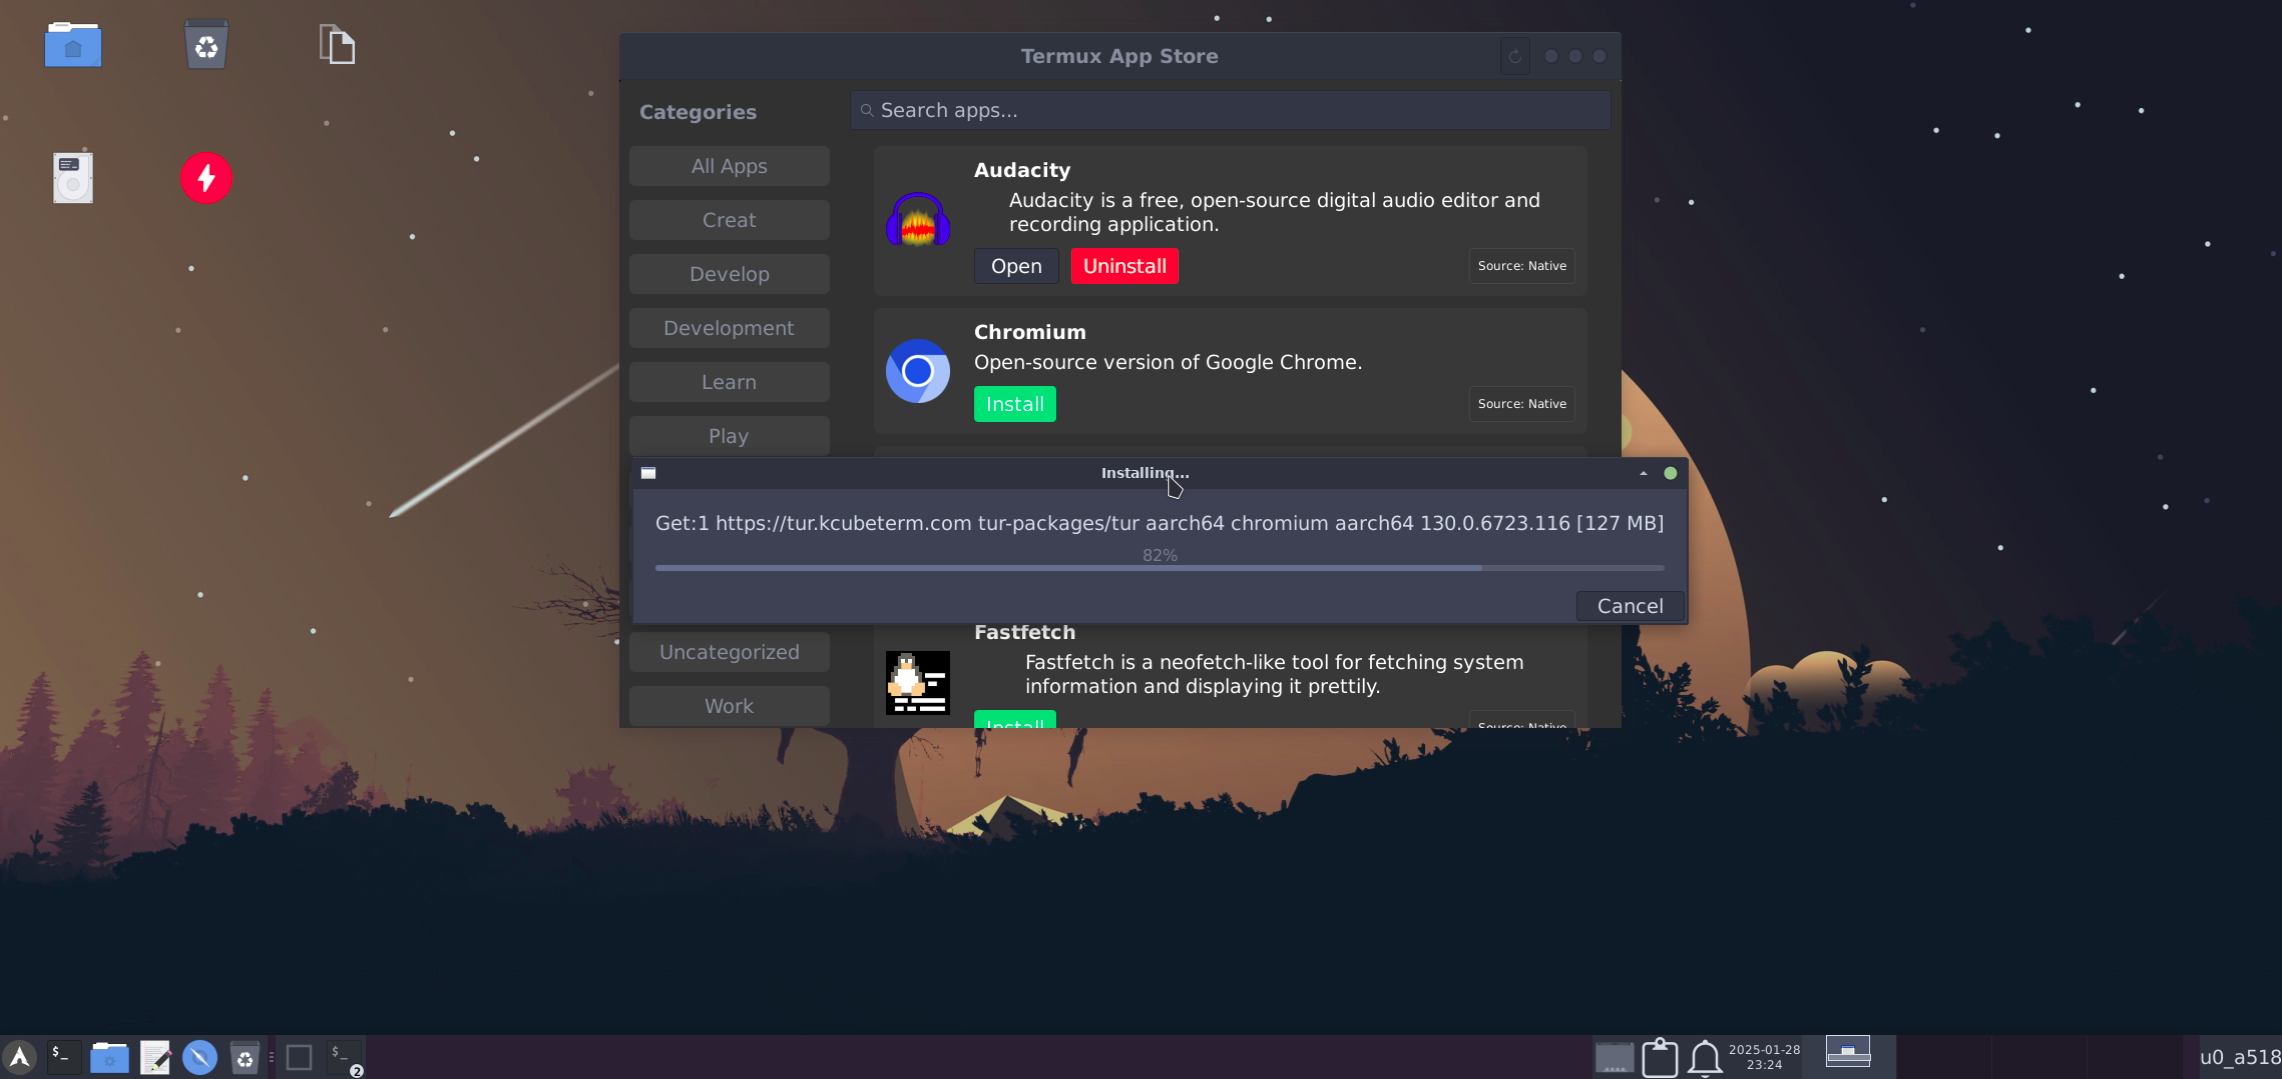 |
| Installed | Prompt |
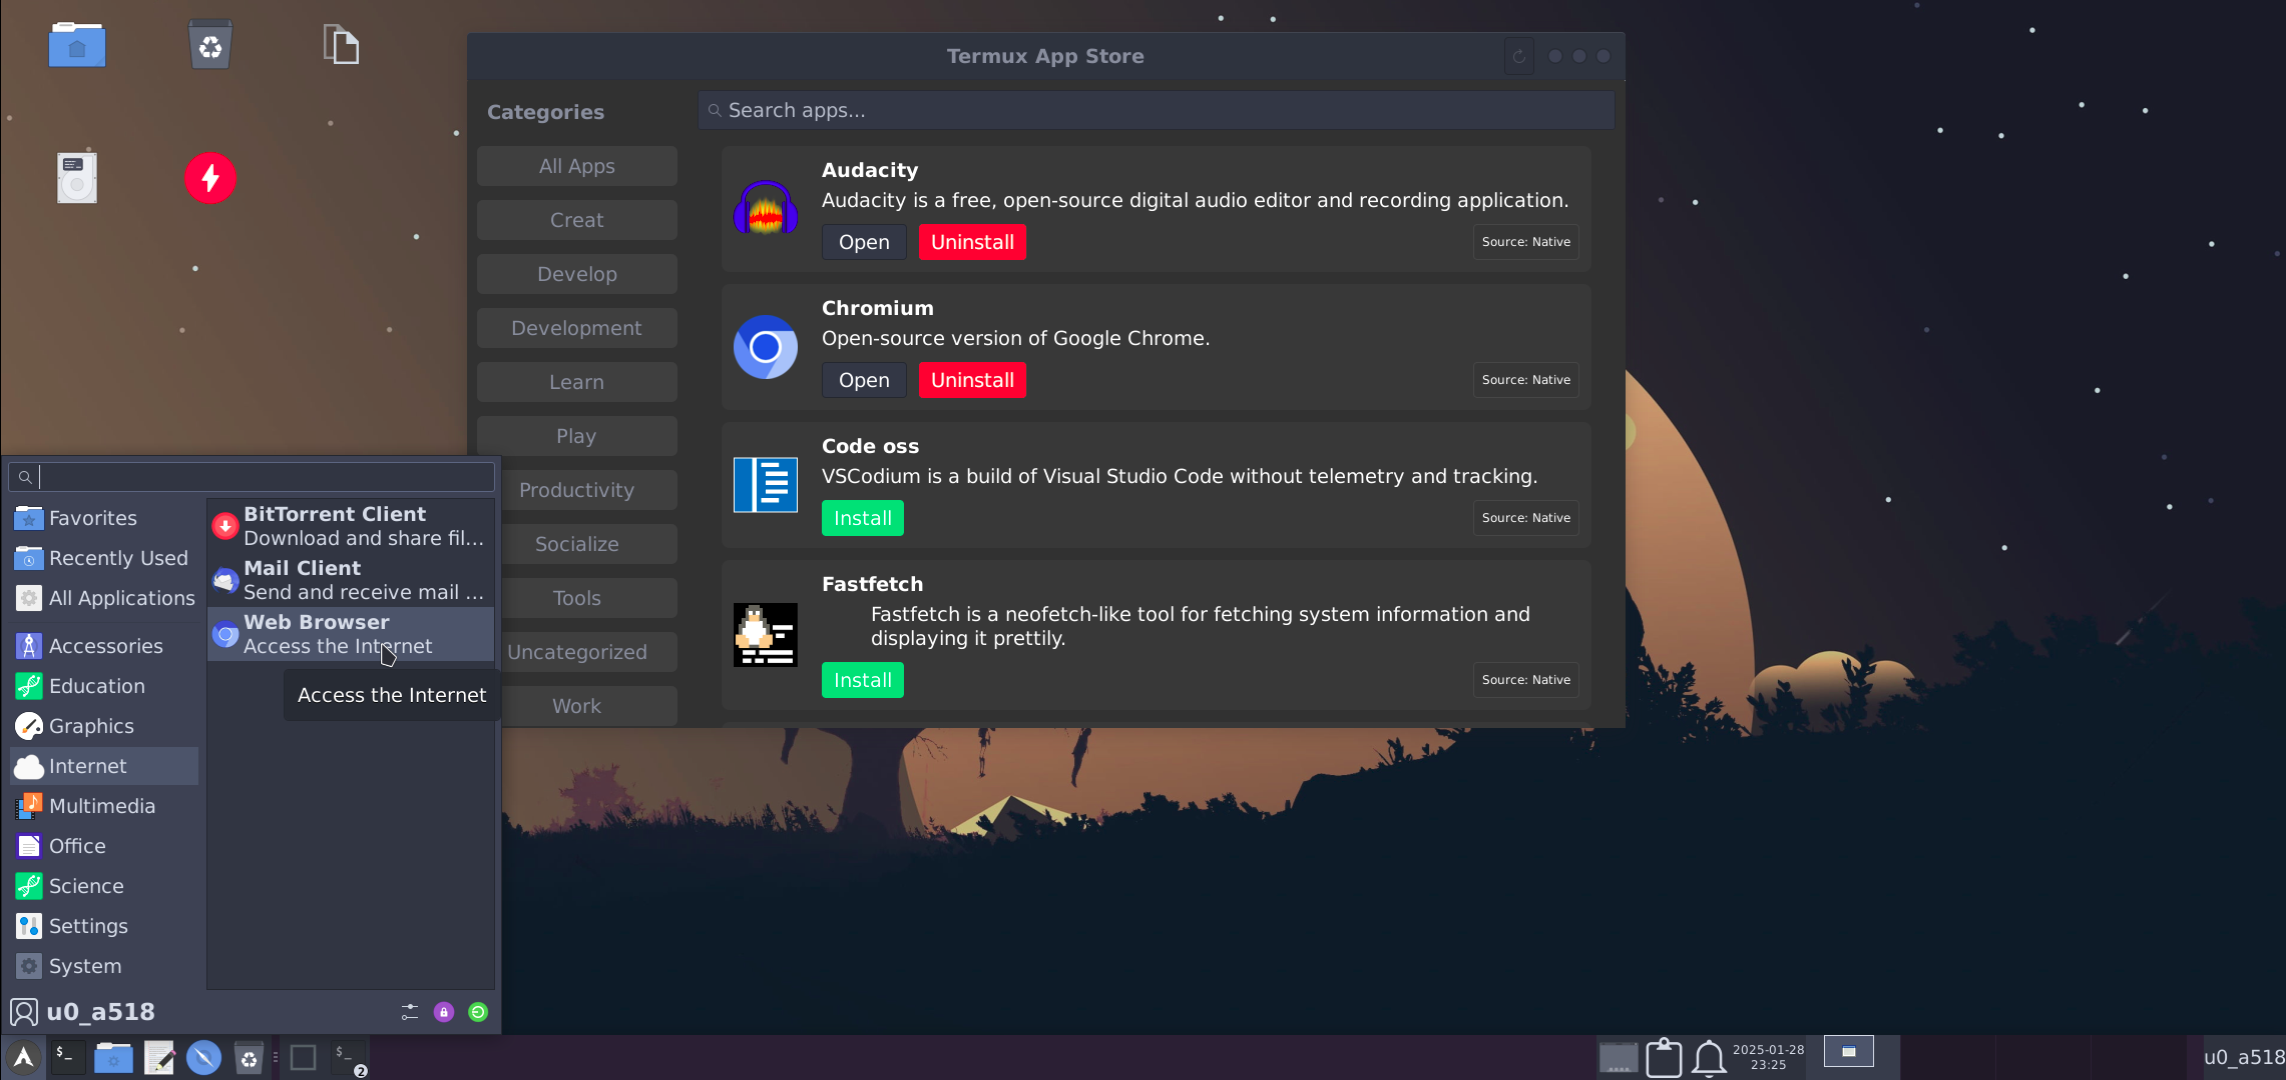 |
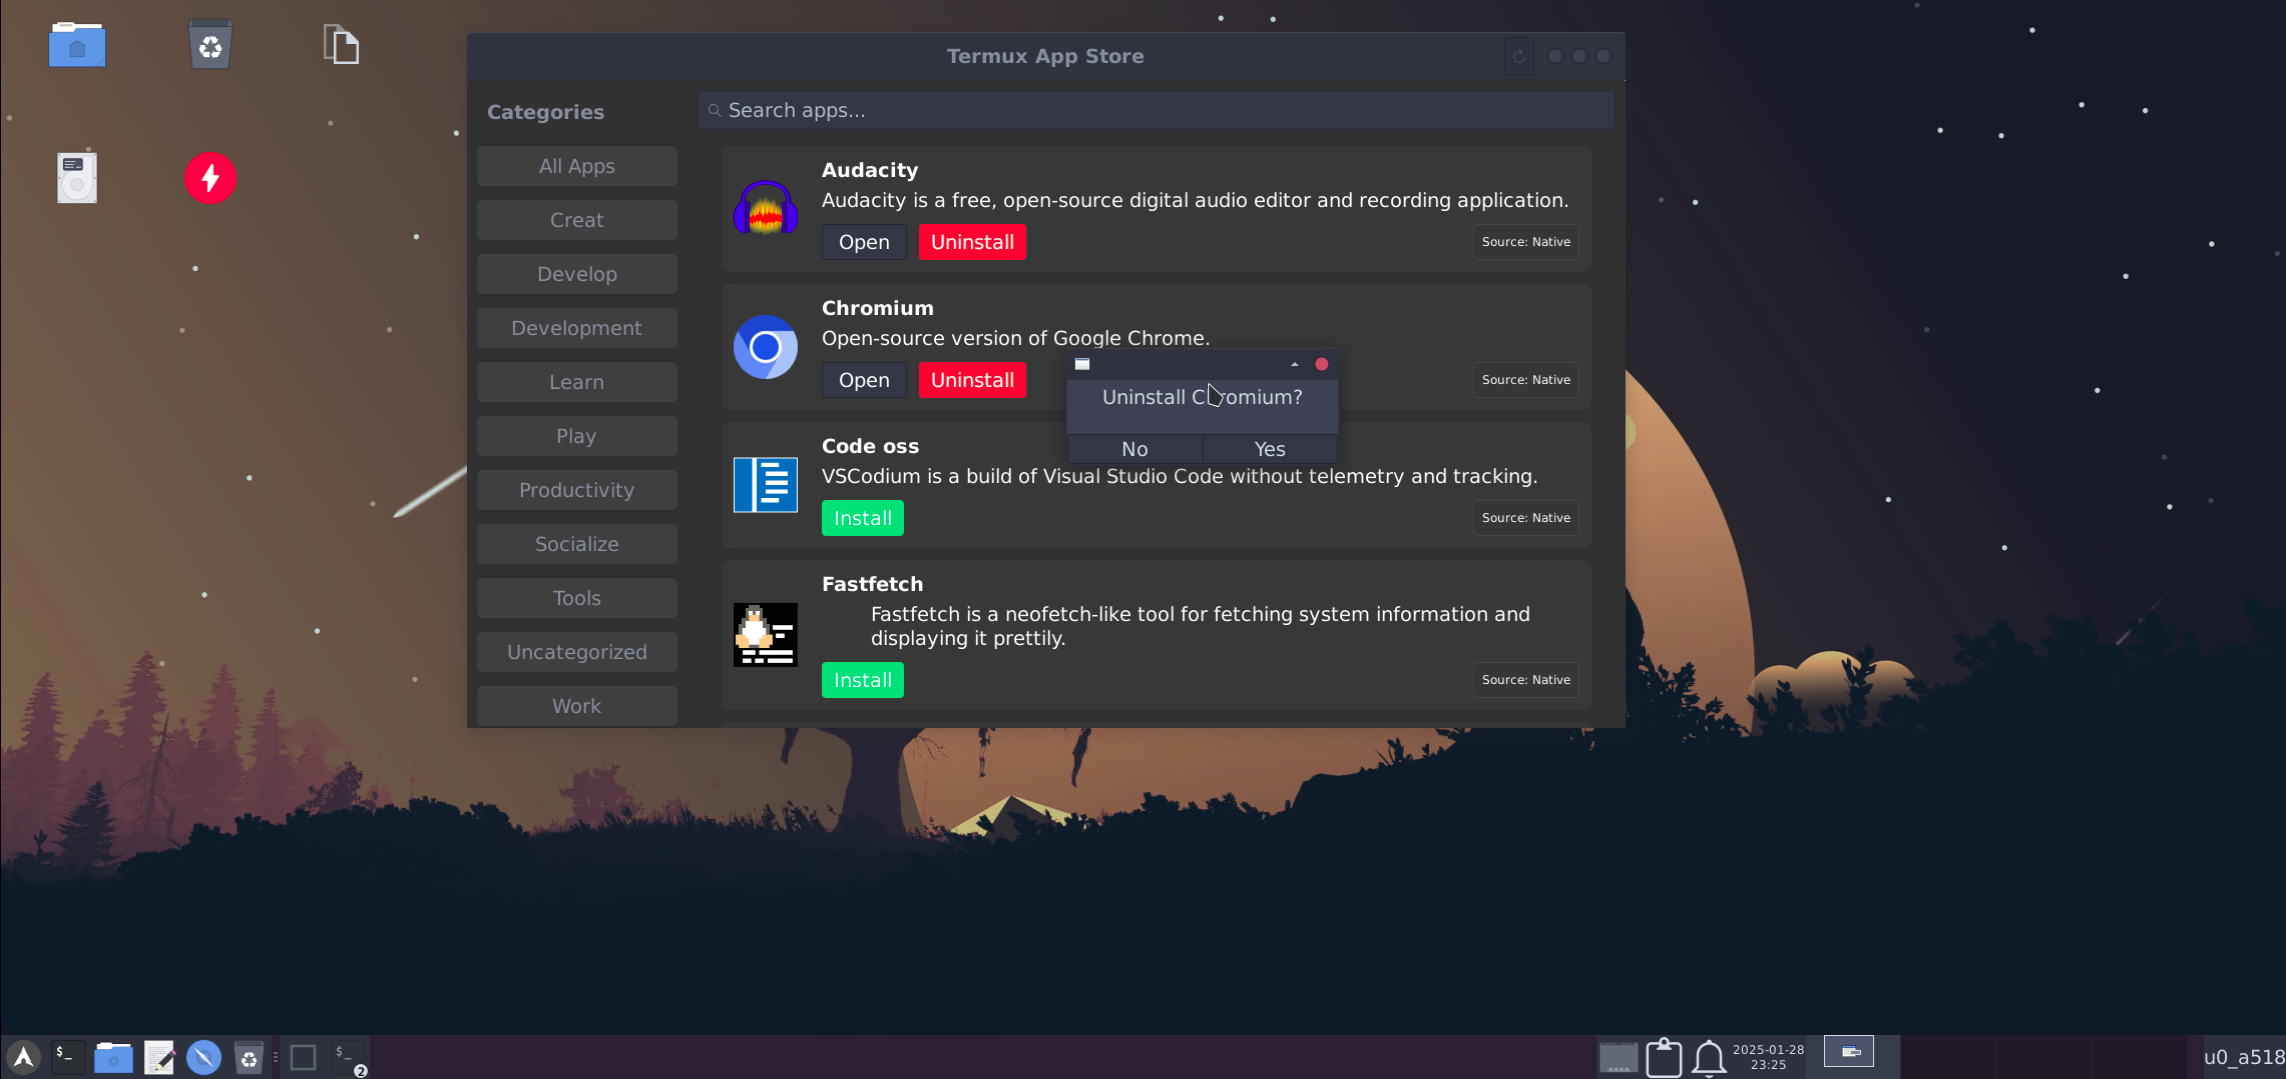 |
-
Termux-AppStore
License: GPL -
sabamdarif/nautilus-scripts
License: MIT -
chroot-distro
License: GPL
This project is licensed under the GNU General Public License v3.0.
Special thanks to:
- LinuxDroidMaster/Termux-Desktops
- phoenixbyrd/Termux_XFCE
- Yisus7u7/termux-desktop-xfce
- adi1090x/termux-desktop
- Generator/termux-motd
- ar37-rs/virgl-angle
- mayTermux/myTermux
- catppuccin
If you enjoy this project, consider giving it a star! 🌟
If you find Termux Desktop useful and would like to support its development, consider buying me a coffee! Your support helps me maintain and improve this project.
- USDT (BEP20,ERC20):-
0x1d216cf986d95491a479ffe5415dff18dded7e71 - USDT (TRC20):-
TCjRKPLG4BgNdHibt2yeAwgaBZVB4JoPaD - BTC:-
13Q7xf3qZ9xH81rS2gev8N4vD92L9wYiKH - DOGE (dogecoin):-
DJkMCnBAFG14TV3BqZKmbbjD8Pi1zKLLG6 - ETH (ERC20):-
0x1d216cf986d95491a479ffe5415dff18dded7e71
Every contribution, no matter how small, helps keep this project alive and growing! ❤️
Join the conversation: Telegram Chat.