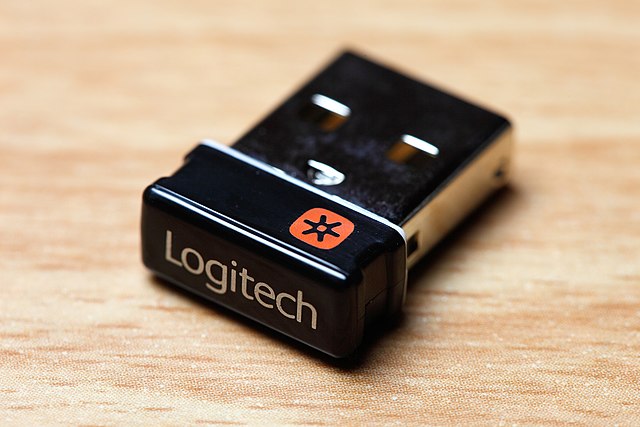
This is a fork of LeoDJ's dongle hider plus, it is a slight refinement of the design fitting it into a pcb that is compatible with a stock Framework USB C expansion card.
Simply (permanently) mount the dongle inside the card and still have an USB A port available!
There even is room and solder pads for an additional dongle. Your imagination (and physics) are the only limits!
See LeoDJ's thread on Mastodon about the build process etc.
The expansion card was only tested on Windows and AMD Framework 13 and 16 laptops as of right now. There the following behaviour has been observed:
- With only a dongle active, the CH334 hub IC draws around 20mA. (In addition to the ~25mA of the Unifying dongle)
- When nothing is connected to the hub, it goes to sleep and draws <1mA. (But this is seldomly the case with a dongle permanently attached to it :P )
- Despite earlier fears, the USB 3 "route-around-2.0-hub" topology doesn't seem to cause problems in the wild, except:
- When connected to a USB4 capable expansion card slot and an external USB 3 device is plugged in, the internal dongle stops working, but is still displayed as connected in Windows.
- As soon as the USB 3 device gets unplugged, the internal dongle immediately begins to work again (probably without a re-enumeration).
- USB 2 devices seem to work without a problem for the most part, although one of the tested USB thumb drives took a few re-plugs until it enumerated.
- This behaviour is not seen on the other non-USB4-capable expansion card slots, there USB 3 devices work great alongside the internal dongle
It's currently unclear what the behaviour would be under Linux or on Intel laptops. [You can help expand this]
Please note that there may be mechanical differences between the original DongleHiderPlus and this pcb, I would reccomend 3D printing the pcb outline and checking the fit of your dongle.
The Unifying dongles can be disassembled pretty easily:
 |
Gen 1: Carefully break off the plastic from the metal part using a pair of pliers. (Can be glued back together, if needed) |
 |
Gen 2: Slide flat screwdriver (or similar) between the metal and the orange plastic of the front of the USB a plug and carefully pry open the metal shell until it slides off. Youtube video |
- View the latest schematic and board view thanks to KiCanvas.
- I've ordered the PCB and assembled it myself, but it should be able to be mostly assembled by PCBA services (like JLCPCB) too. The Gerber/BOM/CPL files are provided in the PCB/jlcpcb/production_files/ folder.
- The pcb is designed to be a drop in replacement for a stock Framework USB C expansion card, it uses the original screws and doesn't require any modifications to be made to the stock housing.

