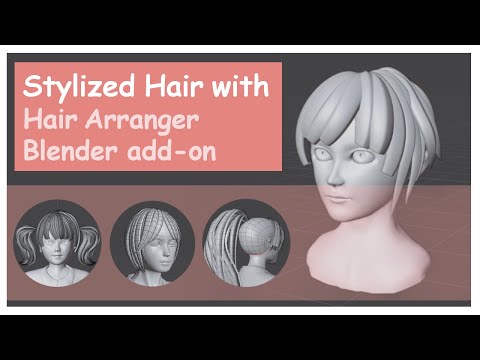
This Belnder add-on is a collection of properties and scripts that helps designers to generate, modify, and set stylized hair.
This is under development!!
Download and put the 'hair_arranger' folder in your Blender addons folder or use the 'Install from File...' menu on Blender.
Select target mesh on 3D view in Object mode and click the "Start" button in Hair Arranger Tab > Hair Arranger.


You can see the detail of each property in Blender documentation, Draw or Geometry.
- Use Snap: Snap on/off
- Snap Only First: Only uses the start of the stroke for the depth.
- Surface: The orientation plane to draw on.
- Normal Visibility: Normal visibility on/off
- Normal Display Length:length for normal display
- Tolerance: Lower values give a result that is closer to the drawing stroke, while higher values give more smoothed results.
- offset: Distance to offset the curve from the surface.
- Taper Start: Tapering level at start point.
- Taper End: Tapering level at end point.
- Radius: The width of the extrusion along the curve. This can also be used to adjust the display size of the curve while drawing.
- Resolution U: The number of points that are computed between every pair of control points. Curves can be made more smooth by increasing the resolution respectively.
- Bevel Start: Defines the starting point of the bevel geometry on the curve.
- Bevel End: Defines the ending point of the bevel geometry on the curve.
- Object: A curve object which will be extruded along the curve. Four curves are provided in advance, and users can also add new curves.
- ScaleX, ScaleY: Scale the haircurve objects
- Select Spline: Click with one point of the curve selected to select all points of the spline.
- Select All Spline: Select all points of all curves of the current curve object.
- Select Starts: Select all start points of all curves in the current curve object.
- Select Middle: Selects all midpoints, excluding the start and end points, of all curves in the current curve object.
- Select Ends: Select all end points of all curves in the current curve object.
- Convert to NURBS: Convert selected BezierCurve into NURBS curve
- Remoce End Points: Remove both end points of the selected NURBS curve. This can be used for removing unused end points after converting to NURBS curve.
- Spearate Curves: Separate all curves into each single curve objects. This can be used for reconstruct the hair object into small objects.
- Convert to Mesh: Convert all curves into mesh object. The resolution depends on the curve resolution.
Open hair_arranger/hair_curves.blend and add your custom curve with the name which starts from "haircurve_".

Then the curve will be automatically loaded into the haircurves locator and can be selected on the UI.

This is under development and it may contain some critical bugs.
Please note that we will not be liable for any damages caused by use of this add-on and scripts.
