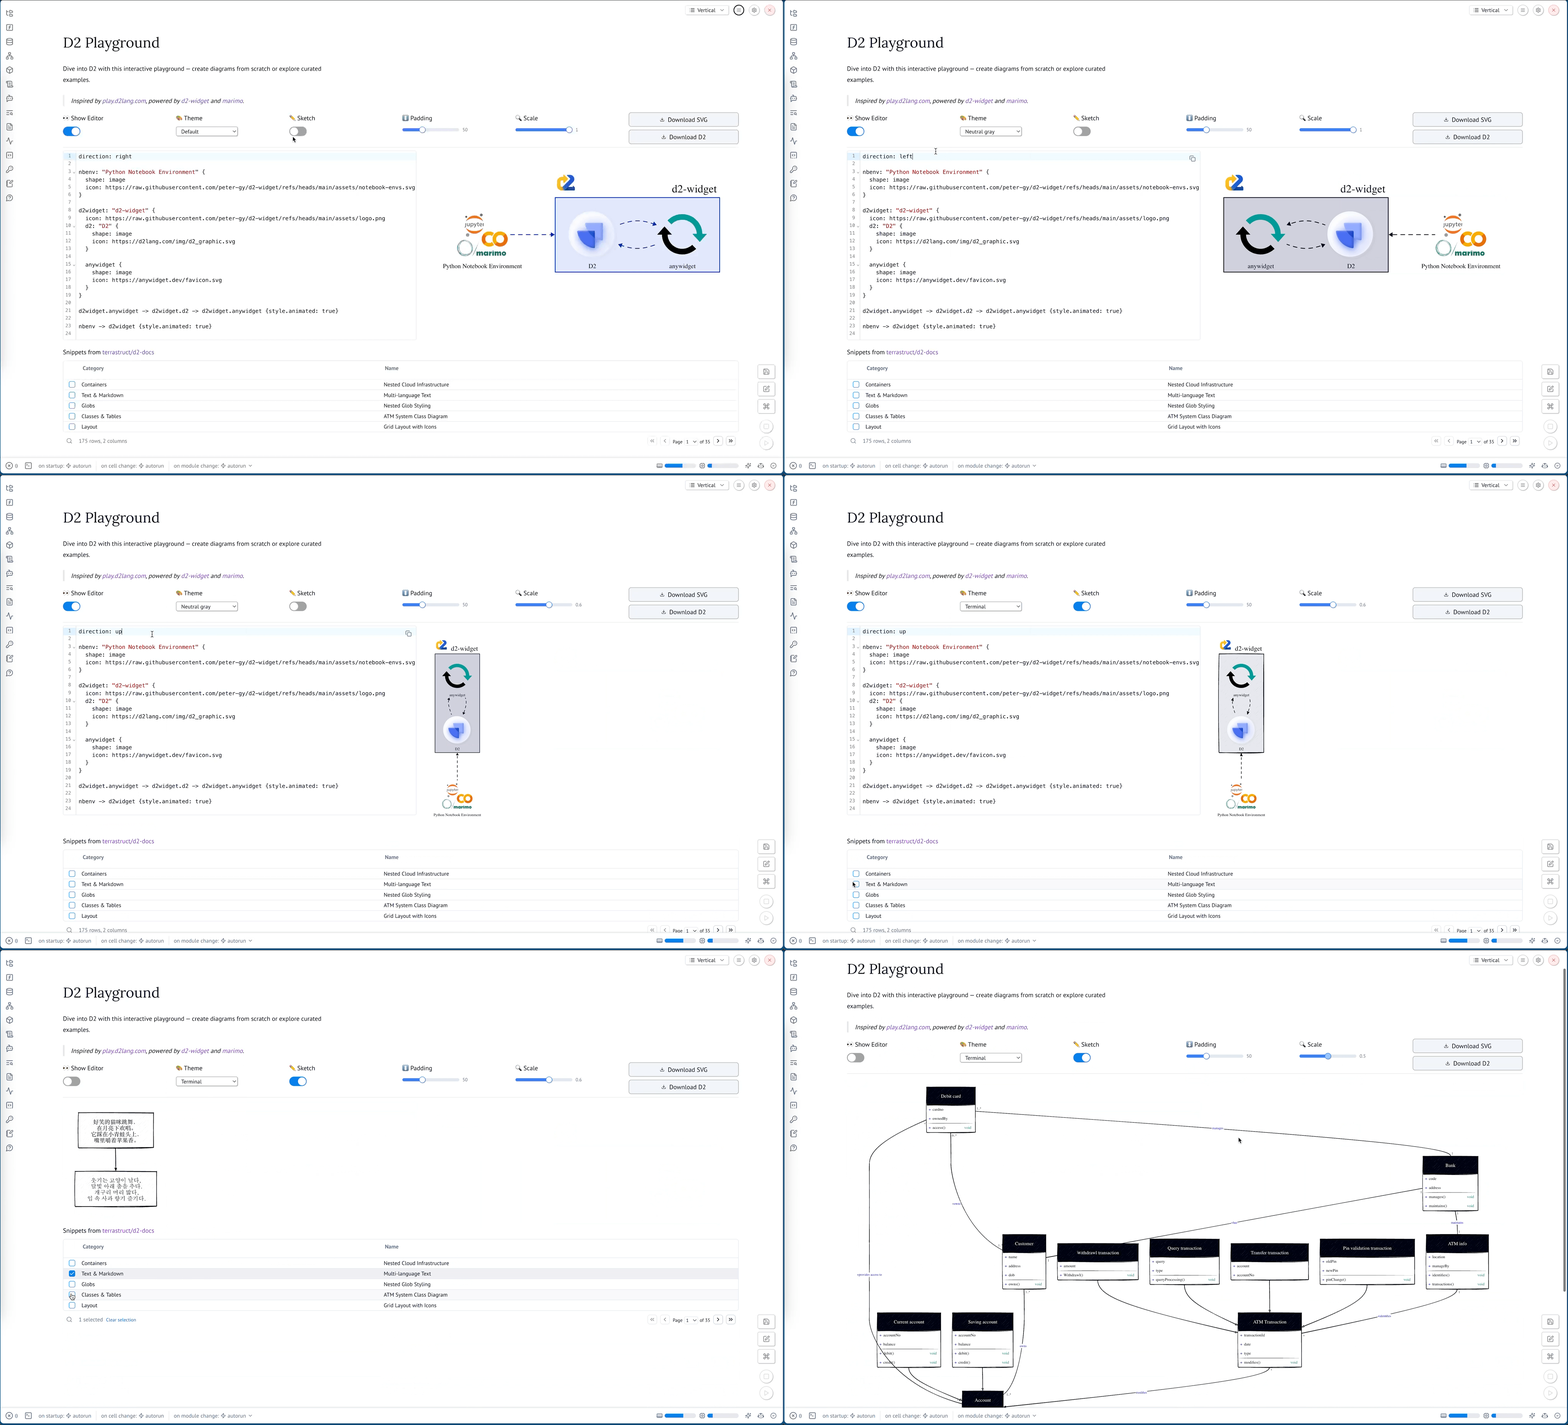
Bring the power of D2 to Python notebooks.
d2-widget is an AnyWidget for displaying declarative diagrams written in D2.
- 🎨 D2 Diagram Rendering: Create and display interactive D2 diagrams directly in Python notebooks
- ⚙️ Configurability: Support for all D2 compilation options including themes, layouts, and rendering configurations
- 📤 SVG Export: Programmatically access the SVG representation for use in other documents
- ✨ Jupyter Cell Magic: Use the convenient
%%d2cell magic for quick diagram creation - 🧩 Notebook Compatibility: Works in Jupyter, Google Colab, Marimo, and other AnyWidget-enabled Python notebook environments
- 🎬 Animation Support: Create animated diagrams with D2's native animation capabilities
Visit the interactive playground to try out what d2-widget can do.
pip install d2-widgetor with uv:
uv add d2-widgetThe following examples demonstrate how to use Widget with increasing complexity.
The simplest way to use Widget is to pass a D2 diagram as a string to the constructor.
from d2_widget import Widget

Widget("x -> y")You can add direction and layout settings directly in the D2 markup.
from d2_widget import Widget

Widget("""
direction: right
x -> y
""")You can specify compile options using the second argument to the constructor. You can read about the semantics of the options in the D2 documentation.
from d2_widget import Widget

Widget("""
direction: right
x -> y
""",
  {
      "themeID": 200,  # ID of the "Dark mauve" theme
      "pad": 0,        # Disable padding
      "sketch": True,  # Enable sketch mode
  },
)You can access the generated SVG using the svg attribute.
from d2_widget import Widget

w = Widget("x -> y")
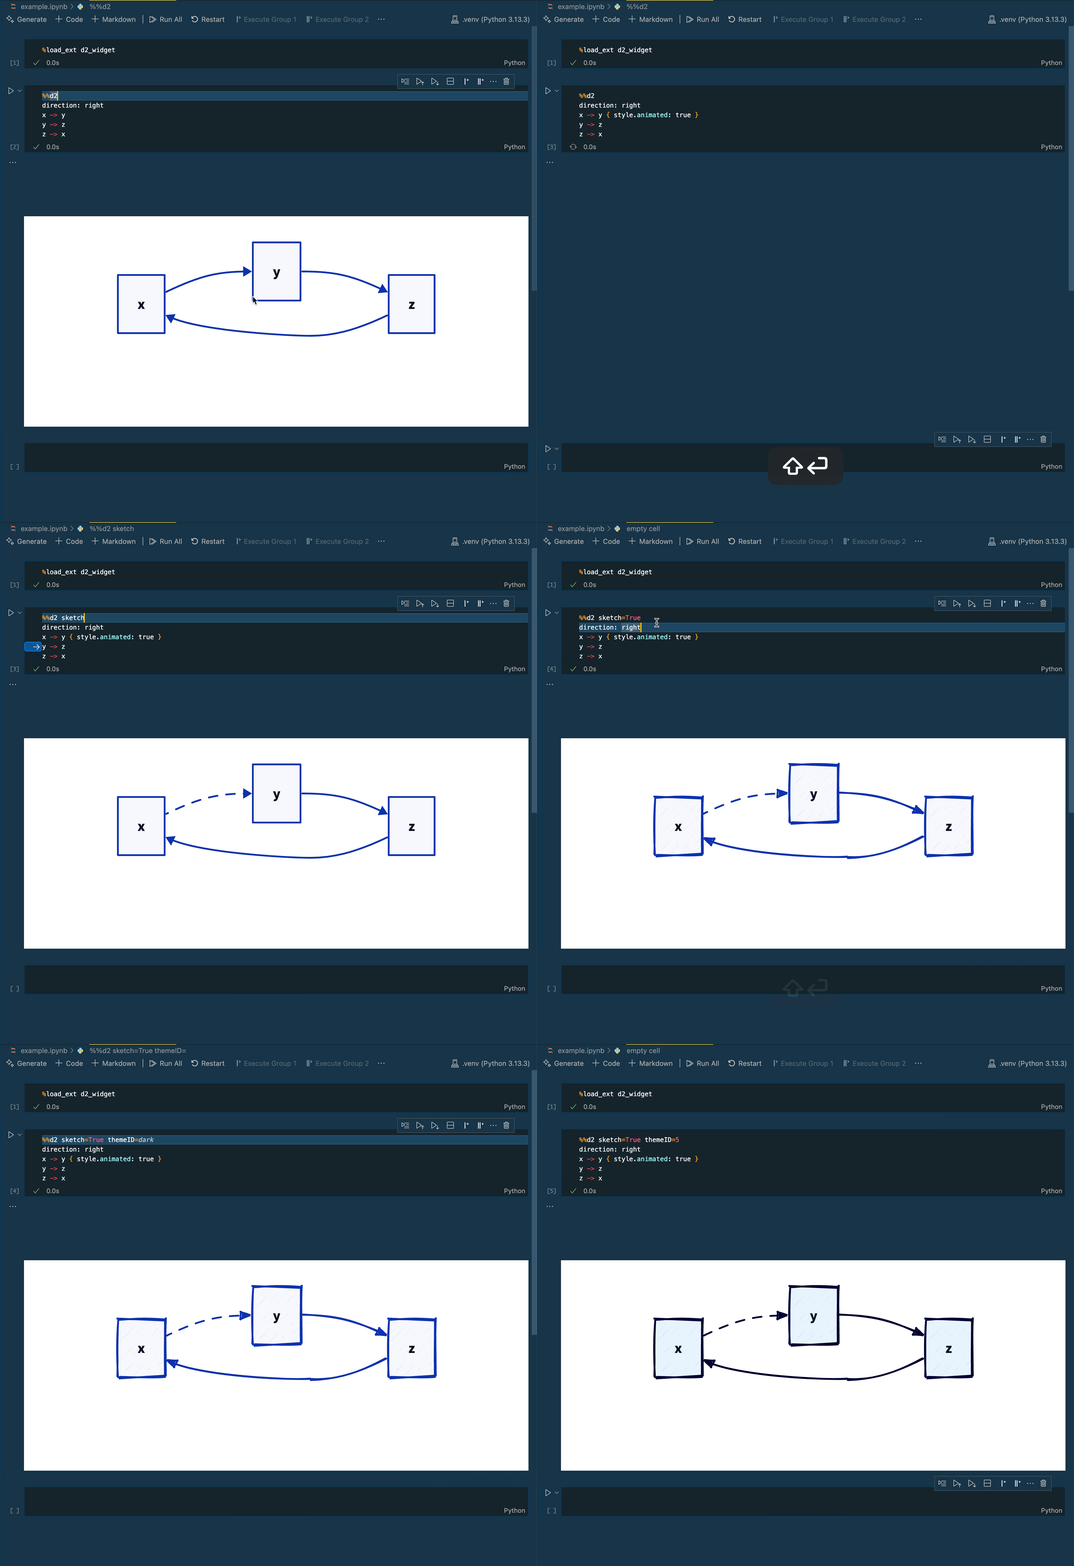
w.svgYou can use the %%d2 cell magic to display a D2 diagram in a Jupyter notebook.
First, you need to load the extension:
%load_ext d2_widgetThen, you can use the %%d2 cell magic to display a D2 diagram.
You can pass compile options to the cell magic using keyword arguments.
%%d2 sketch=True themeID=200
direction: right
x -> y
y -> z { style.animated: true }
z -> xWe recommend using uv for development. It will automatically manage virtual environments and dependencies for you.
uv run jupyter lab example.ipynbAlternatively, create and manage your own virtual environment:
python -m venv .venv
source .venv/bin/activate
pip install -e ".[dev]"
jupyter lab example.ipynb
The widget front-end code bundles it's JavaScript dependencies. After setting up Python, make sure to install these dependencies locally:
pnpm installWhile developing, you can run the following in a separate terminal to automatically rebuild JavaScript as you make changes:
pnpm devOpen example.ipynb in JupyterLab, VS Code, or your favorite editor
to start developing. Changes made in js/ will be reflected
in the notebook.


