Thank you JLCPCB for sponsoring this project. Please order your PCB at https://jlcpcb.com/RAT
Hardware components
JLCPCB Customized PCB × 1
Female Header 8 Position 1 Row (0.1") × 40
Female header 20 Position 1 Row (0.1") × 4
Hand tools and fabrication machines
Soldering iron (generic)
Solder Wire, Lead Free
This project is about making a breadboard using PCB.
It is common that we may find that the number of rows for the columns may be too few for our uses in commercial breadboard.
When we are using a commercial breadboard, sometimes we may experience connection problems which may affect our final results that we want to achieve.
This project breadboard PCB provides 8 rows for each column, which may be sufficient for most of our uses.
We will need 2.54mm female headers for the project.
The space in the middle between the center of adjacent header pins has a gap of 2.54 mm3 = 7.62 mm which is the same as commercial breadboard. The space between the nearest signal pin and the power pin is 2.54 mm2 = 5.08 mm.
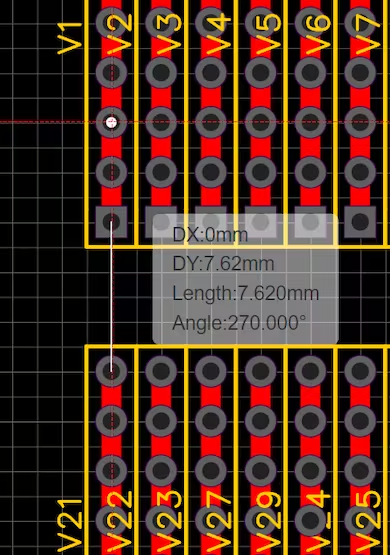
Adjacent distance between two signal pins
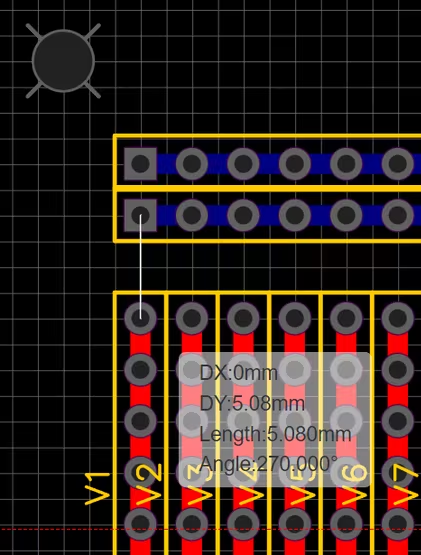
Adjacent distance between signal pin and power pin
We will use M3 screws to mount the PCB.
Tips for making well-aligned PCB:
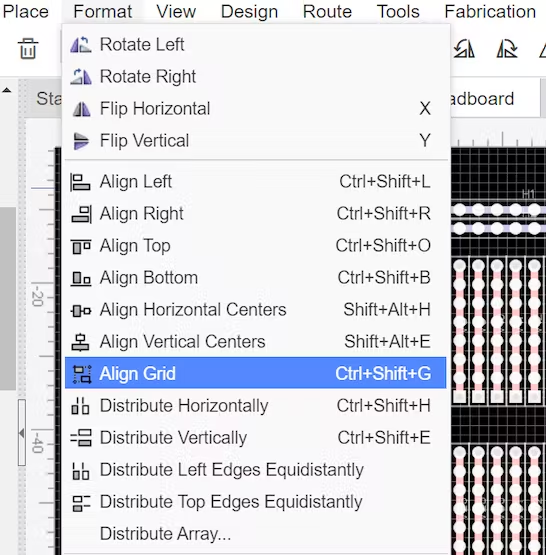
Align grid Control-Shift-G
If you are using EasyEDA for your project, use align grid Ctrl+Shift+G to align your components.
We can also use this project PCB as a perfboard.

Perfboard function
Hope you like this project. Thanks JLCPCB for sponsoring this project and please order your PCBs at https://jlcpcb.com/RAT