Download "RASPBIAN JESSIE LITE VERSION" from https://www.raspberrypi.org/downloads/raspbian/
Insert the microSD to your computer via USB adapter and create the disk image using the dd command:
Locate your inserted microSD card via the df -h command, unmount it and create the disk image with the disk copy dd command
$ df -h
/dev/sdb1       7.4G   32K  7.4G   1% /media/XXX/1234-5678*
$ umount /dev/sdb1
Caution: be sure the command is completely accurate, you can damage other disks with this command
if= location of RASPBIAN JESSIE FULL VERSION image fileof= location of your microSD card
$ sudo dd bs=4M if=/path/to/raspbian-jessie-lite.img of=/dev/sdX
(note: in this case, it's /dev/sdb, /dev/sdb1 was an existing factory partition on the microSD)
Insert your new microSD card to the Raspberry Pi and power it on with a monitor connected to the HDMI port.
First login: user: pi, password: raspberry.
Change your account password for security (from terminal):
sudo passwd piEnable Raspberry Pi Advanced Options (from terminal):
sudo raspi-configChoose:
1 Expand File System
9 Advanced Options
A2 Hostnamechange it to "CarComputer"
A4 SSHEnable SSH Server
A7 I2CEnable i2c interface
sudo nano /etc/default/keyboardChange the following line:
XKBLAYOUT="us"
$ sudo shutdown -r now
sudo nano /etc/wpa_supplicant/wpa_supplicant.confAdd the following lines to have your Raspberry Pi automatically connect to your home Wi-Fi: (if your wireless network is named "linksys" for example, in the following example)
	network={
	   ssid="linksys"
	   psk="WIRELESS PASSWORD HERE"
	}
sudo shutdown -r now
Now that your PI is finally on the local network, you can login remotely to it via SSH. But first you need to get the IP address it currently has.
ifconfigLook for "inet addr: 192.168.XXX.XXX" in the following command's output for your PI's IP Address
ssh pi@192.168.XXX.XXXsudo apt-get update && sudo apt-get upgrade
sudo apt-get install build-essential git gpsd gpsd-clients i2c-tools libi2c-dev python3 python3-pip python-dev python-gps python-imaging python-pip python-smbus rpi.gpio vim python-psutil
sudo pip install RPi.GPIOsudo dpkg-reconfigure tzdataselect your timezone using the interface.
vi ~/.bashrcadd the following line:
alias l='ls -lh'Apply now:
source ~/.bashrcsudo vi /etc/vim/vimrcuncomment the following line:
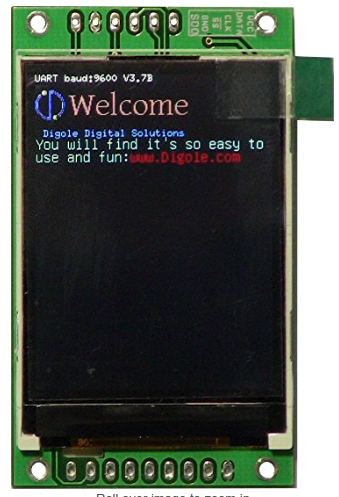
syntax on2" 320x240 TFT LCD Digole Display
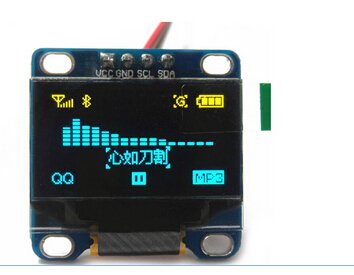
SSD1306 Display
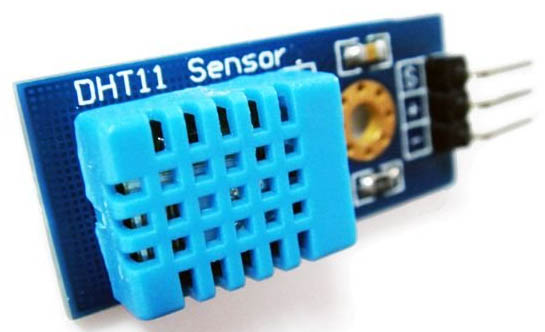
DHT11 Humidistat
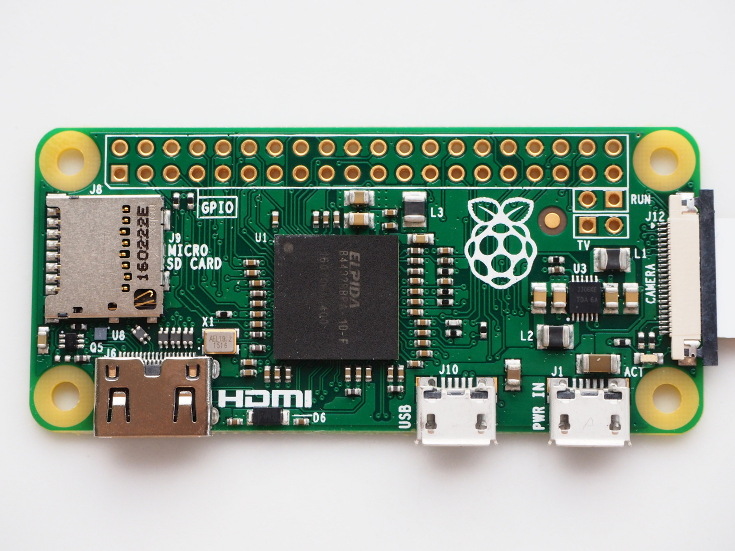
Raspberry Pi Zero
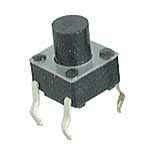
Momentary Push Button (x2)
LEDs (RED / Blue / Orange / Yellow)
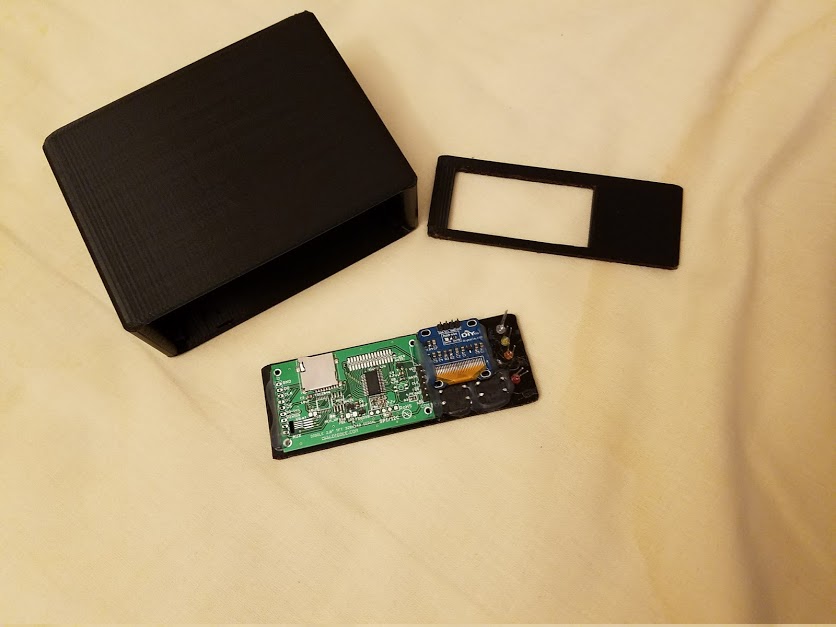
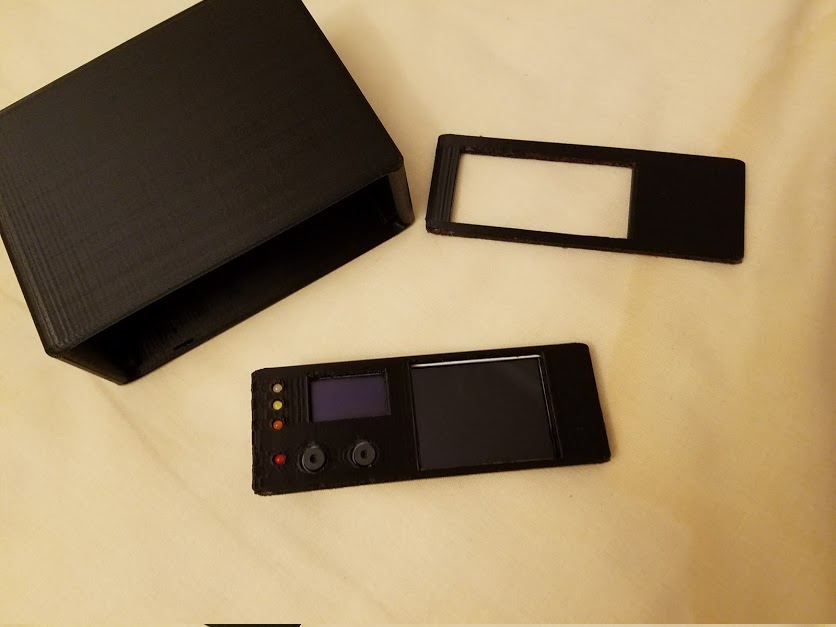
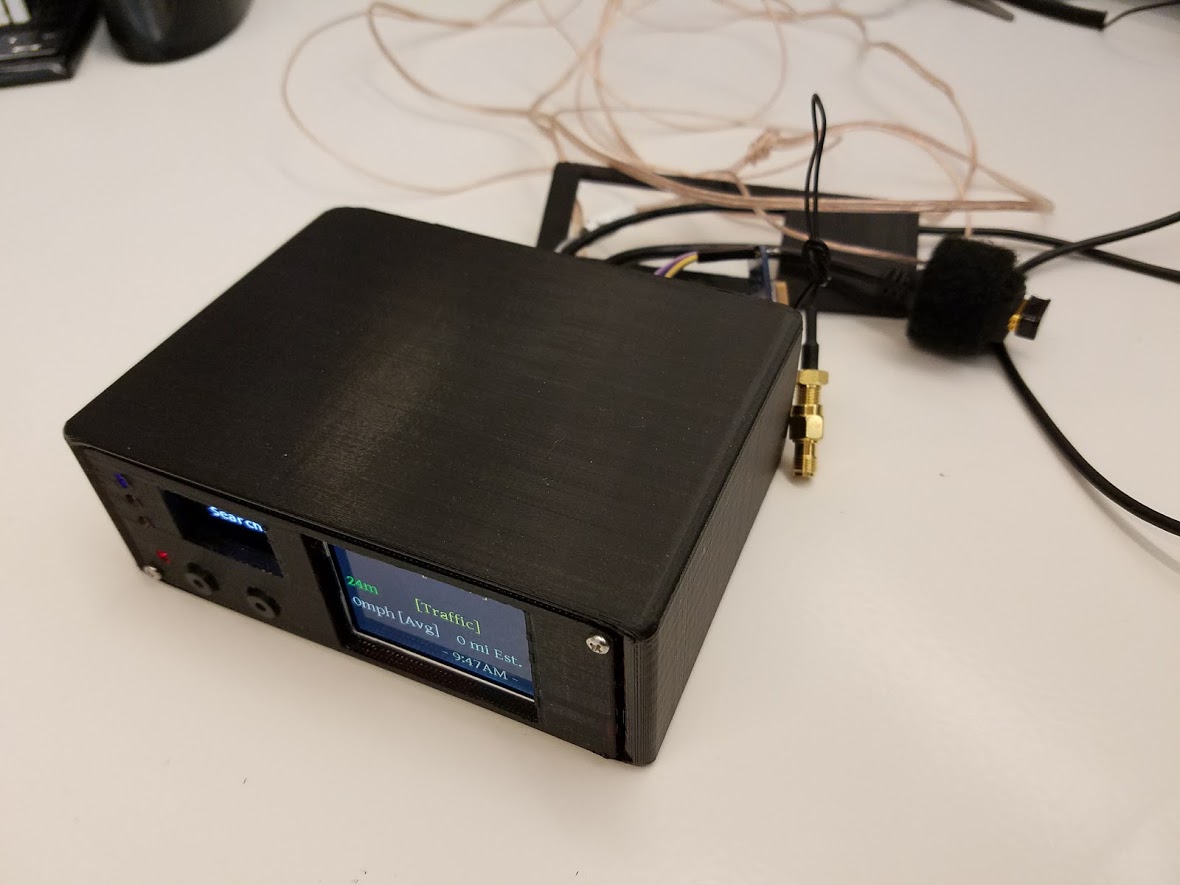
Using the provided STL files in the enclosure/ folder print the front and back panels as well as the enclosure.
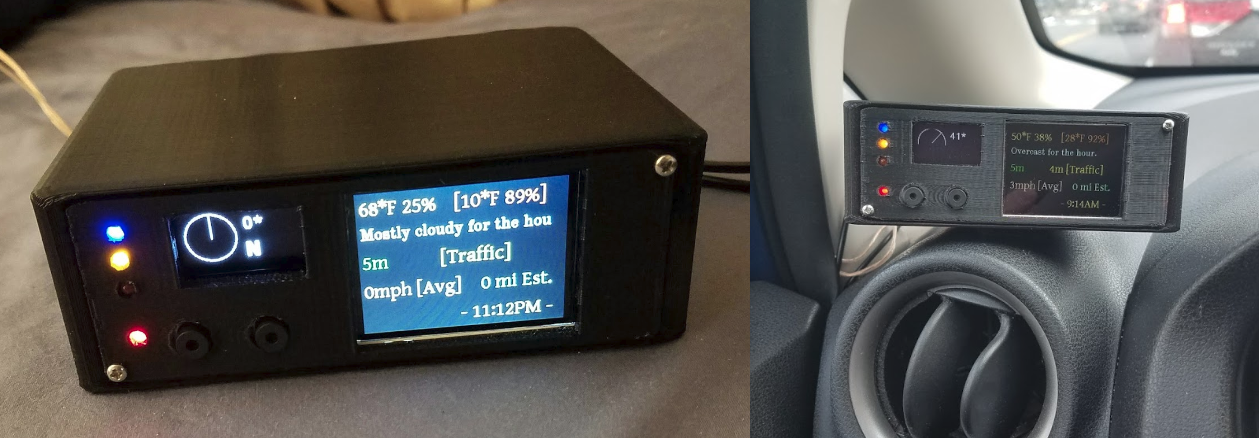
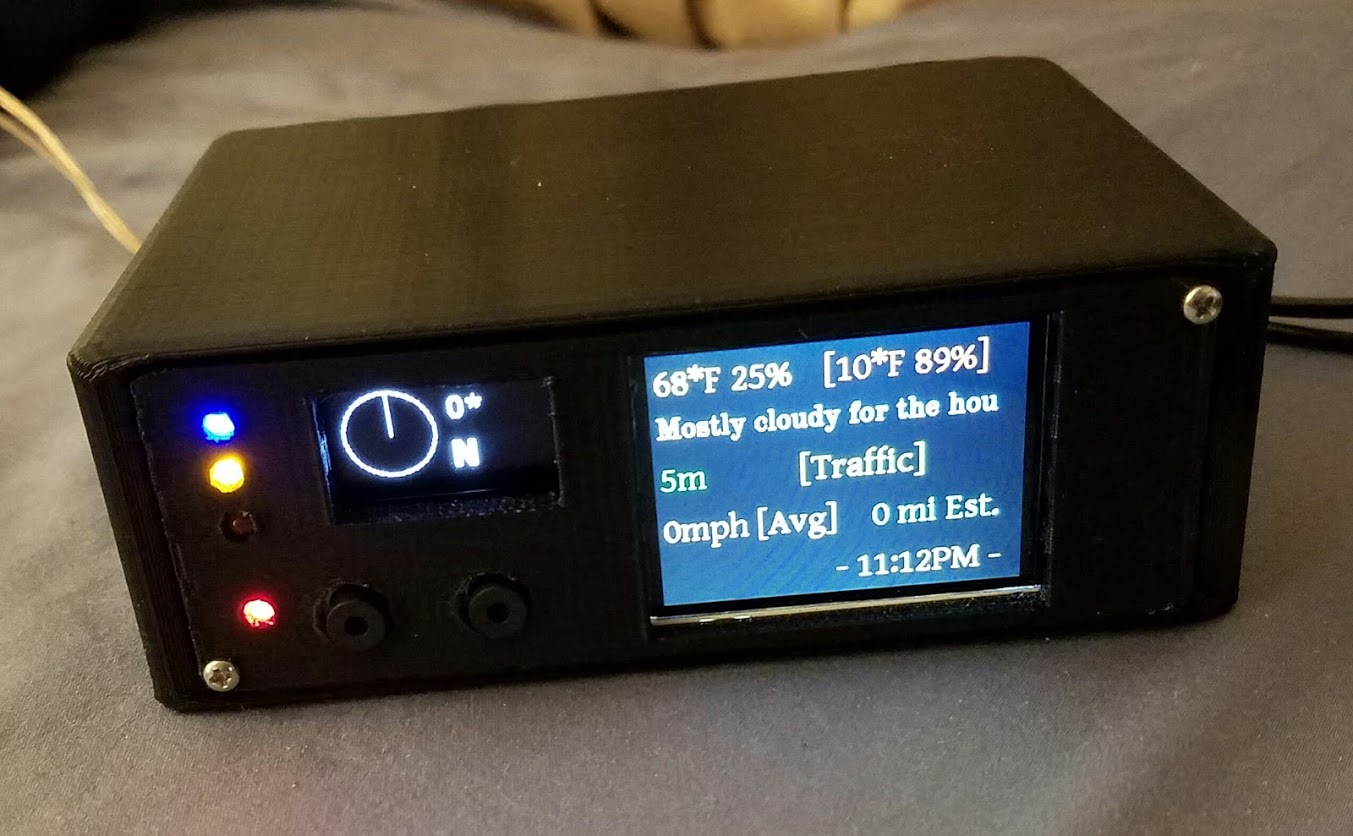
Hot glue the push button switches, the LEDs and both displays as shown:
This is the wiring for the unit
Digole:         3v / GND / SDA / SCL
SSD1306:        3v / GND / SDA / SCL
DHT11:          5v / GPIO 16 (36) / GND
Push Button 1:  GND / GPIO 18 (24)
Push Button 2:  GND / GPIO 11 (17)
Power LED:      330ohm resistor - 3v / GND
LEDs:
- LED Blue: 330ohm resistor - GPIO 27 (13) / GND (the Blue LED, for pin 13 will be for if the internet is connected or not)
- LED Orange: 330ohm resistor - GPIO 22 (15) / GND
- LED Yellow: 330ohm resistor - GPIO 23 (16) / GND (Yellow LED, pin 15 will be for if the GPS is currently tracking your location or not)
Using HW UART for the GPS module requires the following to free the UART connection up on your Pi.
- "Cross"-Connect the TX and RX pins from the GPS module to the RPi TX (GPIO 14/8 pin) and RX (GPIO 15/10 pin) -- [TX goes to RX on the device and vice versa.]
- Connect RPi 5V to the VIN pin and the GPS module GND pin to an available RPi GND pin.
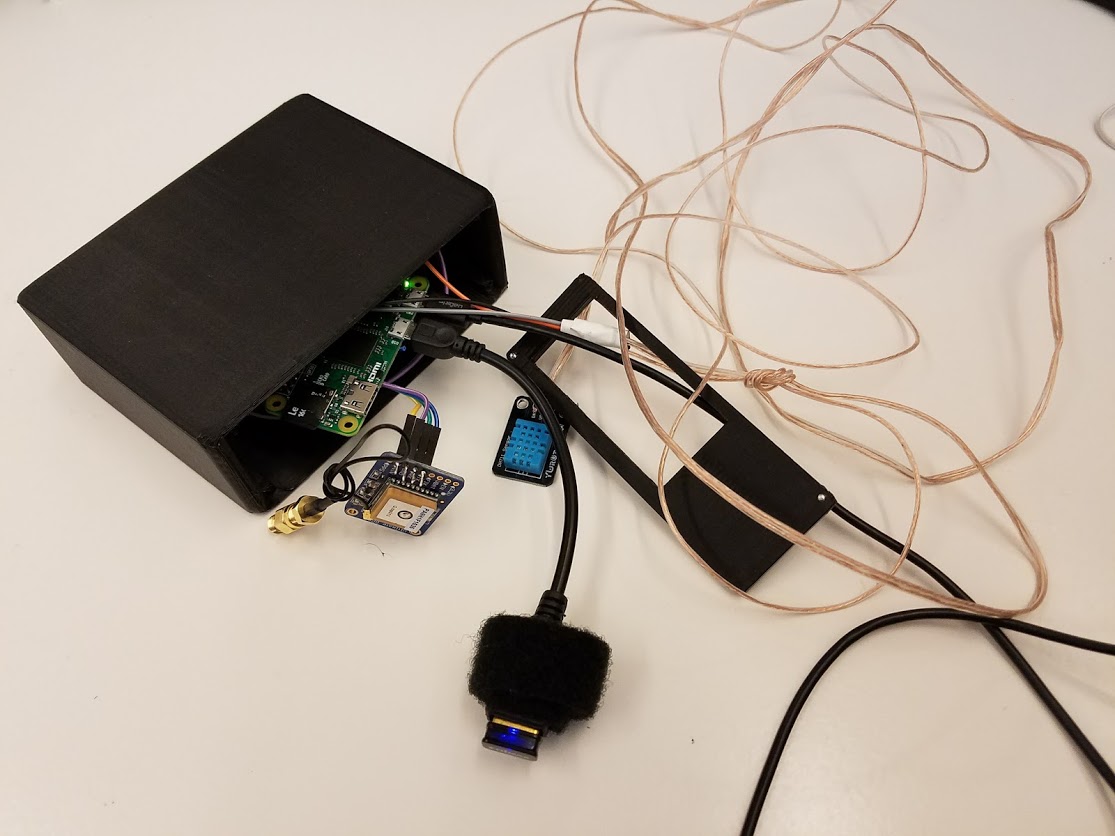
The following shows the internal devices wired before the enclosure is screwed shut on each corner front and back with small screws.
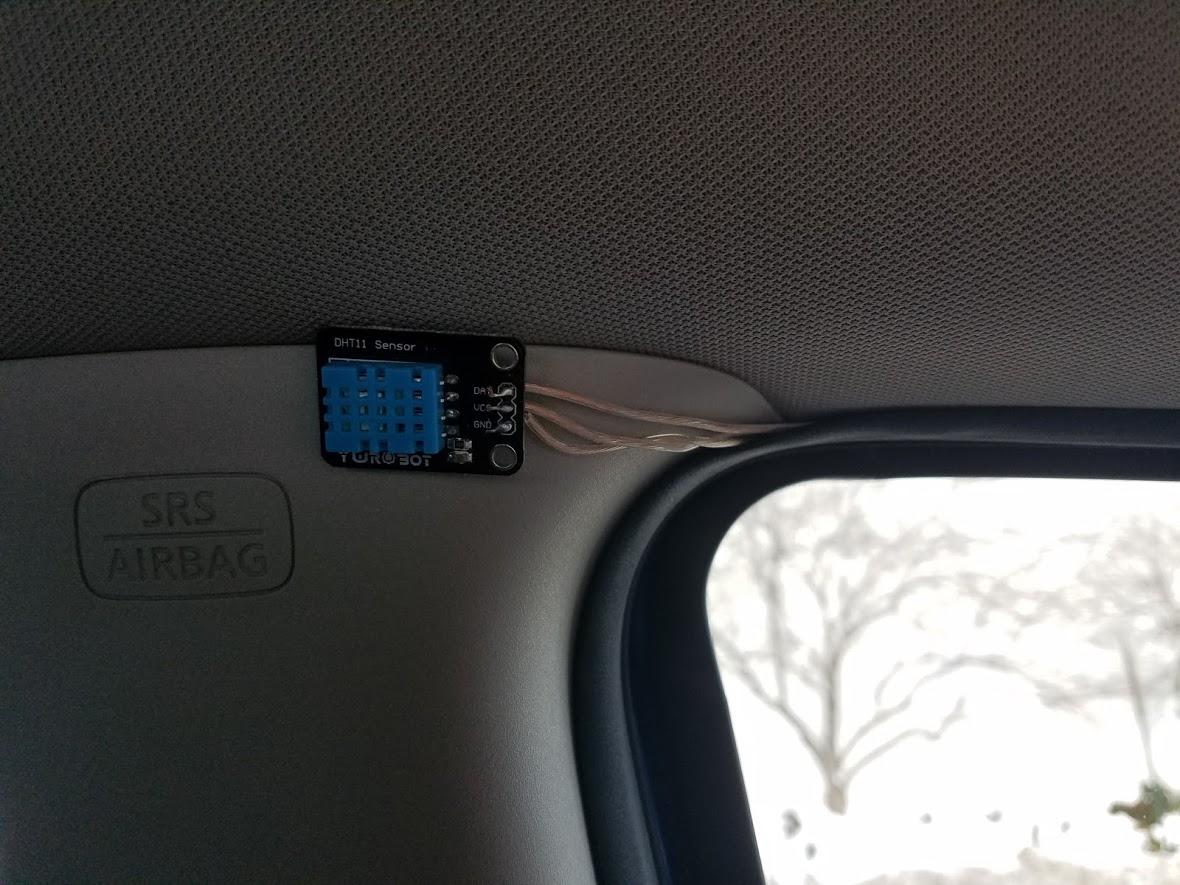
I've used very long speaker wire to allow for the humidistat to sit in the car away from the direct sun for an accurate reading.
Note: I've wrapped the wireless USB adapter in felt tape to have it avoid rattling while driving inside the enclosure.
sudo vi /boot/cmdline.txtChange:
dwc_otg.lpm_enable=0 console=ttyAMA0,115200 kgdboc=ttyAMA0,115200 console=tty1 root=/dev/mmcblk0p2 rootfstype=ext4 elevator=deadline rootwait
to:
dwc_otg.lpm_enable=0 console=tty1 root=/dev/mmcblk0p2 rootfstype=ext4 elevator=deadline rootwait
(e.g., remove console=ttyAMA0,115200 and if there, kgdboc=ttyAMA0,115200)
Note: you might see console=serial0,115200 or console=ttyS0,115200 and should remove those parts of the line if present.
Run the following commands:
sudo systemctl stop serial-getty@ttyAMA0.service
sudo systemctl disable serial-getty@ttyAMA0.serviceFor testing force your USB device to connect to gpsd
sudo gpsd /dev/ttyAMA0 -F /var/run/gpsd.sock
sudo systemctl stop gpsd.socket
sudo killall gpsd
sudo dpkg-reconfigure gpsd
sudo vi /etc/default/gpsd
Default settings for gpsd:
START_DAEMON="true"
GPSD_OPTIONS="-n"
DEVICES="/dev/ttyAMA0"
USBAUTO="false"
GPSD_SOCKET="/var/run/gpsd.sock"
Make sure the command is working
cgps -s
cd ~
git clone https://github.com/adafruit/Adafruit_Python_DHT.git
cd Adafruit_Python_DHT/
sudo python setup.py install
sudo python ez_setup.py
cd examples/
vi simpletest.py
Change the following line:
sensor = Adafruit_DHT.DHT11Comment the line out
pin = 'P8_11'Uncomment the line and change the pin number to 16
pin = 16Run the test:
python simpletest.pyYou should see a metric reading of Temp and Humidity displayed on the command line.
Download and install drivers for ssd1306 display:
sudo apt-get install i2c-tools python-smbus python-pip ifstat git python-imaging
git clone https://github.com/rm-hull/ssd1306.git
cd ssd1306
sudo python setup.py install
sudo pip install pillowcd ~
git clone https://github.com/khinds10/CarComputer.gitsudo apt-get install ifstat memcached python-memcache postgresql postgresql-contrib python-psycopg2
sudo vi /etc/postgresql/9.4/main/pg_hba.confAdd the following line to the end of the file:
local all pi password
sudo -i -u postgres
psql
create role pi password 'password here';
alter role pi login;
alter role pi superuser;
\du(you should see your PI user with the permissions granted)
create database driving_statistics;
\q
exit
psql -d driving_statistics
Run the following queries:
CREATE TABLE driving_stats (
 id serial,
 time timestamp without time zone NOT NULL,
 new_trip_start timestamp without time zone NULL,
 gps_latitude double precision,
 gps_longitude double precision,
 gps_altitude real,
 gps_speed real,
 gps_climb real,
 gps_track real,
 locale_address text,
 locale_area text,
 locale_city text,
 locale_county text,
 locale_country text,
 locale_zipcode text,
 inside_temp real,
 inside_hmidty real,
 weather_time timestamp,
 weather_summary text,
 weather_icon text,
 weather_apparentTemperature real,
 weather_humidity real,
 weather_precipIntensity real,
 weather_precipProbability real,
 weather_windSpeed real
);
CREATE UNIQUE INDEX time_idx ON driving_stats (time);sudo su
crontab -e# m h dom mon dow command
@reboot /bin/sleep 5; killall gpsd
@reboot /bin/sleep 10; /usr/sbin/gpsd /dev/ttyAMA0 -F /var/run/gpsd.sockmkdir /home/pi/CarComputer/computer/logscrontab -eAdd the following lines:
@reboot /bin/sleep 15; nohup python /home/pi/CarComputer/computer/GPS.py > /home/pi/CarComputer/computer/GPS.log 2>&1
@reboot /bin/sleep 15; nohup python /home/pi/CarComputer/computer/Indicators.py > /home/pi/CarComputer/computer/Indicators.log 2>&1
@reboot /bin/sleep 20; nohup python /home/pi/CarComputer/computer/Button.py > /home/pi/CarComputer/computer/Button.log 2>&1
@reboot /bin/sleep 20; nohup python /home/pi/CarComputer/computer/Compass.py > /home/pi/CarComputer/computer/Compass.log 2>&1
@reboot /bin/sleep 20; nohup python /home/pi/CarComputer/computer/Locale.py > /home/pi/CarComputer/computer/Locale.log 2>&1
@reboot /bin/sleep 20; nohup python /home/pi/CarComputer/computer/Temp.py > /home/pi/CarComputer/computer/Temp.log 2>&1
@reboot /bin/sleep 20; nohup python /home/pi/CarComputer/computer/Weather.py > /home/pi/CarComputer/computer/Weather.log 2>&1
@reboot /bin/sleep 20; nohup python /home/pi/CarComputer/computer/Stats.py > /home/pi/CarComputer/computer/Stats.log 2>&1
@reboot /bin/sleep 20; nohup python /home/pi/CarComputer/computer/Logger.py > /home/pi/CarComputer/computer/Logger.log 2>&1
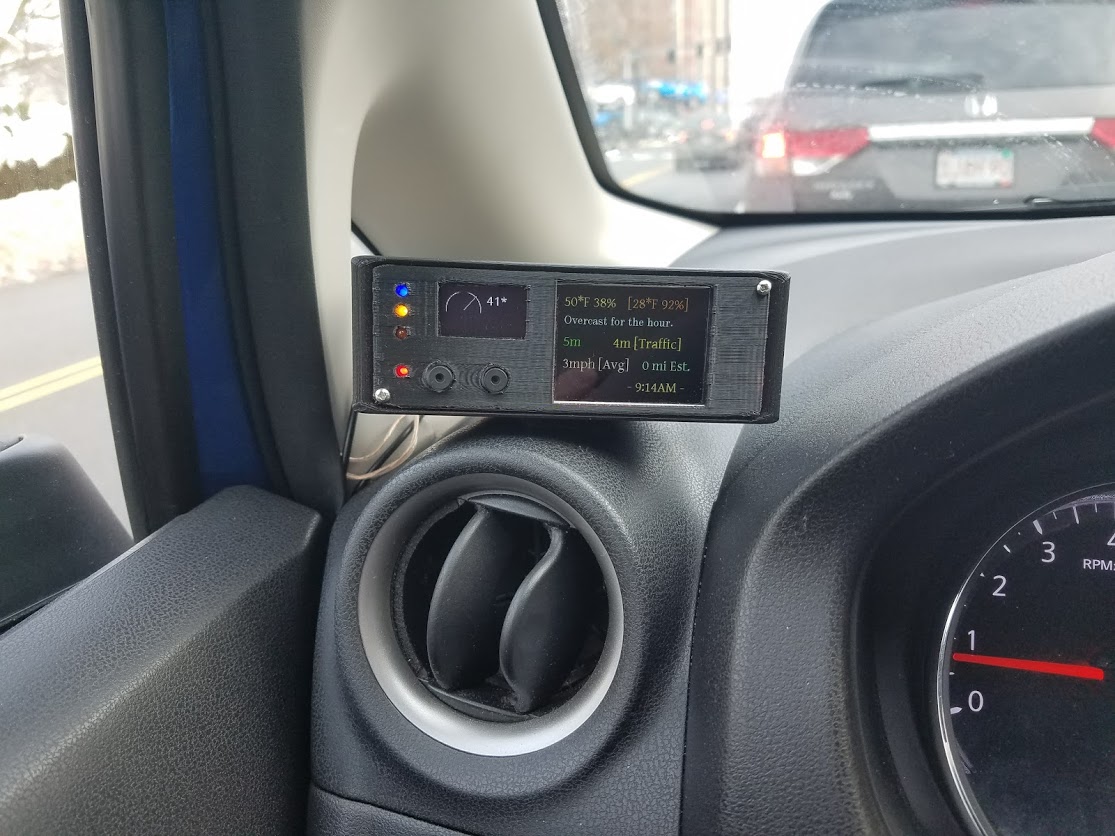
@reboot /bin/sleep 20; nohup python /home/pi/CarComputer/computer/Digole.py > /home/pi/CarComputer/computer/Digole.log 2>&1- Mount on Dash
- Mount Humidistat away from direct Sun
- Reboot your Raspberry Pi and you should be ready for driving!
