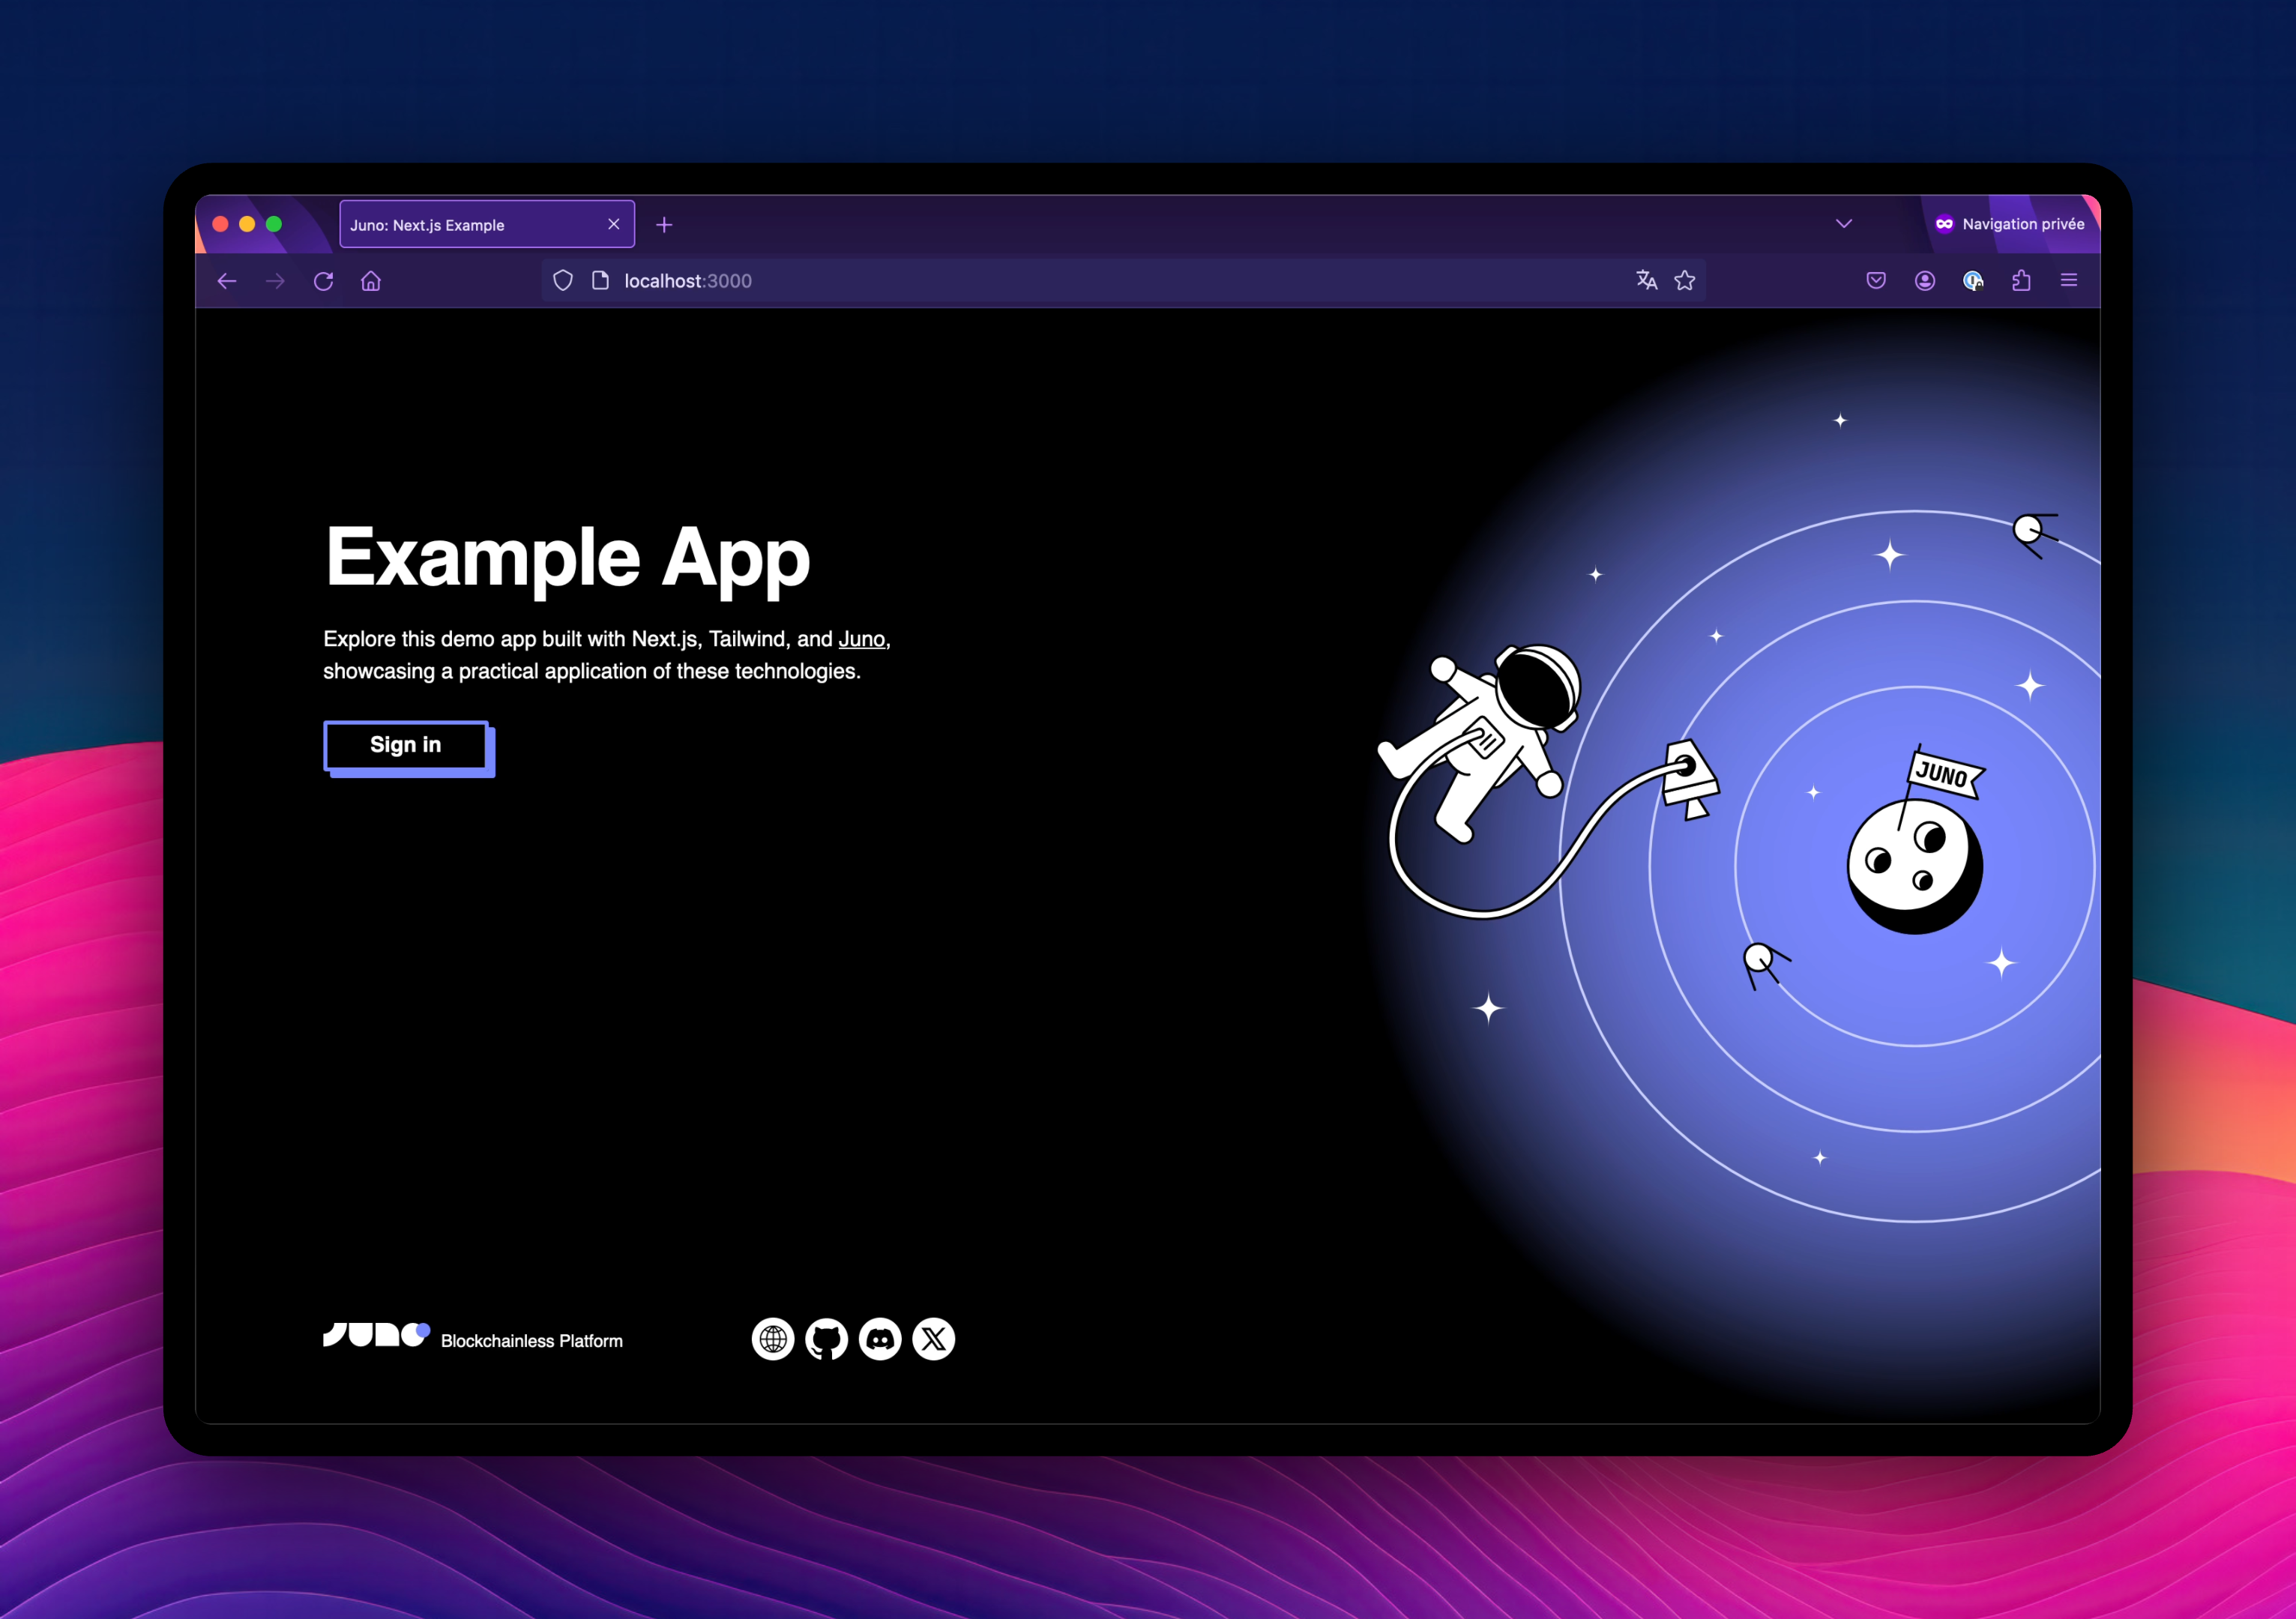
This repository provides code samples and instructions to guide attendees in discovering Juno during a workshop.
Clone the repository and install the dependencies:
git clone https://github.com/junobuild/workshop
cd workshop
npm ciWe are developing a note-taking app, and the core functionality is already in place. However, we still need to integrate Juno, which we plan to implement during the workshop.
By following the steps below and replacing the provided snippet, we will be able to implement the app and learn about building on Juno.
Before initializing the project and integrating Juno, make sure you have the following installed:
- Docker – Required to run the Juno Emulator, which mimics the production environment locally.
- Juno CLI – Install it globally with:
npm install -g @junobuild/cliBefore we can integrate Juno into the app, we’ll need to create a satellite and configure our project.
This will spin up the Juno Emulator:
juno dev startYour project needs a Satellite. Create one to connect your app for development.
Set the Satellite ID in your juno.config.mjs file:
import { defineConfig } from "@junobuild/config";

export default defineConfig({
  satellite: {
    ids: {
      development: "<DEV_SATELLITE_ID>",
    },
    source: "dist",
    predeploy: ["npm run build"],
  },
});In another terminal, start your app's dev server:
npm run devThis template is a note-taking app, so it needs a notes collection. Create it in the Datastore.
Likewise, it needs a collection named images to save assets. Create it in the Storage.
Initialize the Satellite for your app. The configuration variables are automatically injected via the plugins.
TODO: find and replace STEP_INITIALIZATION
await initSatellite();To get to know the user’s state, Juno provides an observable function called authSubscribe(). We can use it as many times as required, but I find it convenient to subscribe to it at the top of an app.
TODO: find and replace STEP_AUTH_SUBSCRIBE
import { authSubscribe, type User } from "@junobuild/core";

const sub = authSubscribe((user: User | null) => console.log(user));
To securely identify users anonymously, they will need to sign in.
TODO: find and replace STEP_AUTH_SIGN_IN
import { signIn } from "@junobuild/core";

await signIn();
Note
Signing out works the same way.
Storing data on the blockchain with Juno is done through a feature called “Datastore”. Follow the instructions in the documentation to create a collection, which can be named accordingly (“notes”).
Once our collection is created, we can persist data on the blockchain using the setDoc function.
TODO: find and replace STEP_SET_DOC
await setDoc({
  collection: "notes",
  doc: {
    key,
    data: {
      text: inputText,
    },
  },
});To fetch the list of documents saved on the blockchain, we can use the listDocs function.
TODO: find and replace STEP_LIST_DOCS
const { items } = await listDocs({
  collection: "notes",
});As for the documents, to upload assets we will need first to create a collection in the “Storage”. We can be name it “images”.
Once our collection is set, we can upload a file on chain using the uploadFile function.
TODO: find and replace STEP_UPLOAD_FILE
const { downloadUrl } = await uploadFile({
  collection: "images",
  data: file,
  filename,
});
In this particular workshop, we also want to save a reference within the document to its related asset.
TODO: find and replace STEP_ADD_REFERENCE
await setDoc({
  collection: "notes",
  doc: {
    key,
    data: {
      text: inputText,
      ...(url !== undefined && { url }), // <--- We add this reference
    },
  },
});In a new terminal, run the command to scaffold the functions and select JavaScript.
juno functions ejectTo ensure everything works out, let's add some log and build the functions.
Search for assertSetDoc and replace the default snippet with following:
export const assertSetDoc = defineAssert({
  collections: ["notes"],
  assert: (context) => {
    console.log("Hello");
  }
});
Then build the functions:
juno functions buildThe local emulator should detect the change and automatically upgrade (re-deploy) the WASM container.
Once applied, every time you record a note, a console log should appear in the emulator output.
Instead of a log, we can implement a custom assertion that should reject every document that contains the text "Hello".
export const assertSetDoc = defineAssert({
  collections: ["notes"],
  assert: (context) => {
    const data = decodeDocData(context.data.data.proposed.data);

    if (data.text.toLowerCase().includes("hello")) {
      throw new Error("The text must not include the word 'hello'");
    }
  }
});Hooks allow you to implement custom backend logic — a kind of post-processing that runs when data is created, updated, or deleted.
Search for onSetDoc and replace the default snippet with this function that updates the content of the notes that is saved.
export const onSetDoc = defineHook({
  collections: ["notes"],
  run: async (context) => {
    // Decode the document's data (stored as a blob)
    const data = decodeDocData(context.data.data.after.data);

    // Update the document's data by enhancing the "hello" field
    const updated = {
      text: `${data.text} checked ✅`
    };

    // Encode the data back to blob format
    const encoded = encodeDocData(updated);

    // Save the updated document using the same caller, collection, and key
    await setDocStore({
      caller: context.caller,
      collection: context.data.collection,
      key: context.data.key,
      doc: {
        data: encoded,
        description: context.data.data.after.description,
        version: context.data.data.after.version
      }
    });
  }
});Ready to go live?
Just like for local development, you'll need to create a Satellite — but this time on the mainnet Console. Then, update your juno.config.mjs with the new Satellite ID:
import { defineConfig } from "@junobuild/config";

export default defineConfig({
  satellite: {
    ids: {
      development: "<DEV_SATELLITE_ID>",
      production: "<PROD_SATELLITE_ID>",
    },
    source: "dist",
    predeploy: ["npm run build"],
  },
});
Check out the full guides in the docs.
- Looking to get started with Juno? Check out the documentation.
- Have a look at React for question regarding the templates.
- Got questions, comments or feedback? Join our discord or OpenChat.
All commands are run from the root of the project, from a terminal:
| Command | Action |
|---|---|
npm install |
Installs dependencies |
npm run dev |
Starts frontend dev server at localhost:5173 |
juno dev start |
Quickstart the local development emulator (requires Docker) |
npm run build |
Build your production site to ./dist/ |
juno deploy |
Deploy your project to a Satellite |
