![]()

Home Assistant integration for Vektiva SMARWI window opener (actuator).
It uses a local MQTT broker, no “cloud” service is required.
- Ensure that HACS is installed.
- Go to HACS > Integrations.
- Click on the hamburger menu in the top right corner, select Custom repositories, and fill in:
- Repository:
https://github.com/jirutka/hass-smarwi/ - Category: Integration
- Repository:
- Click on the ⊕ Explore & download repositories button in the bottom right corner, then search for and select SMARWI.
- Click on the Download button in the bottom right corner.
- Restart Home Assistant.
TIP: You can skip steps 2–4 by opening:

- Download
smarwi.zipfrom the latest release. - Unpack
smarwi.zipand copy thecustom_components/smarwidirectory into thecustom_componentsdirectory of your Home Assistant installation. - Restart Home Assistant.
- Set up your MQTT broker, if you don’t already have one (see Choose an MQTT broker if you’re unsure).
- Add the MQTT integration to your Home Assistant instance (see [mqtt-integration][documentation]).
For each SMARWI device:
- Connect to your SMARWI device and open its web interface in the browser (see section 6.1.2 in the SMARWI manual).
- Go to Settings > Advanced, fill domain name or IP address of your local MQTT broker (see above), and click Save.
- Go to Basic and fill in the following:
- Device name – this will be used in Home Assistant to identify each SMARWI device;
- Remote ID – choose any name (no registration needed), but the same for all your SMARWI devices, it will be used as a prefix for MQTT topics (
ion/<remote-id>/%<device-id>/+); - Remote Key – leave empty;
- Wifi Mode – change to
Client; - Select Wifi network – select SSID of your Wi-Fi network;
- Wifi Password – password for your Wi-Fi network (max 32 characters).
- Click on Save.
SMARWI should be connected to your Wi-Fi network and MQTT broker now.
It may be possible that your device will not connect to the MQTT broker anonymously. If that is the case, a user needs to be created in the MQTT broker and the credentials need to be put into the device configuration. The Remote ID acts as the username and the Remote Key acts as the password to the MQTT broker.
- Browse to your Home Assistant instance.
- Go to Settings > Devices & Services.
- In the bottom right corner, select the ⊕ Add Integration button.
- From the list, select SMARWI.
- Fill in the Remote ID that you choose for your SMARWI devices (see above).
The integration should now automatically detect all your SMARWI devices.
TIP: You can skip steps 1–4 by opening:

The integration will create the following entities for each discovered SMARWI device.
| Name | Platform | Category | Description |
|---|---|---|---|
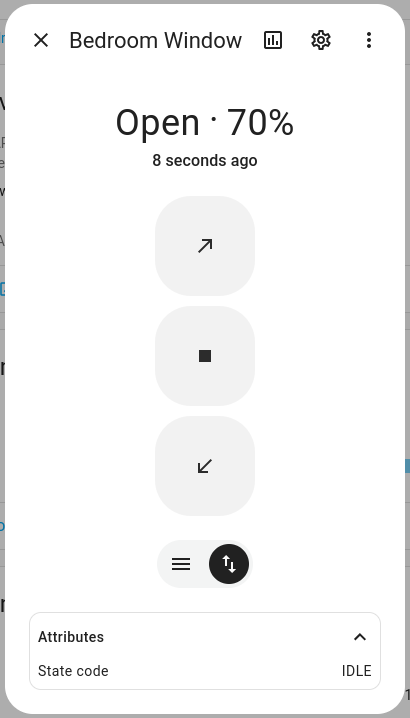
| cover | cover | Control the window tilt position (open, close, stop, set position). | |
| ridge_fix | switch | Fix or release the ridge. | |
| ridge_inside | binary_sensor | diagnostic | Shows if the ridge is inside the device (i.e. it’s operational). |
| rssi | sensor | diagnostic | Monitor WiFi signal strength (disabled by default). |
| calibrated_distance | number | config | Set calibrated distance (finetune setting, disabled by default). |
| closed_hold_power | number | config | Set closed holding power (finetune setting). |
| closed_position | number | config | Set window closed position finetune (finetune setting). |
| frame_power | number | config | Set near frame power (finetune setting). |
| frame_speed | number | config | Set near frame speed (finetune setting). |
| lock_err_trigger | number | config | Set window locked error trigger (finetune setting). |
| max_open_position | number | config | Set maximum open position (finetune setting). |
| move_power | number | config | Set movement power (finetune setting). |
| move_speed | number | config | Set movement speed (finetune setting). |
| opened_hold_power | number | config | Set opened holding power (finetune setting). |


This project is licensed under the MIT License.