![]()
![]()
This is the official repository for the gui application of DeepMTP, a deep learning framework. The application uses streamlit for the implementation of the app and DeepMTP for the backend. The user can do the following:
- Load one of the built-in datasets or upload their own
- Define the ranges of the hyperparameters of DeepMTP
- Select one of the hyperparameter optimization methods (HPO) methods available
- Select one of the loggin options that are available
- Train the network and check basic info
- [15/6/2022] The first implementation of DeepMTP_gui is now live!!!
The application uses DeepMTP in the backend, so the use of a GPU is strongly recommended. The installation can be done in the following ways:
will be added soon...# download from the github repository
git clone https://github.com/diliadis/DeepMTP_gui.git
cd DeepMTP_gui
conda env create -f environment.yml
conda activate deepMTP_streamlit_env
# start-up the app
# Replace the port_number with your preferred port (for example 8501)
# if your dataset is unable to load because of the size, you can increase the server.maxUploadSize accordingly
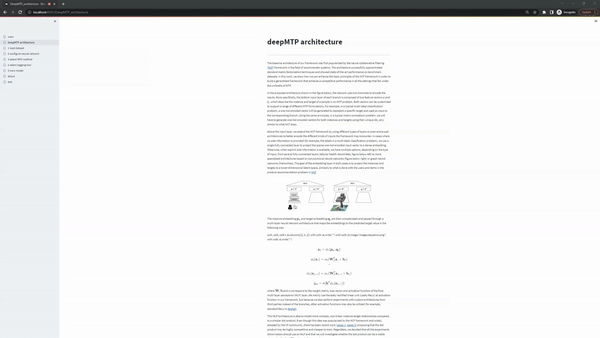
streamlit run main.py --server.port port_number --server.maxUploadSize=2028For a detailed explanation of DeepMTP you can visit the official GitHub repository. The repository explains the theory behind multi-target prediction, the neural network architecture that DeepMTP utilizes, as well as various demo notebooks that show how to use the framework. The DeepMTP_gui repository can be seen as an attempt to offer the basic functionality of DeepMTP to users that don't have programming experience but are interested in machine learning and the area of MTP.
The current version of this application utilizes a recently added streamlit feature, multi-page support. This enables a clearer separation of the different steps needed to successfully train a neural network. In the following sections we will present the different pages that are available in the UI, and show a typical workflow.
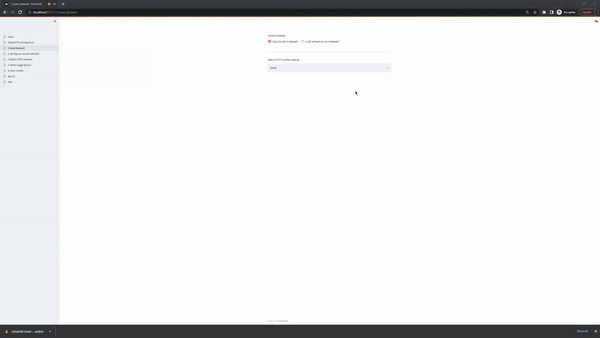
When Use a build-in dataset is selected, the UI shows two select boxes. The first one displays the MTP problem settings and the second the specific datasets that are available, given a MTP problem setting. The current version of the app supports the following datasets:
| Function | Description |
|---|---|
multi-label classification |
the user can load the multi-label classification datasets available in the MULAN repository. |
multivariate regression |
the user can load the multivariate regression datasets available in the MULAN repository. |
multi-task learning |
the user can load the multi-task learning dataset dog, a crowdsourcing dataset first introduced in Liu et a. More specifically, the dataset contains 800 images of dogs who have been partially labelled by 52 annotators with one of 5 possible breeds. To modify this multi-class problem to a binary problem, we modify the task so that the prediction involves the correct or incorrect labelling by the annotator. In a future version of the software another dataset of the same type will be added. |
matrix completion |
the user can load the matrix completion dataset MovieLens 100K, a movie rating prediction dataset available by the the GroupLens lab that contains 100k ratings from 1000 users on 1700 movies. In a future version of the software larger versions of the movielens dataset will be added |
dyadic prediction |
the user can load dyadic prediction datasets available here. |
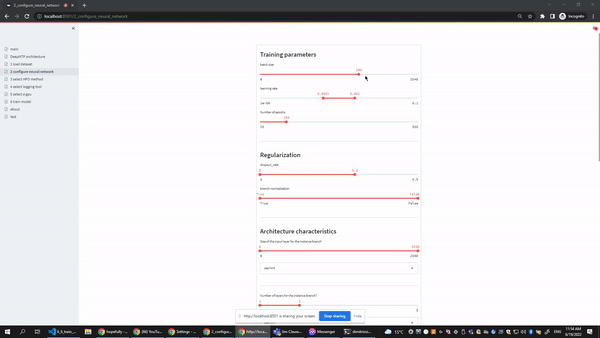
The configure neural network page gives users the option to select the ranges of the most important hyperparameters of the underlying neural network. Every slides in the user interface contains two editable points, so the user can easily select a range or even a single value (both points collapse in the same value). At the botton of the form users can also select which metrics and averaging strategies they want to track during training.
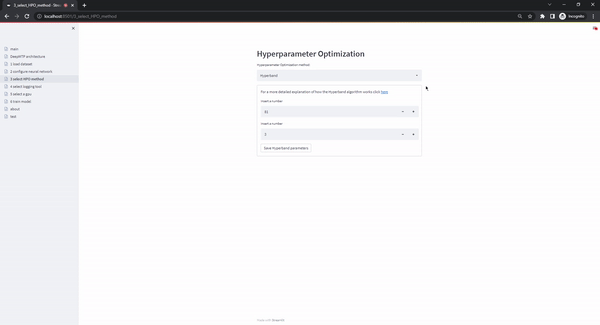
The select HPO method page offers different hyperparameter optimization methods. The current version supports Random Search and Hyperband. The Random Search option requires a single parameter (budget: number of randomly sampled configurations that will be tested), while Hyperband requires two hyperparameters (max_budget: maximum budget that is allowed, eta: factor of the best configurations that graduate to the next round of the Successive Halving sub-routine). If the user has selected only specific values instead of ranges in the previous page, the users selections in this page are skipped as only a single configuration exists.

The select logging tool page enables the use of different logging options. The current version supports two of the most popular options, Tensorboard and Weights & Biases. When the user selects the Tensorboard option, the user interface displays instructions for how they can start-up an instance on their local browser. Alternatively, when the Weights & Biases option is selected, the user has to upload their personal account key, username, and the name of the project that all the experiments will be logged into. When the form is submitted, a dummy project is logged to ensure the validity of the supplied credentials (which is immediately deleted). The upload of the user's credentials is considered safe as the DeepMTP_gui is meant to run locally and the back-end code is publicly available.
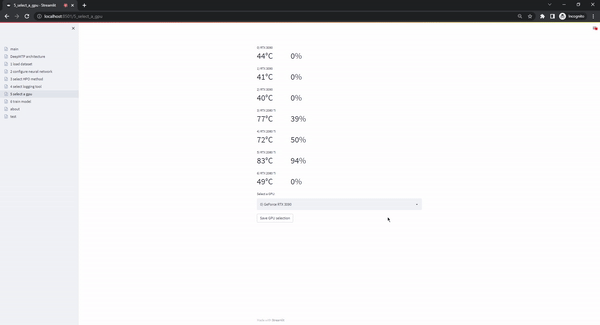
The select gpu page gives users the option to select the hardware that will be used during training. This is specifically usefull when multiple GPUs are available in the system. The option to use the cpu is always available but can lead to exceedingly long runtimes, so we strongly recommend the use of a GPU.
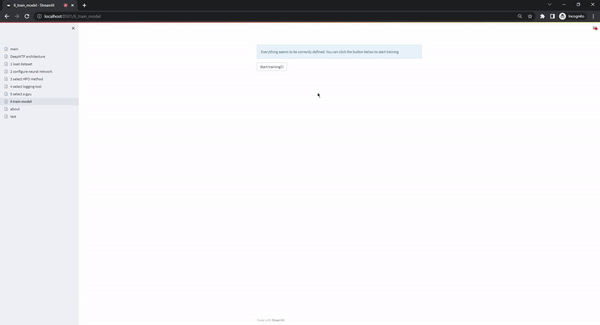
This page is the last step in the typical workflow of the app. I becomes accessible only when all the previous pages have been validated (from uploading valid datasets, to selecting a GPU to train on) and the only action the user has to take is to click on the Start training!!! button. Once this button is selected, the training process starts and the user interface shows the progress of the experiments (plotting the train and validation loss, and showing details about metrics, early stopping status etc. in separate tables that update continuously)
If you use this package, please cite our paper:
@article{iliadis2022multi,
  title={Multi-target prediction for dummies using two-branch neural networks},
  author={Iliadis, Dimitrios and De Baets, Bernard and Waegeman, Willem},
  journal={Machine Learning},
  pages={1--34},
  year={2022},
  publisher={Springer}
}