Mac Setup
After finishing this doc you will have Homebrew, VSCode(Optional if you have another code editor), Node.js, npm(included after installing Node), yarn, Git, and PostgreSQL installed on your machine.
You may already have Homebrew installed. Let's see if you do. Type
which brew
If Homebrew is installed, you will see some text like /usr/local/bin/brew followed by the command prompt on the next line.
If not installed, you will not get an error message or a message of any kind.
Now it's time to install Homebrew, a package manager for OS X. If you've never heard of a package manager, think of it as an App Store of free command line programs.
NOTE: If you do not have XCode installed, be sure to agree when asked to install the XCode Command Line Tools, which is necessary for installing Homebrew. It will ask you for your password, and won't show you any feedback as you type it (not even "••••••"). This installation may take up to 30 minutes to download and install, depending upon your network connection speed.
To get started, run the following command.
ruby -e "$(curl -fsSL https://raw.github.com/Homebrew/install/master/install)"
If you've previously installed Homebrew, now's a good time to update it by running the following command.
brew update
TIP: Run this command periodically as Homebrew doesn't auto-update itself.
To verify Homebrew is installed correctly, run the following command.
brew doctor
If Homebrew is you'll see something like this:
Your system is ready to brew
If Homebrew is not installed, you will see something like:
-bash: brew: command not found
Now it's time to install VSCode Text Editor, a sophisticated text editor for code, markup, and prose.
To get started, download VSCode. As you finish downloading, it is critical that you go through installation following these steps, in exactly this order:
- Download the .zip file.
- Double-click the .zip file (or click the downloaded file at the bottom of Chrome) to extract the shiny VS Code app.
- Drag the shiny VS Code app into your Applications folder.
- Open the app. (If you opened the app before it was in your Applications folder, you'll need to reinstall.)
- (optional) Add the app to the Dock.
VSCode's documentation is excellent. Review it now to familiarize yourself with the basics.
Open VSCode
Open the Command Palette (⇧⌘P) and type 'shell command'
Then, click on the Shell Command: Install 'code' command in PATH command.
Restart the terminal for the new $PATH value to take effect.
It's important to establish a default editor with Git (version control software) so that when Git opens files, that happens in your chosen editor.
Type the following command in your terminal:
git config --global core.editor "code --wait"
This command will not return any message unless there is an error.
To install Node, open your Terminal, and enter:
brew install node
It will take a few minutes for the download and installation process to complete.
run npm i yarn or brew install yarn in your terminal.
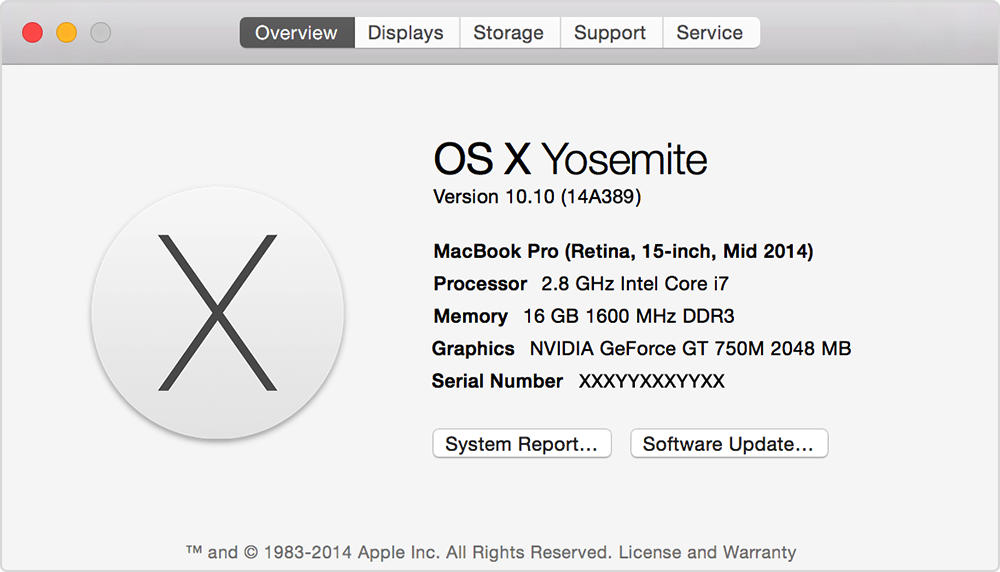
Figure out what version of OS X you are running. From the Apple menu, choose About This Mac. The version of OS X installed appears directly below “OS X.” Click the version number to see the build number. You can also use System Information to find these numbers.
If you are running:
-
10.6 Snow Leopard: download and install this: git-*-snow-leopard
-
10.7 Lion: download and install this git-*-snow-leopard
-
10.8 Mountain Lion: download and install this git-*-snow-leopard
-
10.9 Mavericks: download and install this git-*-mavericks
-
10.10 Yosemite or higher: run the command
brew install git.
NOTE: You may need to change your install permissions to be able to install Git. The installer will prompt you to do so if necessary.
Like artists, programmers sign their work. Let's configure Git to sign your commits with your name and email address.
Sign up for an account at Github here.
WARNING: Before running the following commands, replace YOUR FULL NAME and YOUR EMAIL ADDRESS with the name and email from your GitHub account.
git config --global user.name 'YOUR FULL NAME'
git config --global user.email 'YOUR EMAIL ADDRESS'
git config --global core.editor 'code --wait'
To get started, run the following command.
nano ~/.bash_profile
This will open the file in your command line editor Nano
Copy and paste this code into the editor, underneath anything else already in this file:
#!/usr/bin/env bash

# get current branch in git repo
function parse_git_branch() {
	BRANCH=`git branch 2> /dev/null | sed -e '/^[^*]/d' -e 's/* \(.*\)/\1/'`
	if [ ! "${BRANCH}" == "" ]
	then
		STAT=`parse_git_dirty`
		echo "[${BRANCH}${STAT}]"
	else
		echo ""
	fi
}

# get current status of git repo
function parse_git_dirty {
	status=`git status 2>&1 | tee`
	dirty=`echo -n "${status}" 2> /dev/null | grep "modified:" &> /dev/null; echo "$?"`
	untracked=`echo -n "${status}" 2> /dev/null | grep "Untracked files" &> /dev/null; echo "$?"`
	ahead=`echo -n "${status}" 2> /dev/null | grep "Your branch is ahead of" &> /dev/null; echo "$?"`
	newfile=`echo -n "${status}" 2> /dev/null | grep "new file:" &> /dev/null; echo "$?"`
	renamed=`echo -n "${status}" 2> /dev/null | grep "renamed:" &> /dev/null; echo "$?"`
	deleted=`echo -n "${status}" 2> /dev/null | grep "deleted:" &> /dev/null; echo "$?"`
	bits=''
	if [ "${renamed}" == "0" ]; then
		bits=">${bits}"
	fi
	if [ "${ahead}" == "0" ]; then
		bits="*${bits}"
	fi
	if [ "${newfile}" == "0" ]; then
		bits="+${bits}"
	fi
	if [ "${untracked}" == "0" ]; then
		bits="?${bits}"
	fi
	if [ "${deleted}" == "0" ]; then
		bits="x${bits}"
	fi
	if [ "${dirty}" == "0" ]; then
		bits="!${bits}"
	fi
	if [ ! "${bits}" == "" ]; then
		echo " ${bits}"
	else
		echo ""
	fi
}

# PS1 is what actually defines what you command line prompt looks like.
export PS1="\[\e[31m\]\u\[\e[m\]\[\e[35m\]\w\[\e[m\]\[\e[33m\]\`parse_git_branch\`\[\e[m\]\[\e[32m\]\\$\[\e[m\] "
Press control X to exit
Type y to verify changes
Hit return to exit Nano
Now close terminal and open a new terminal window for changes to take effect. You will have a new prompt with additional Git and color-coded features.
You should have already verified that you have Homebrew installed and then use Homebrew to install PostgreSQL.
To install PostgreSQL, open your Terminal, and enter:
brew update && brew install postgresql
whoami - to check current user.
Postgres.app is a full-featured PostgreSQL installation packaged as a standard Mac app. We need PostgreSQL version 11.
- Go to https://postgresapp.com/downloads.html
- Download "Postgres.app with all currently supported versions" and start it.
To get an easy interface for PostgreSQL download Postico App here. Things you can do with PostgreSQL in Postico:
- add data - ex: projects or users.
- check if creating new objects worked.
- update / delete data.