Foody is an AI-powered Flutter application designed to suggest personalized recipes based on ingredients detected from images. It simplifies meal preparation by allowing users to upload or capture an image of ingredients and instantly receive recipe suggestions.


- About
- Features
- Screenshots
- Built With
- Getting Started
- Usage
- Project Structure
- Learning Objectives
- Contributing
- Authors
- License
Foody revolutionizes the cooking experience by eliminating the need for manual ingredient entry. It utilizes Google Gemini AI to detect ingredients from images and provides curated recipe suggestions. Integration with Firebase enables secure user authentication and the ability to save favorite recipes for later access.
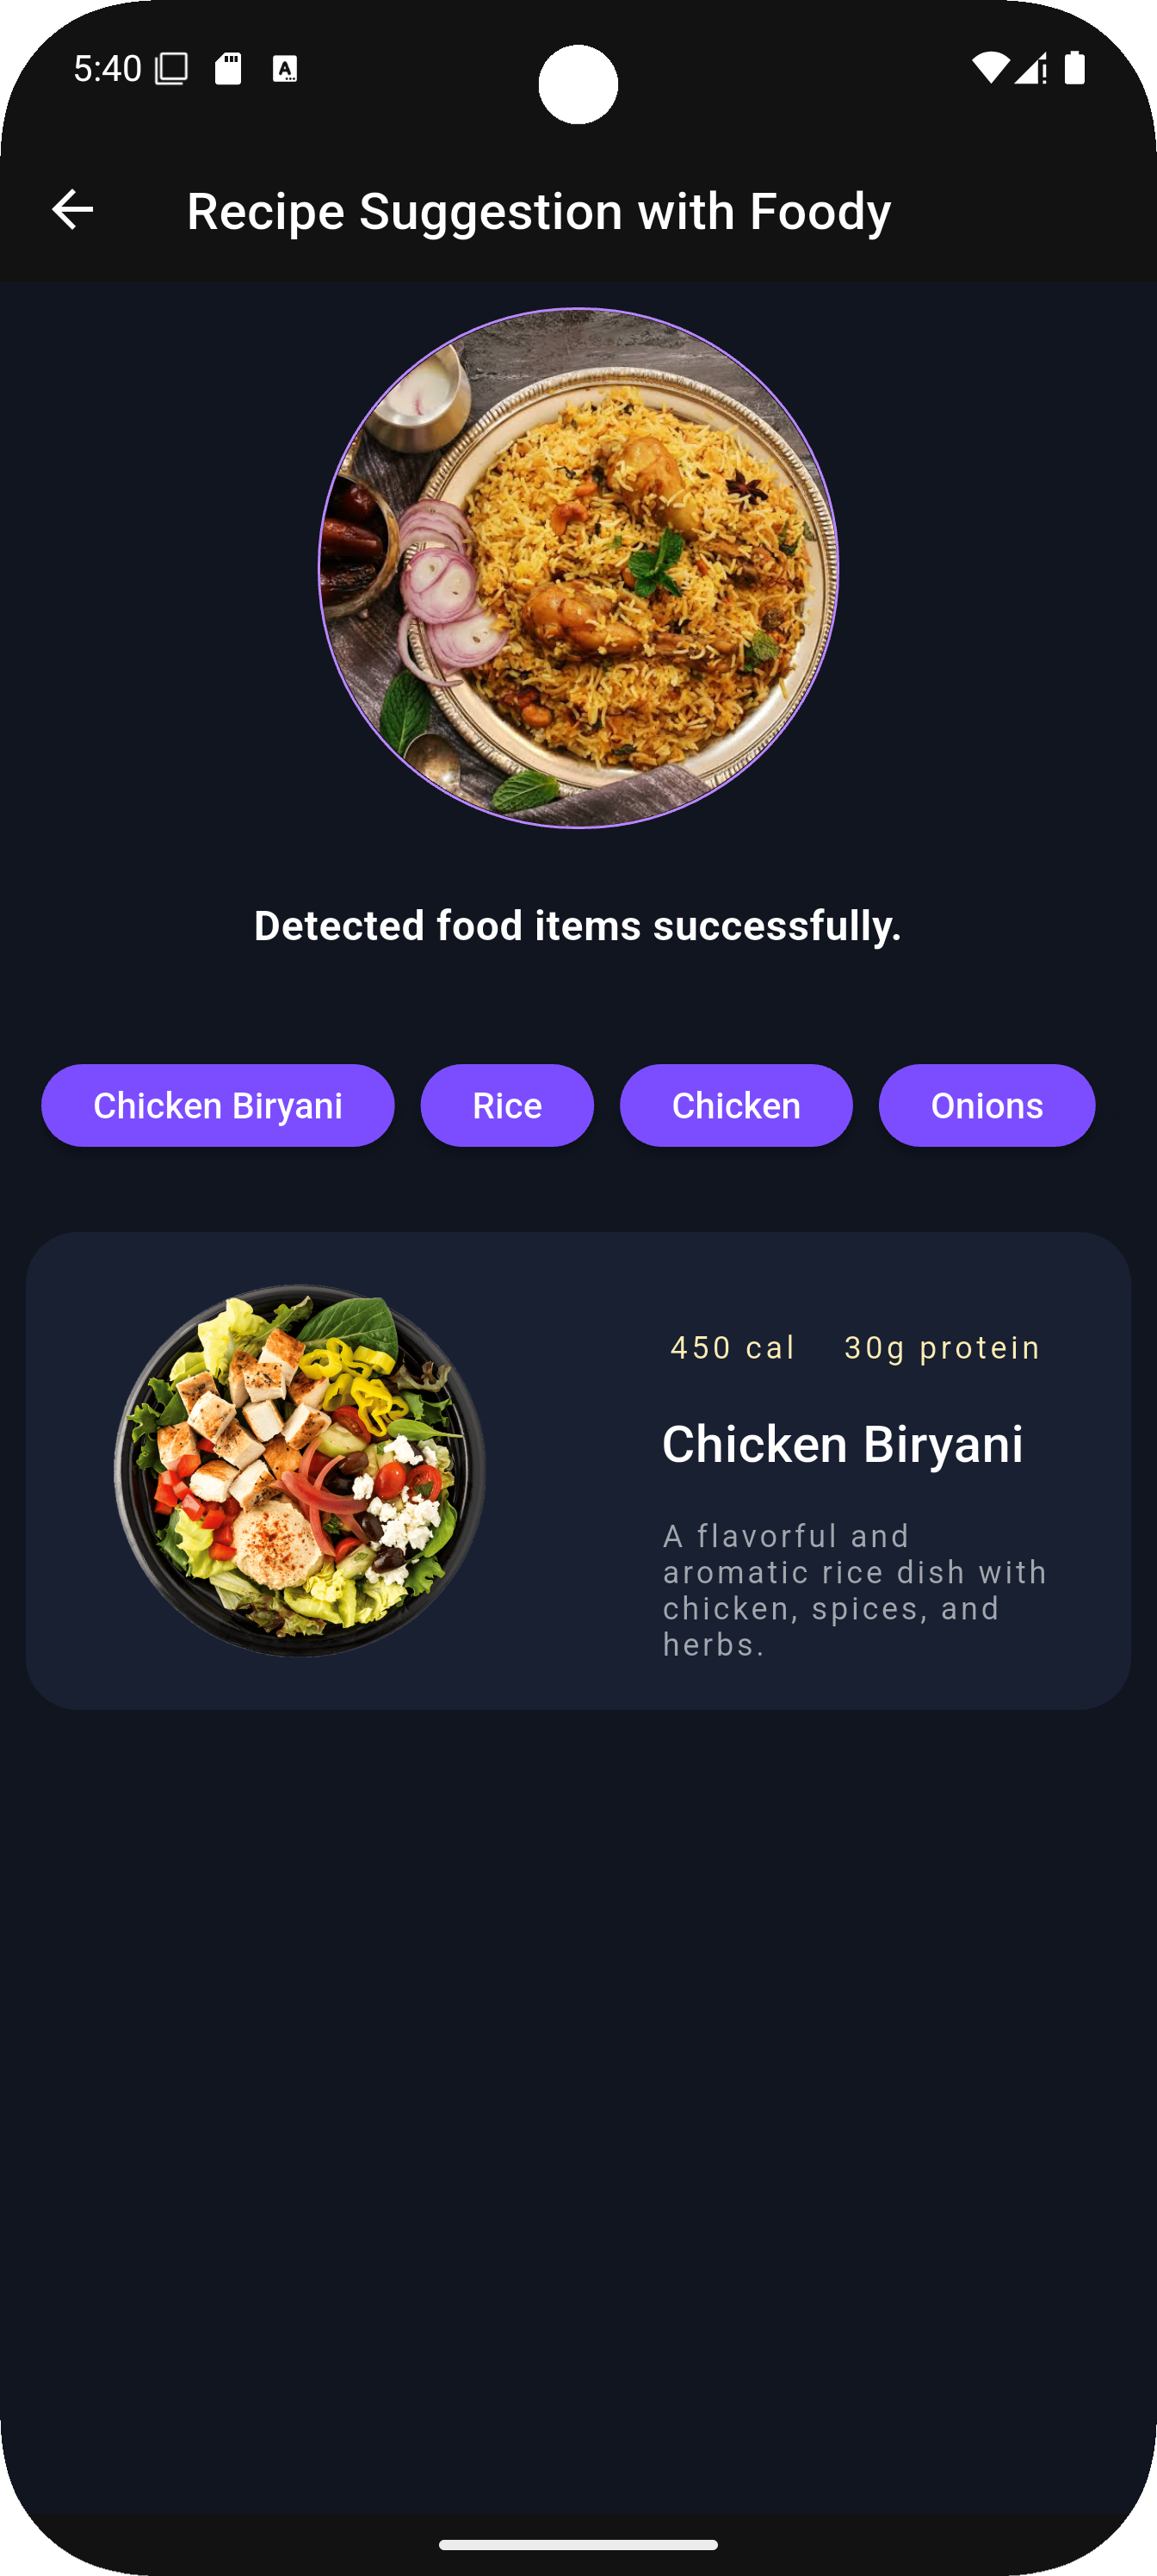
- 🧠 Real-time ingredient detection using Google Gemini AI
- 🍽️ Smart, curated recipe suggestions
- 💡 Intuitive and modern UI inspired by Dribbble
- 📸 Upload from gallery or take photos for ingredient detection
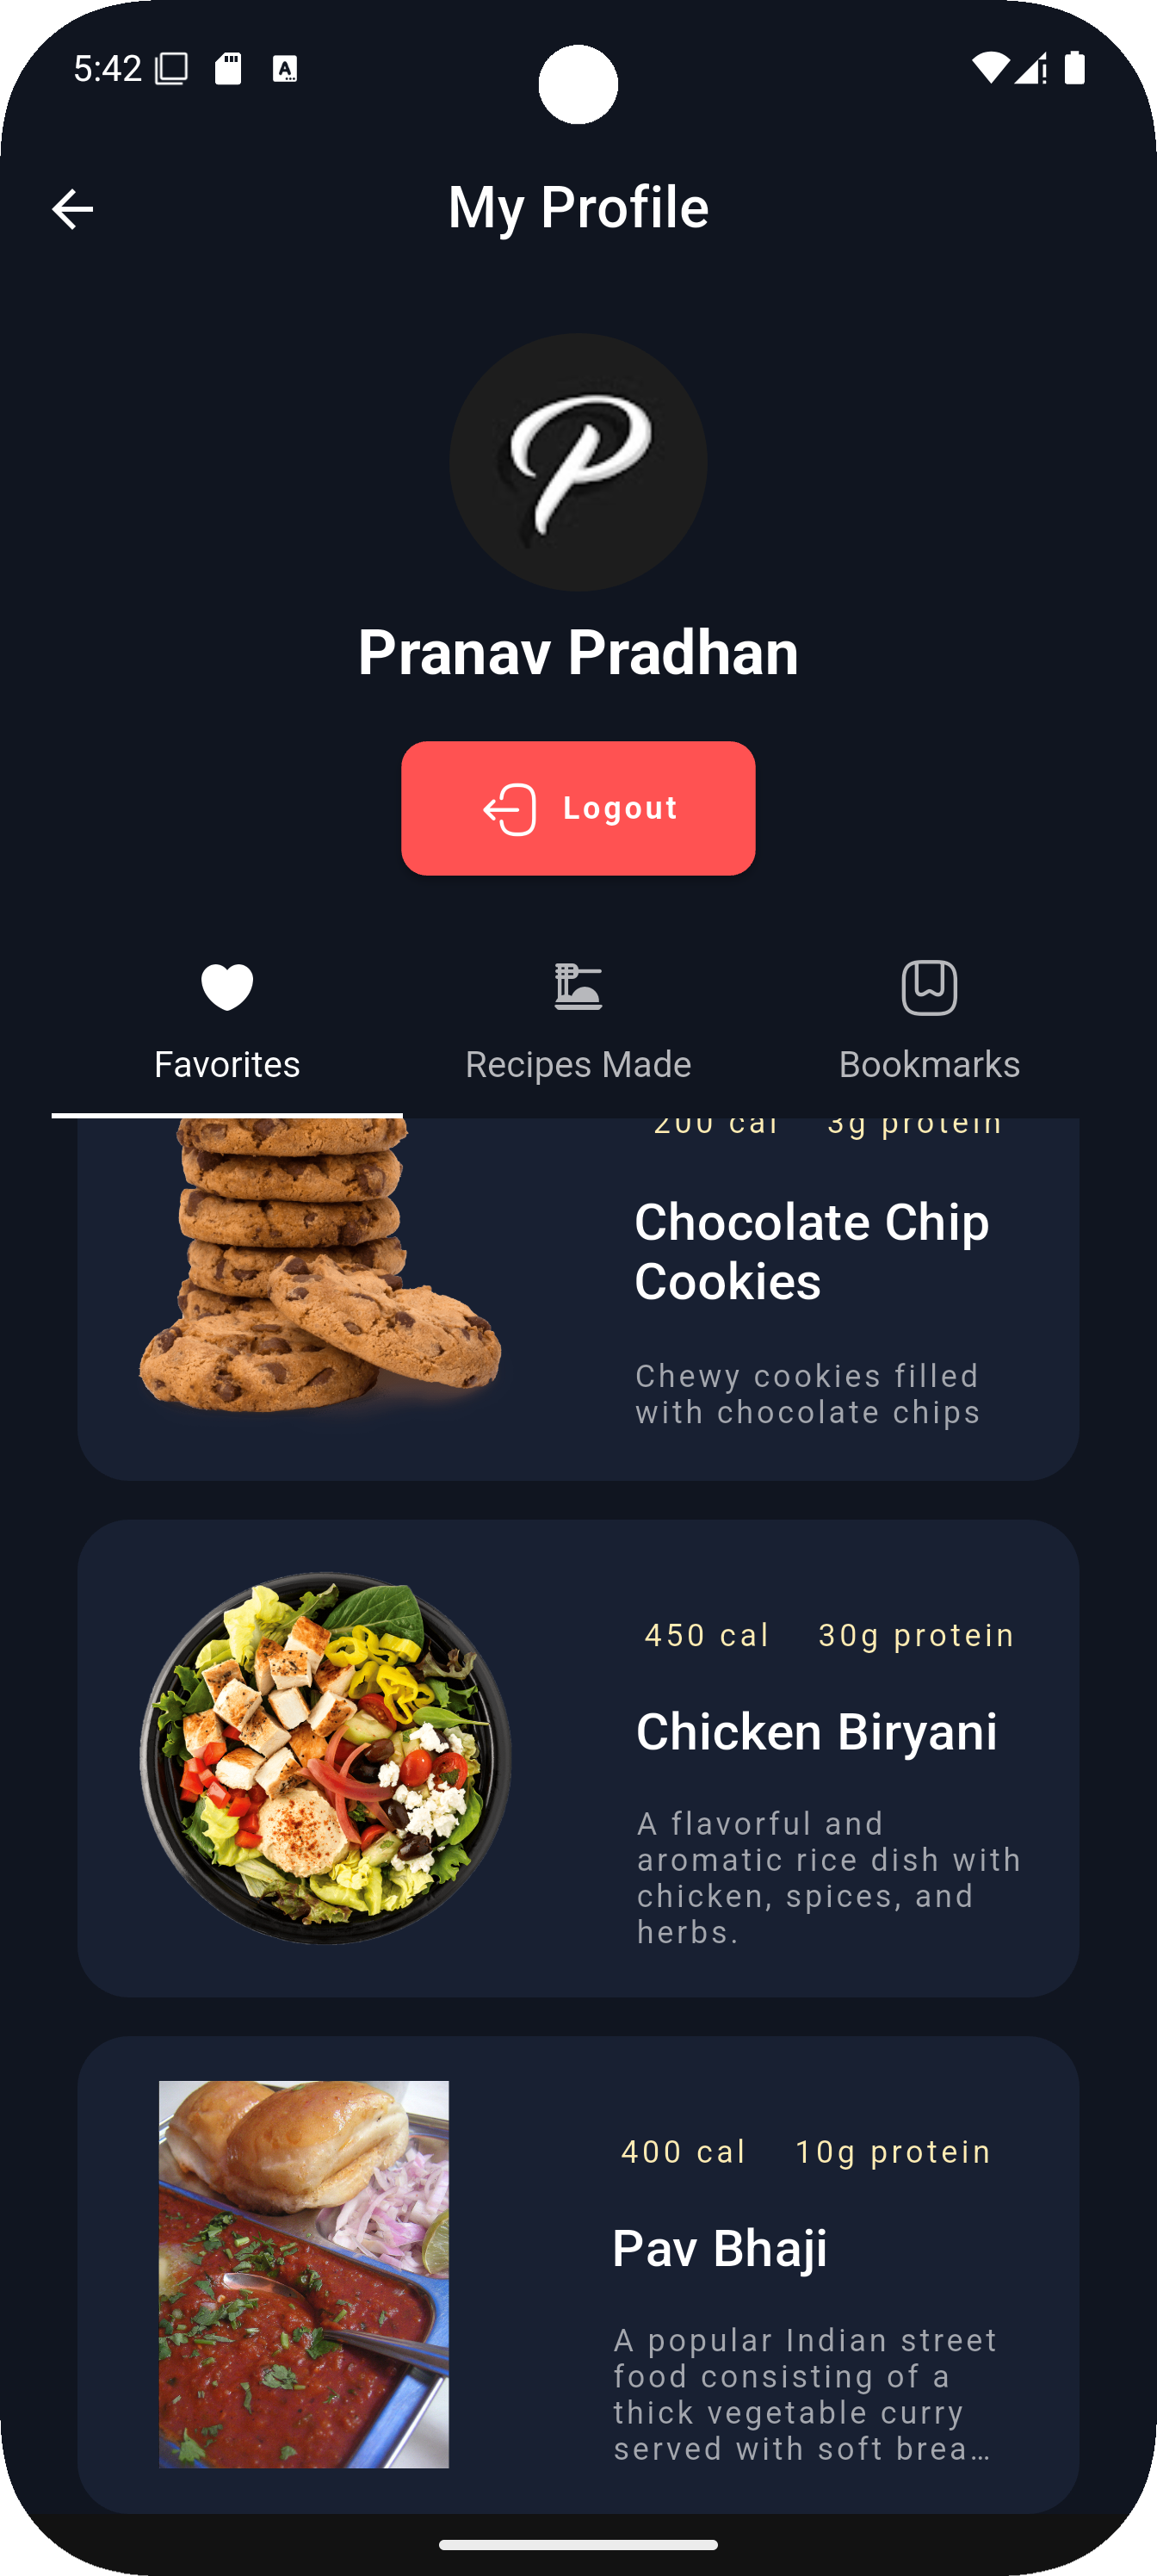
- 🔐 Firebase integration for authentication and favorites
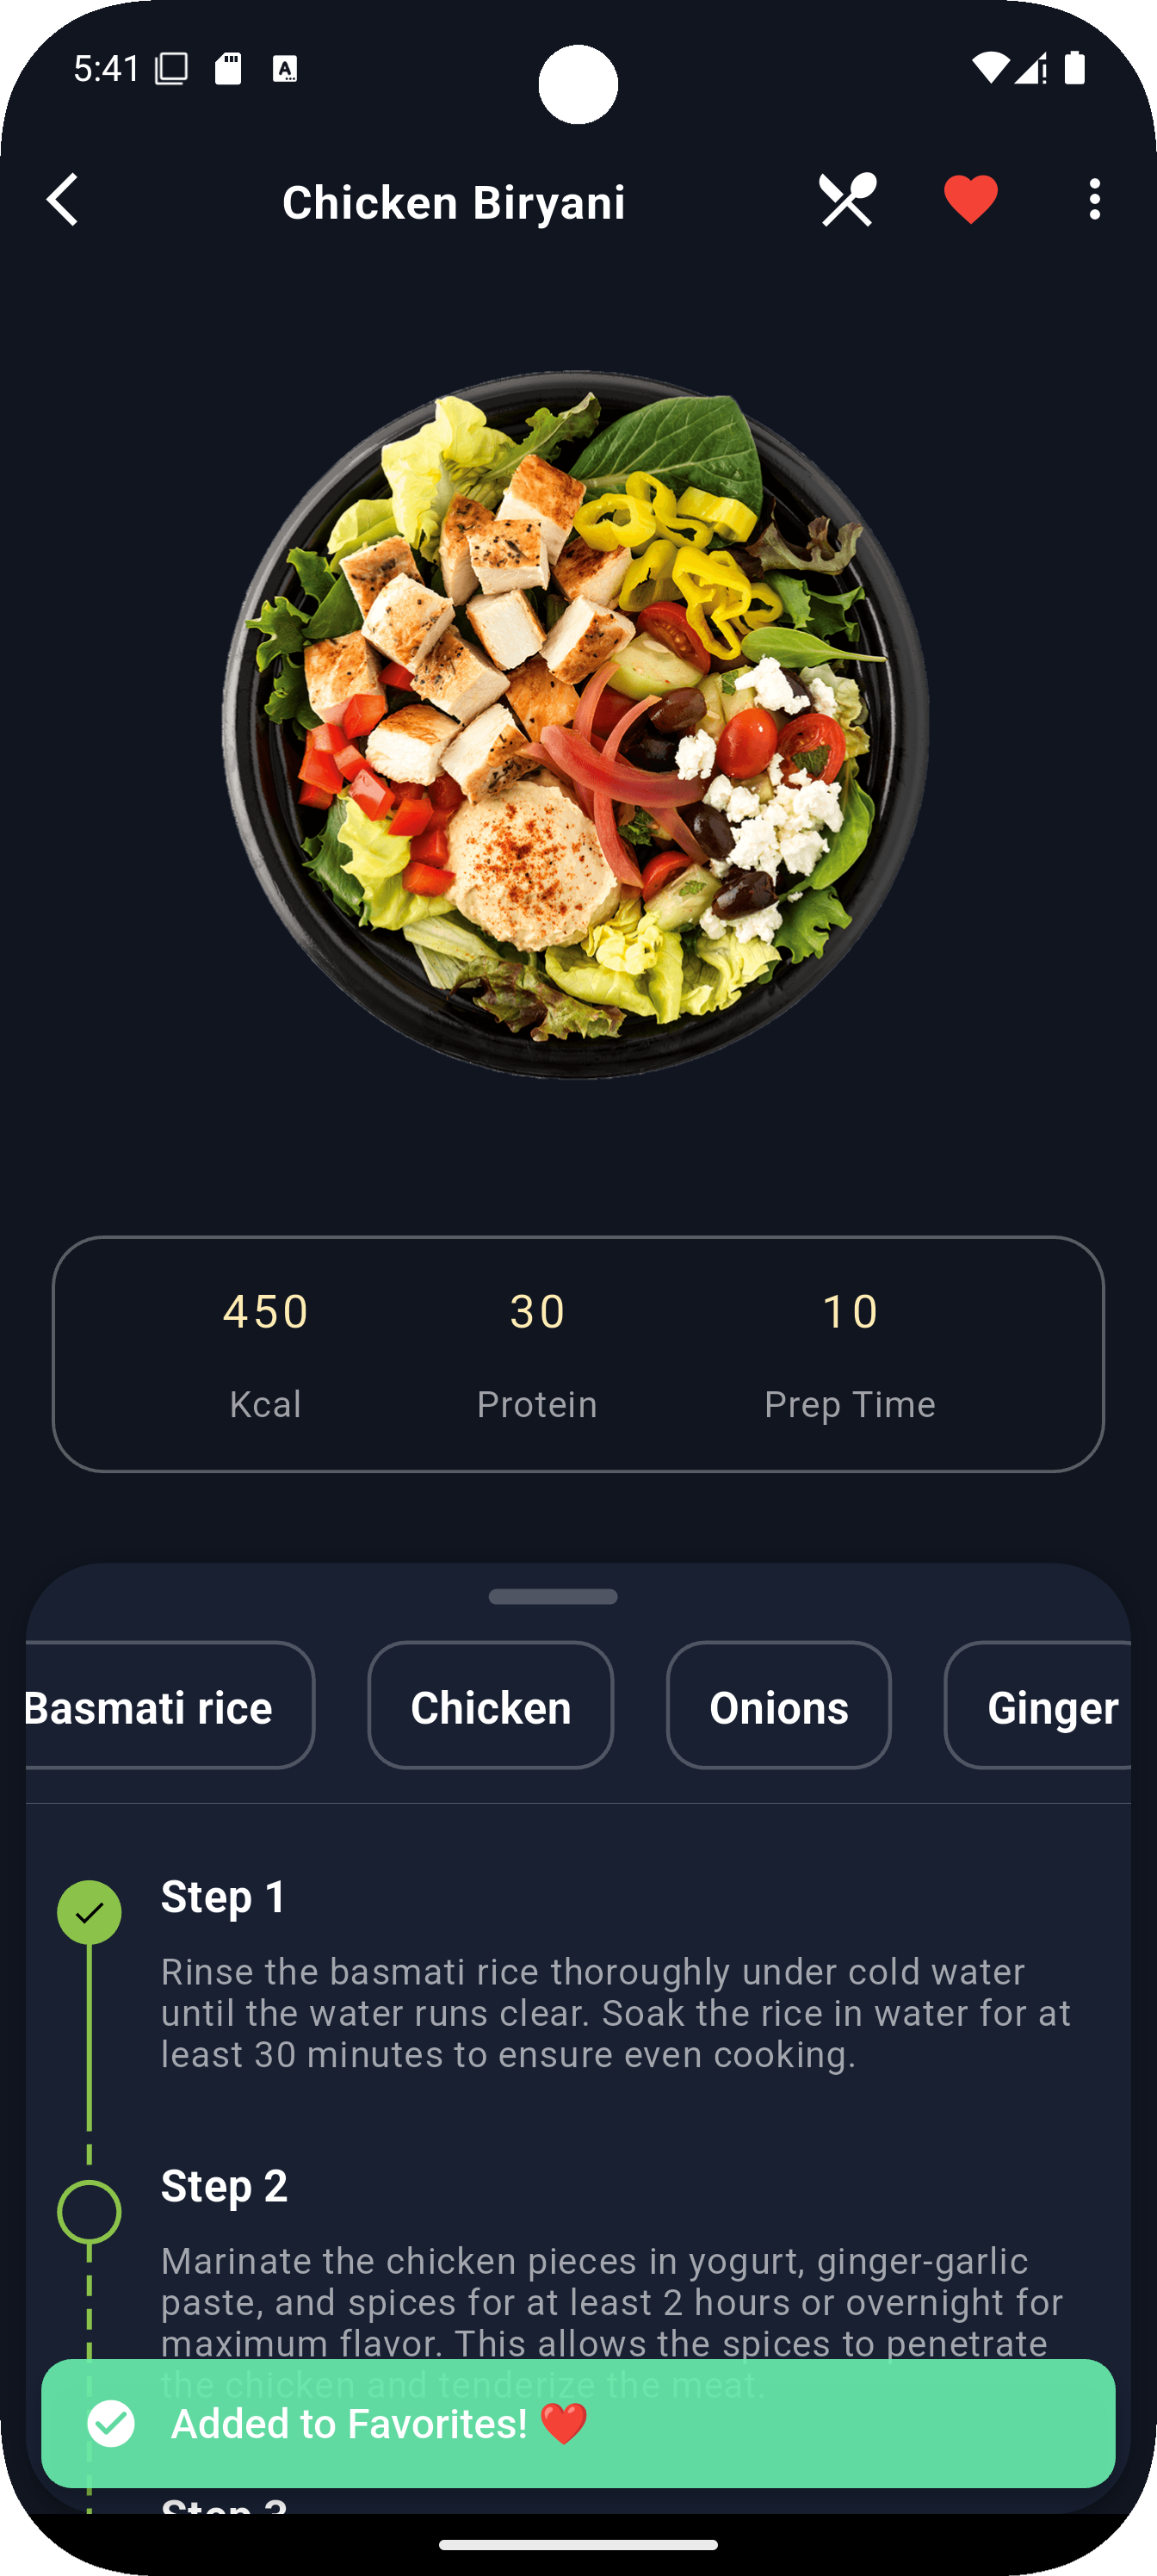
- 📋 Detailed recipe view with ingredients and cooking steps
- 🎧 Voice integration (coming soon)
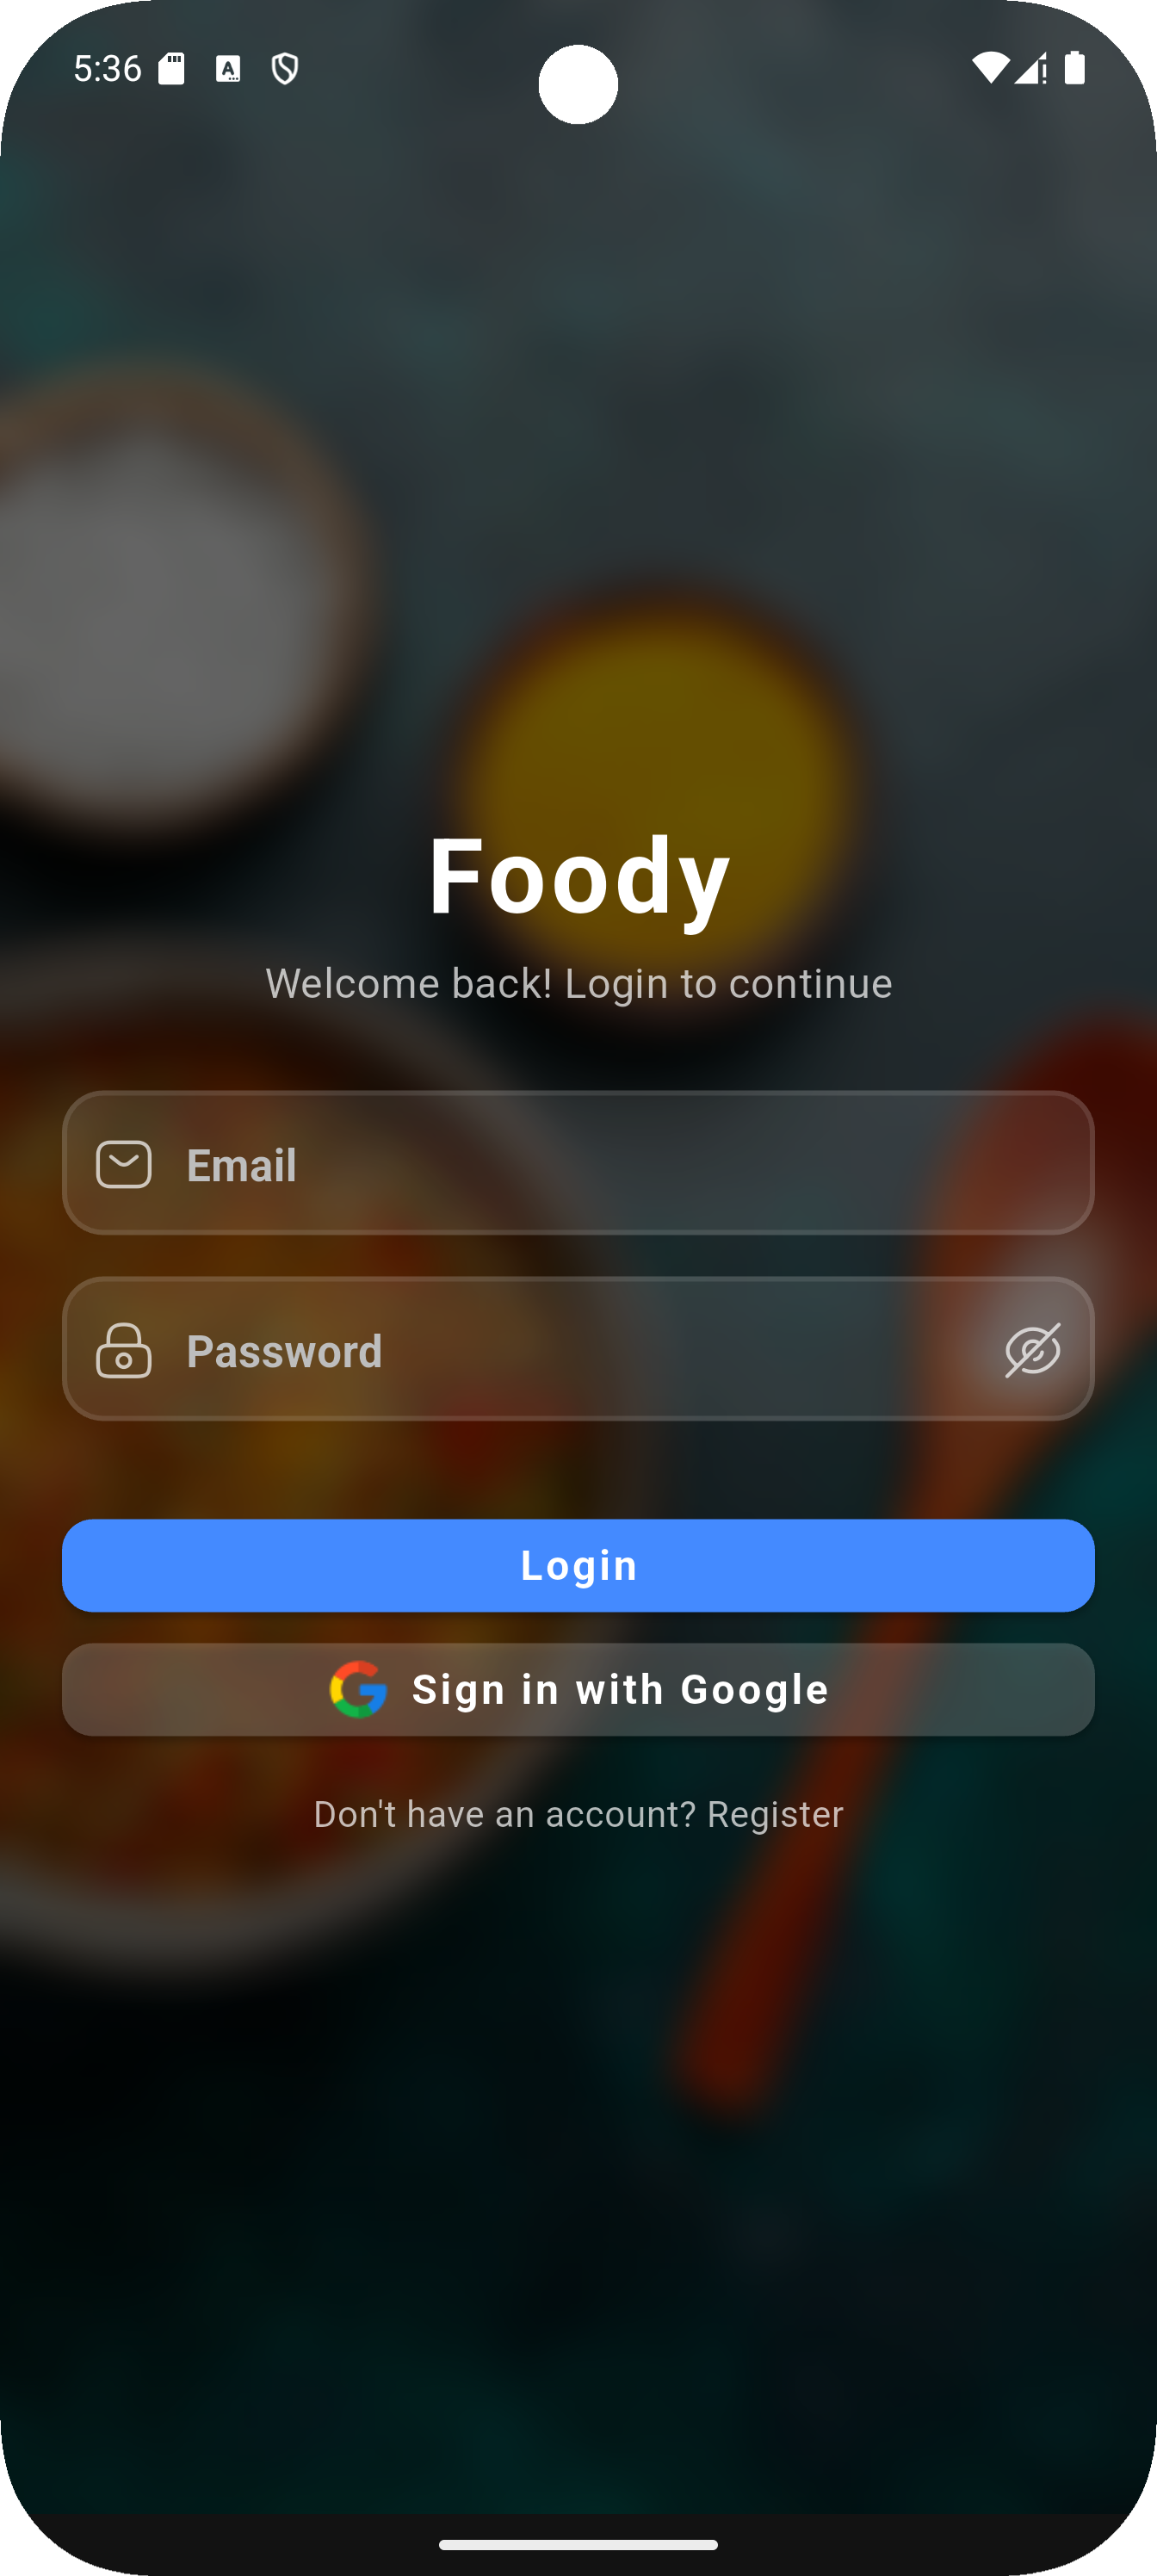
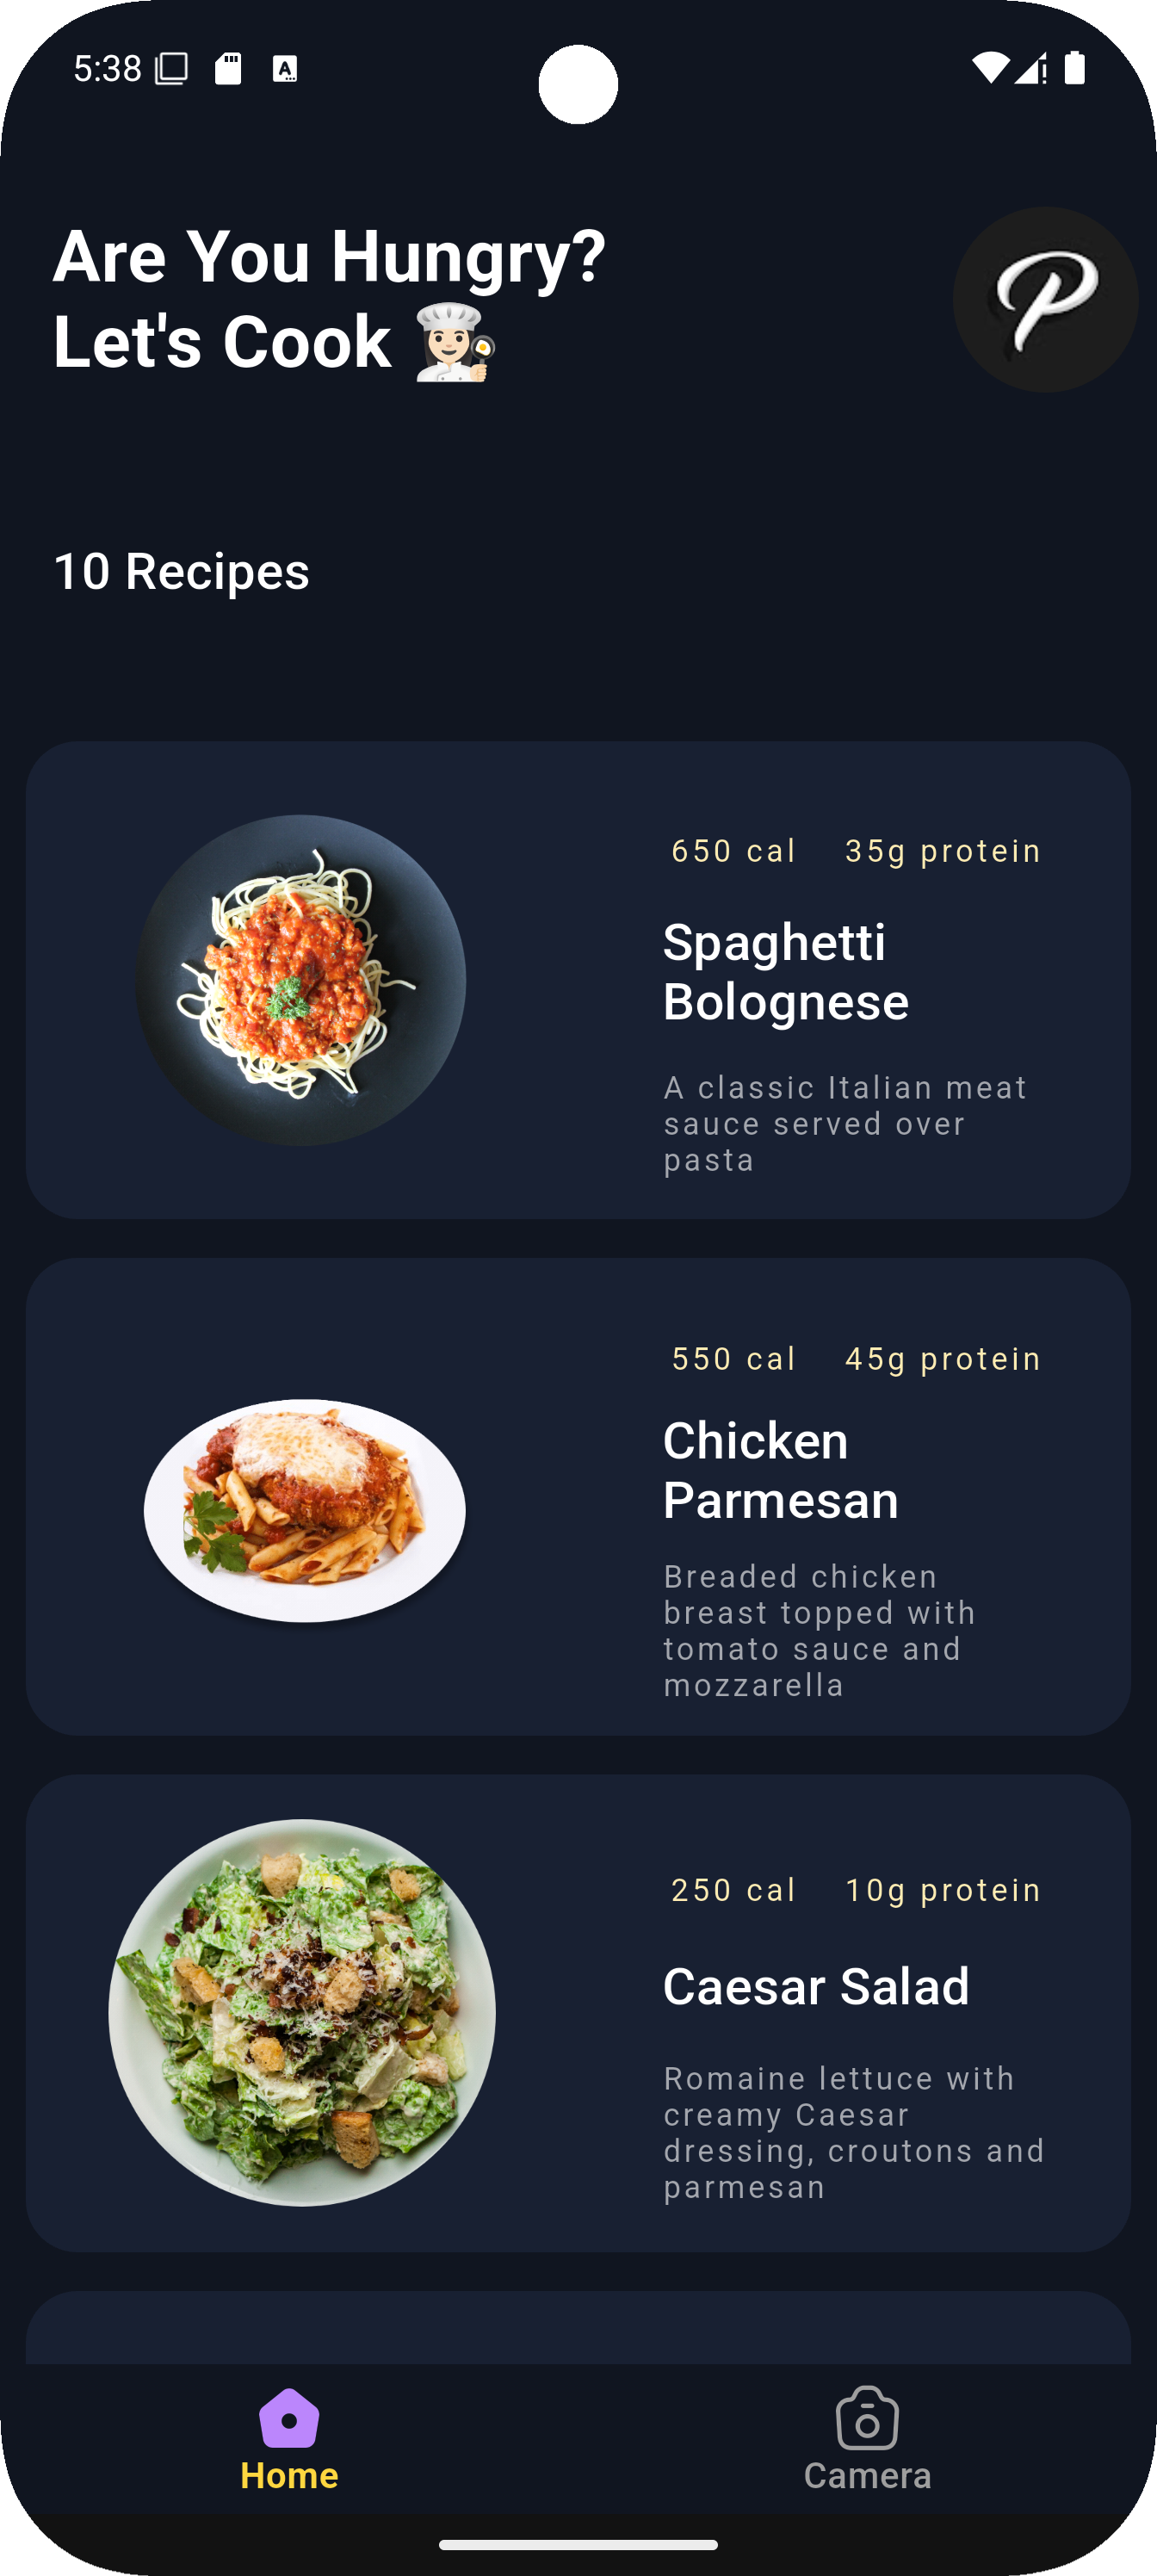
| Onboarding | Login | Home |
|---|---|---|
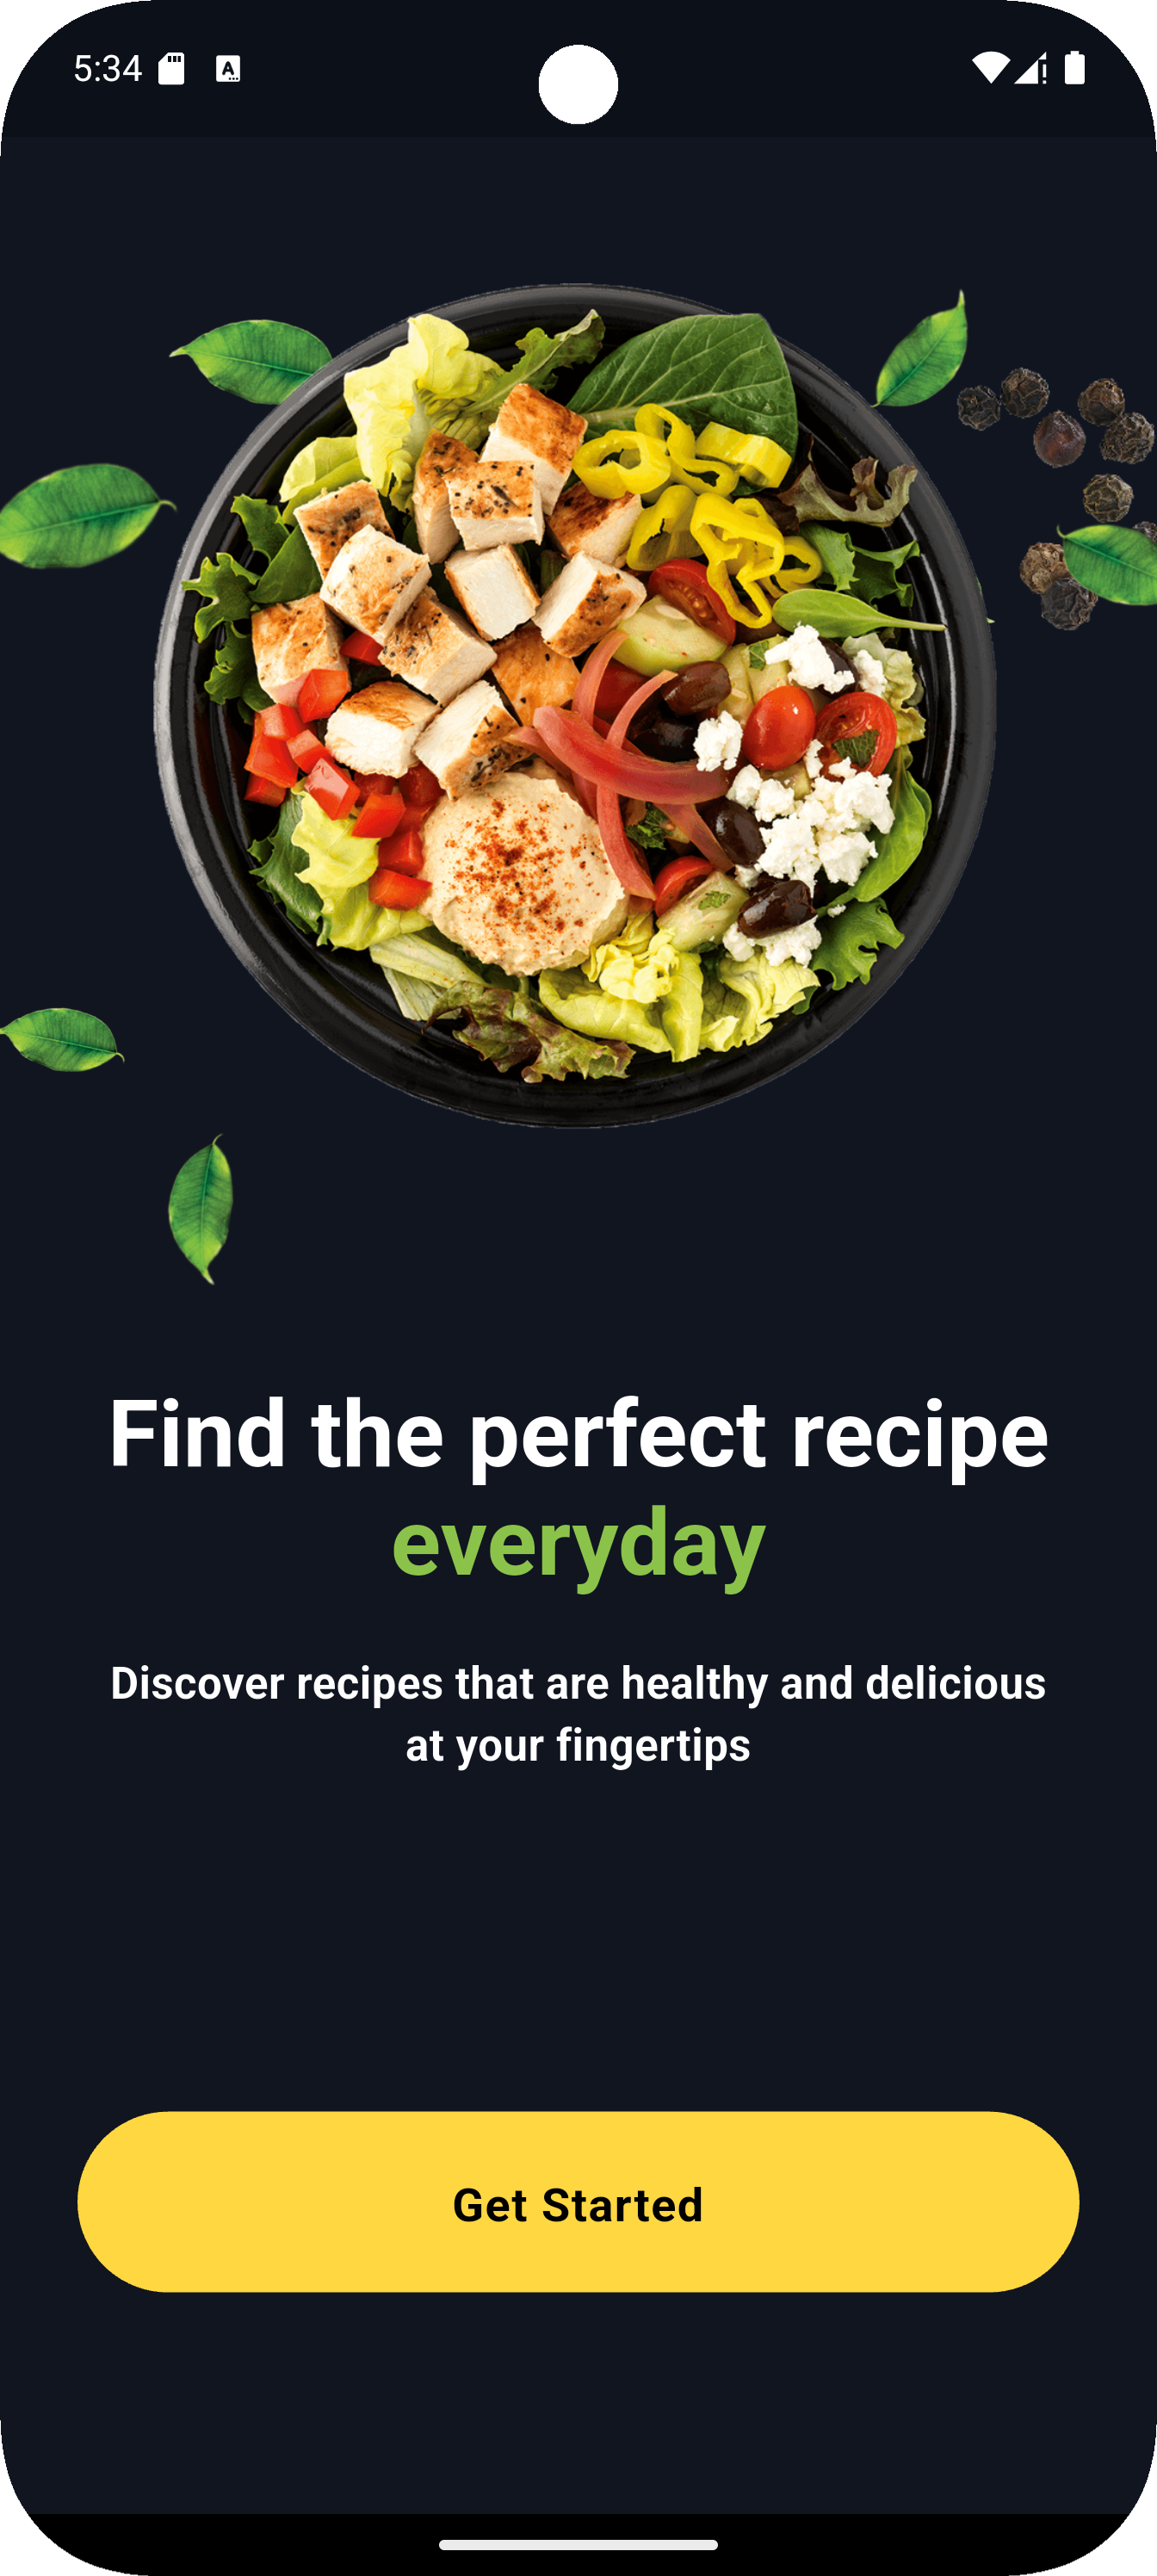 |
 |
 |
| Ingredient Detection | Recipe Suggestions | Recipe Details |
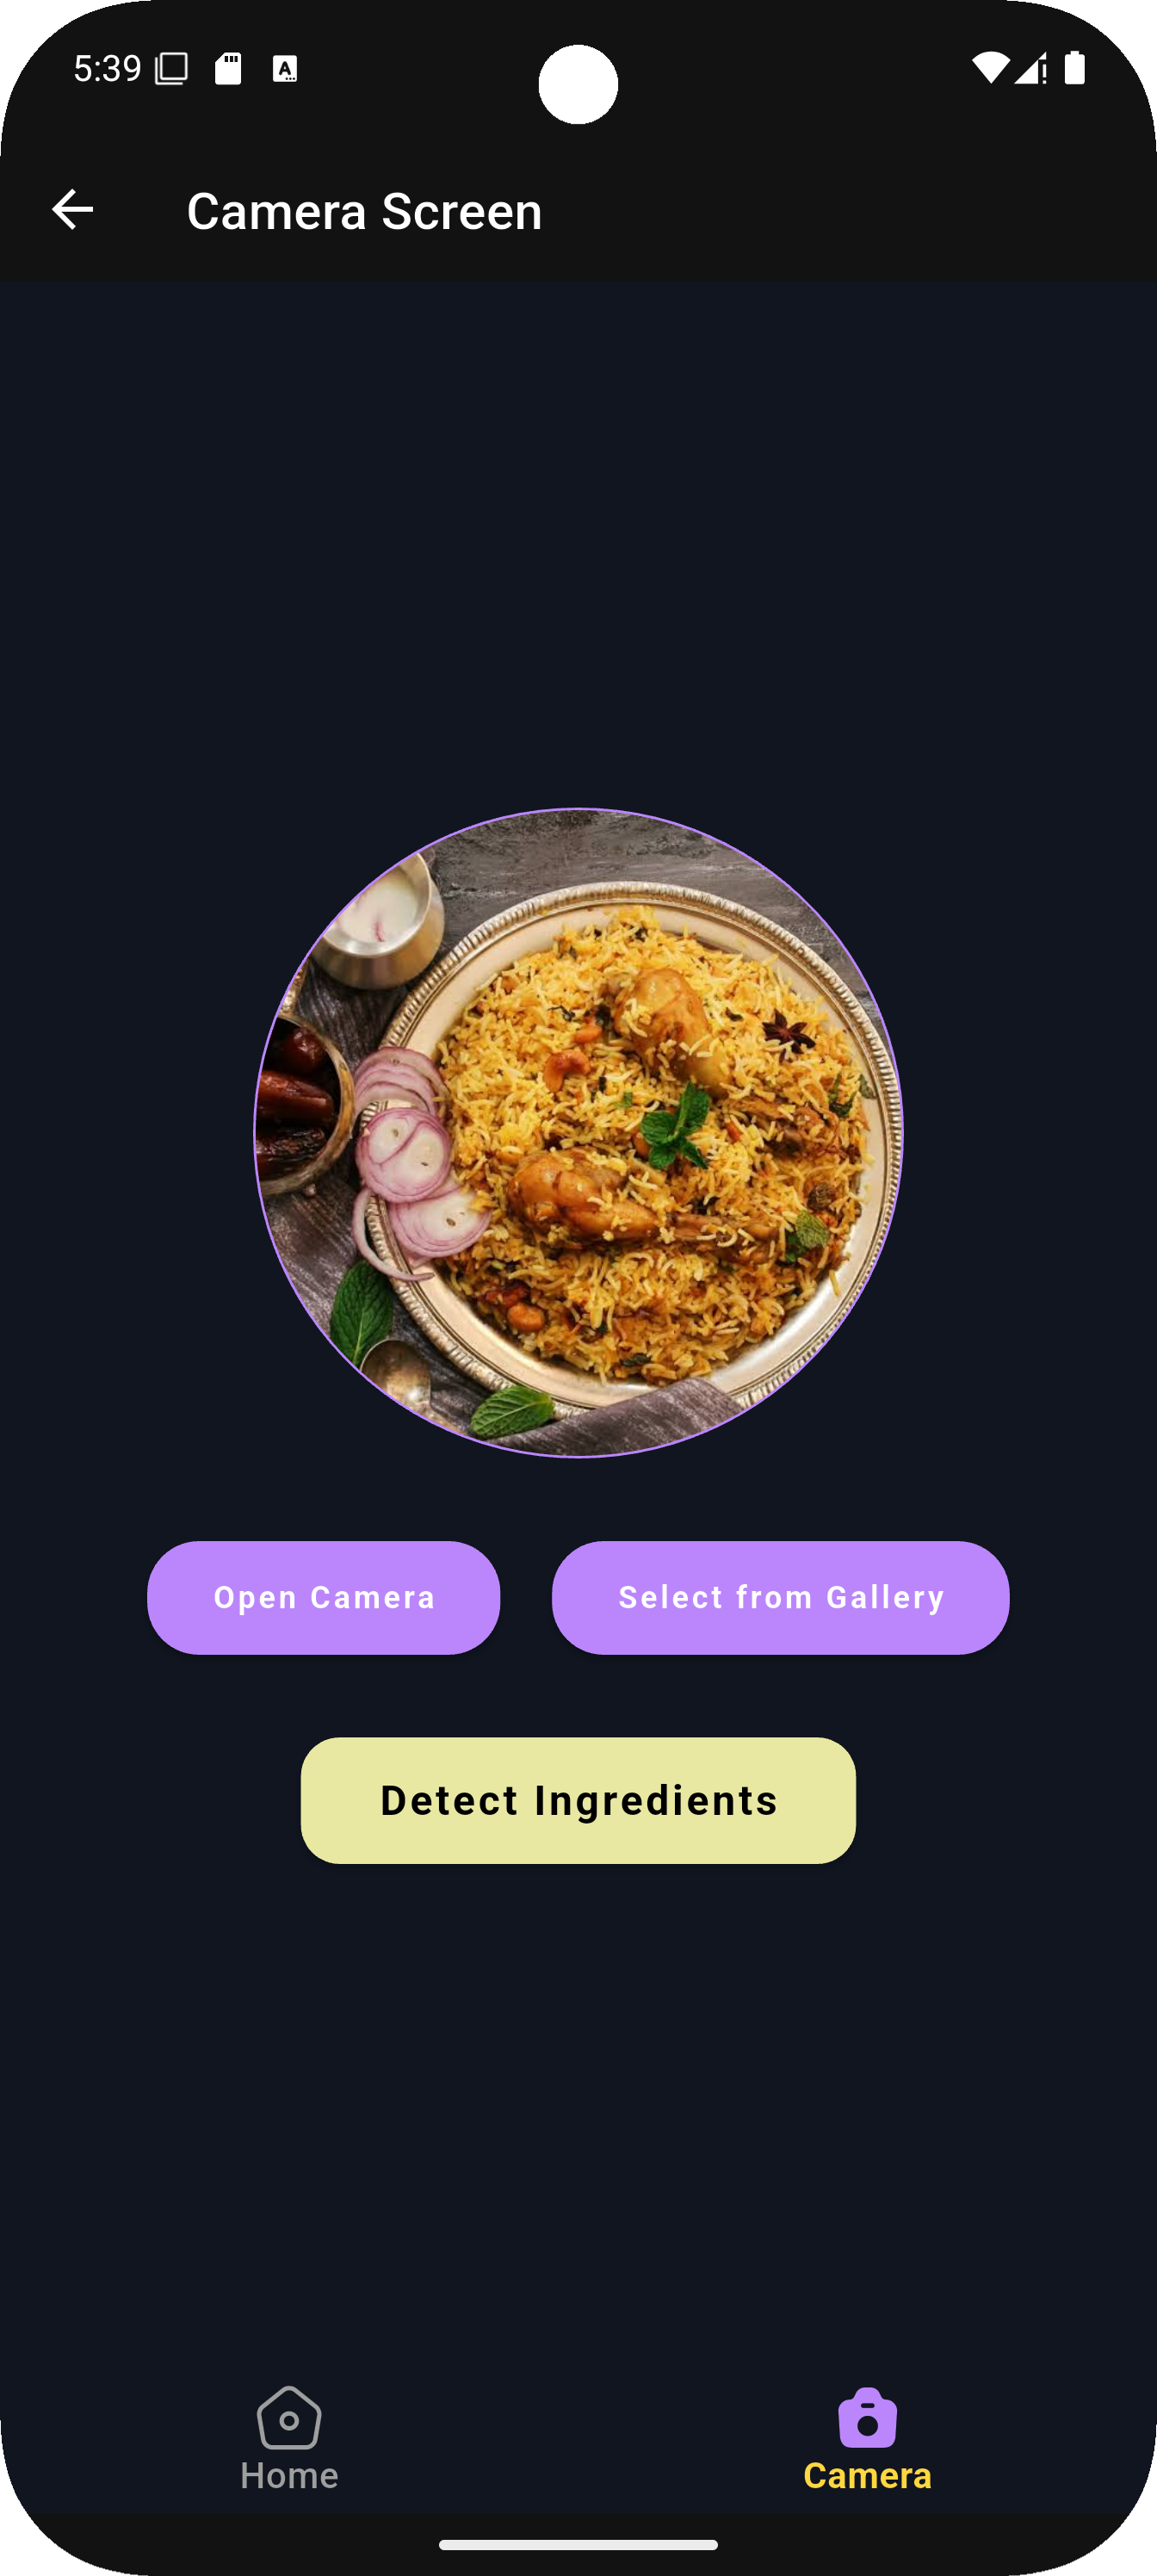 |
 |
 |
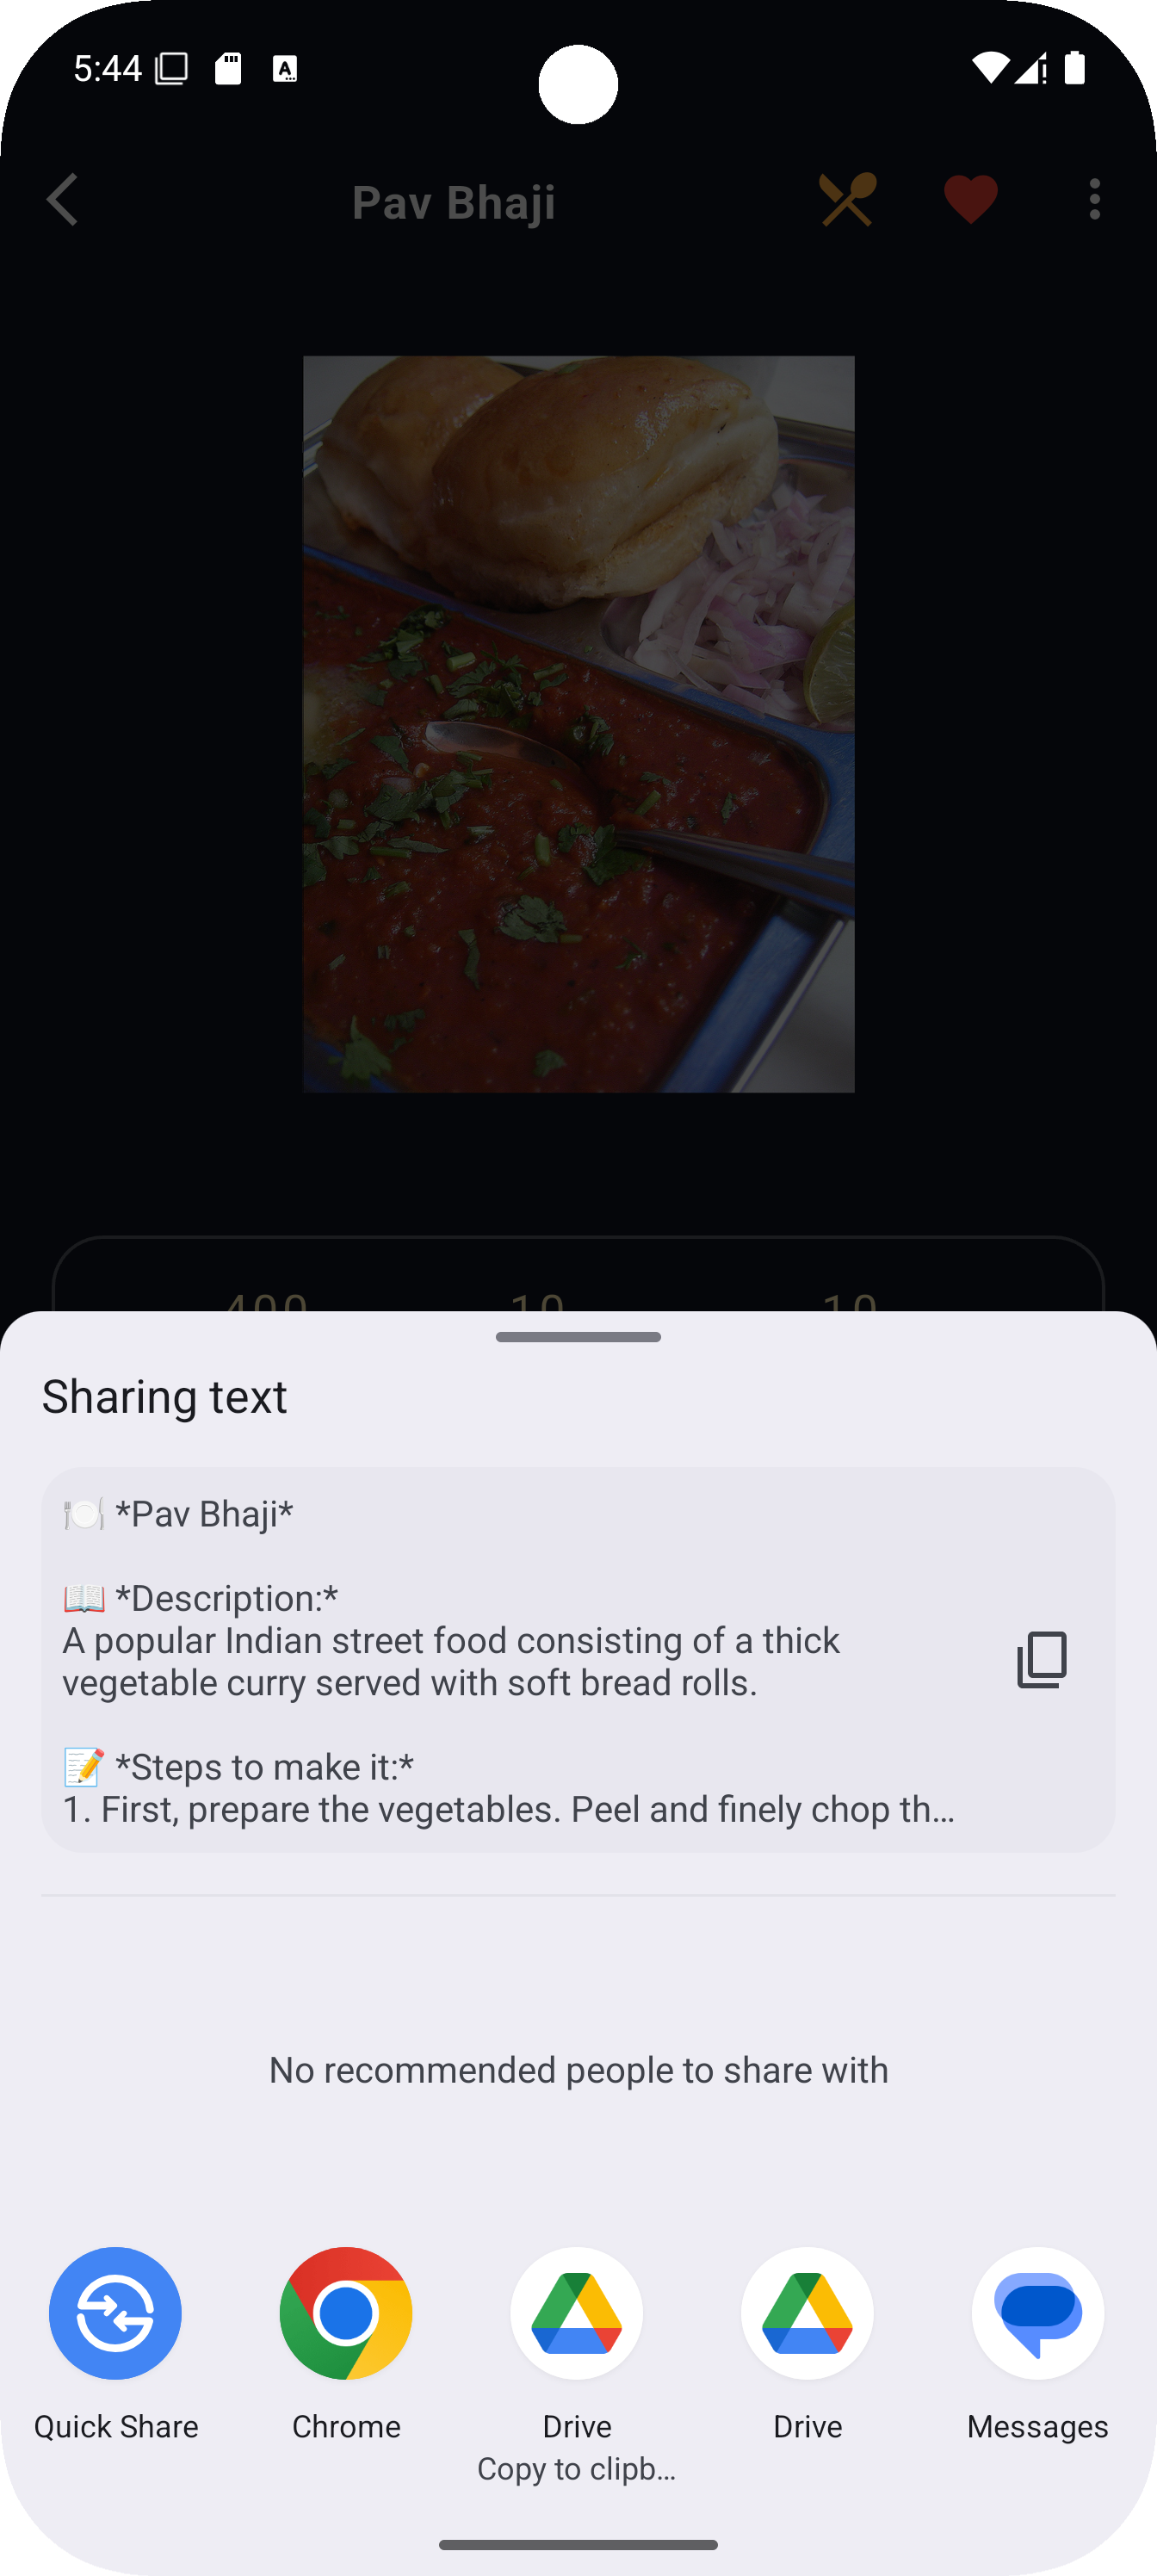
| Favorites | Share Recipe | |
 |
 |
Flutter
Firebase (Authentication, Firestore)
Google Gemini AI
Riverpod (state management)
- 🎨 Dribbble-inspired UI designs
Ensure the following are installed:
- Flutter SDK
- Dart SDK
- Android Studio or VS Code
- A Firebase project
- A Google Gemini API key
- Stable internet connection
- Clone the repository
git clone https://github.com/codeprnv/Foody.git
cd Foody- Install dependencies
flutter pub get- Set up Firebase
- Create a Firebase project at console.firebase.google.com
- Enable Email/Password and/or Google Sign-In under Authentication
- Enable Cloud Firestore (start in test mode for dev)
- Download
google-services.jsonfrom Firebase Console and place it at:
android/app/google-services.json
- Get Gemini API Key
- Visit Google AI Studio
- Sign in with your Google account
- Click your profile icon > API Keys > Create API Key
- Copy the key
Create a .env file at the root of the project:
GEMINI_API_KEY=your_google_gemini_api_key
⚠️ Important: Never share or commit your.envfile to source control.
- Run the app
flutter run- Sign in using Email or Google
- Upload or take a picture of ingredients
- Gemini AI detects the ingredients automatically
- View recipe suggestions based on detection
- Tap any recipe to see details
- Save your favorites to revisit later
Foody/
├── lib/
│   ├── main.dart
│   ├── src/
│   │   ├── auth/
│   │   │   └── presentation/
│   │   │       └── screens/
│   │   │           └── auth_screen.dart
│   │   ├── core/
│   │   │   ├── animation/
│   │   │   ├── constants/
│   │   │   ├── theme/
│   │   │   └── widgets/
│   │   ├── onboarding/
│   │   │   └── onboarding_screen.dart
│   │   ├── recipes/
│   │       ├── domain/
│   │       │   └── recipe.dart
│   │       ├── data/
│   │       │   └── recipe_repository.dart
│   │       └── presentation/
│   │           ├── screens/
│   │           │   ├── home_screen.dart
│   │           │   ├── recipe_details_screen.dart
│   │           │   └── object_detection_screen.dart
│   │           └── widget/
│   │               └── home_screen/
│   │                   ├── animated_appbar_widget.dart
│   │                   ├── animated_recipes_widget.dart
│   │                   ├── loaded_recipes_widget.dart
│   │                   └── recipe_card_widget.dart
├── assets/
│   ├── images/
│   │   └── dish.png
│   └── recipe.json
├── pubspec.yaml
├── .env
└── README.md
This project was created to help the developer get familiar with the following key concepts:
- Theming: Learn how to define and apply different themes to customize the app's look and feel.
- State Management (Riverpod): Understand how to manage state across different widgets and pages using Riverpod.
- Navigation: Learn how to implement navigation between different screens using Flutter’s Navigator.
- Layout Builder: Explore how to build adaptive and flexible layouts with Flutter’s layout widgets (e.g., Column, Row, GridView).
Contributions are what make the open-source community such an amazing place to learn and grow. Any contributions you make are greatly appreciated.
- Fork the repository
- Create a new branch (
git checkout -b feature/AmazingFeature) - Commit your changes (
git commit -m 'Add AmazingFeature') - Push to the branch (
git push origin feature/AmazingFeature) - Open a Pull Request
Distributed under the MIT License. See LICENSE for more information.
Made with ❤️ by @codeprnv and contributors.