JSX Components
Documentary lets users define their custom components in the .documentary folder both in the project directory and the user's home directory ({project}/.documentary/index.jsx and ~/.documentary/index.jsx will be imported). The components are written using JSX syntax and exported as named functions from jsx files. The properties the component receives are extracted from the markdown syntax and passed to the hyperscript constructor (from Preact).

For example, the user can define their own component in the following way:
import read from '@wrote/read'

/**
 * Display the sponsor information.
 */
export const Sponsor = ({
  name, link, image, children,
}) => {
  return <table>
  <tr/>
  <tr>
    <td align="center">
      <a href={link}>
        <img src={image} alt={name}/>
      </a><br/>
      Sponsored by <a href={link}>{name}</a>.
    </td>
  </tr>
  {children && <tr><td>{children}</td></tr>}
</table>
}

/**
 * The async component to print the source of the document.
 */
export const Source = async ({ src }) => {
  const res = await read(src)
  const e = src.split('.')
  const ext = e[e.length - 1]
  return `\`\`\`${ext}
${res}
\`\`\``
}
And then invoke it in the documentation:
<Sponsor name="Tech Nation Visa Sucks"
         link="https://www.technation.sucks"
         image="sponsor.gif">
Get In Touch To Support Documentary
</Sponsor>
The result will be rendered HTML:

Sponsored by Tech Nation Visa Sucks. |
| Get In Touch To Support Documentary |

The components can be rendered asynchronously when the component returns a promise. Documentary will wait for the promise to resolve before attempting to render JSX into HTML. Only the root component can be asynchronous, and if it uses other components in its JSX, they must be synchronous.
<Source src="src/index.js" />If a component returns just a string without actually using JSX, then it is pasted into the code as is, see the Source example.

To receive access to the autosuggestions powered by VSCode's customData implementation of web-components.json standard, documentation files need to be written in HTML file format, and the .vscode/settings.json has to be updated to include the html.experimental.customData property as shown below:
{
  "html.experimental.customData": [
    "./node_modules/documentary/web-components.json"
  ]
}
Then, Documentary's components will be available when pressing CMD + SPACE in the editor.
<shell command="echo" language="fs">
  HELLO WORLD!
  EXAMPLE !@£
</shell>user:~$ echo "HELLO WORLD!" "EXAMPLE !@£"HELLO WORLD! EXAMPLE !@£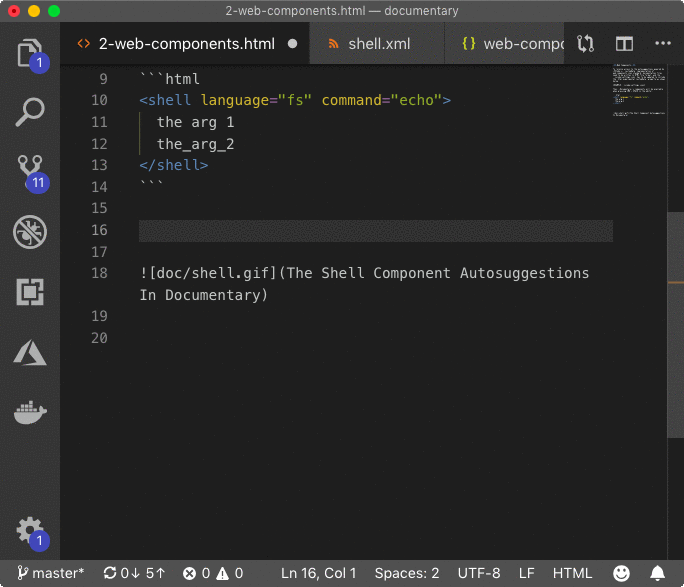
Open Gif

There are a number of built-in components at the moment.
Either uses spawn to spawn a command and pass arguments to it, or exec to get the result of a more complex operations such as piping to other commands reachable from shell.
Usage:
<shell command="echo"/>
<shell command="echo">ABC</shell>
<shell command="echo">
  Hello World
  example123
</shell>

<shell>
  (echo abc; sleep 1; echo def; sleep 1; echo ghi) | node consume2.js
</shell>
<shell noTrim>
  (echo abc;) | node consume2.js
</shell>
Executes a command as if by the user from the terminal, i.e., $ echo example and shows its output after printing the command like
```{language}
$ {command}
```
```{language = sh}
{output}
```ShellProps: Options for the Shell component. TODO: pass options.
| Name | Type | Description | Default |
|---|---|---|---|
| command | string | The command to execute using the child_process. If the command is not passed, the children will be used to pass to exec, e.g., (echo abc; sleep 1; echo def; sleep 1; echo ghi) | node consume.js. |
- |
| language | string | The markdown language of the output. | sh |
| err | boolean | Whether to print STDERR instead of STDOUT (todo: make print both). | false |
| children | string | The arguments to the program each on new line. | - |
| noTrim | boolean | Whether to disable trim before printing the output. | false |
| noconsole | boolean | Do not print the console block. | false |
If the command is not passed, the children will be read and executed by the child_process.exec method. For example, with the following simple receiver:
process.stdin.on('data', d => console.log(`${d}`))The shell component can be used to print output of a complex unix expression. The output will be trimmed before inserting in the documentation. This can be disabled with the noTrim option.
<shell>
  (echo abc; sleep 1; echo def; sleep 1; echo ghi) | node test/fixture/node
</shell>| Result Embedded Into README |
|---|
user:~$ (echo abc; sleep 1; echo def; sleep 1; echo ghi) | node test/fixture/nodeabc
def
ghi |

This component is used together with Argufy package which keeps arguments to command-line programs in an XML file, and allows to generate JS to extract them from process.argv easily and in Google Closure Compiler-compatible way. Documentary allows to place the table with all arguments defined in the arguments.xml file by using <argufy>types/arguments.xml</argufy> marker. It's child is the location of the arguments file, and if not given, it will default to types/arguments.xml. If an arg element had toc property, it will also be liked to the ToC using a toc-title. See the table generated for Documentary for an example of how the documentation of CLI arguments will look like.

Converts the markdown with _/__/*/**/</code>/ link` into HTML. The main use of this widget is to be able to write tables with markdown and avoid having a whitespace at the bottom of the table row:
<table>
<tr><td>

  `Hello World`: _notice_ the padding at the **bottom** of this row.
</td></tr>
<tr><td>
<md2html>

  `Markdown 2 HTML`: _the text_ has been updated with the **md2html** component.
</md2html>
</td></tr>
</table>|
|
Markdown 2 HTML: the text has been updated with the md2html component.
|

The Java component allow to execute a Java process. The jar argument will set the -jar option, and all found arguments in the inner code block will be split by whitespace and passed to the process. The cache will be formed based on all arguments that can be resolved to paths on the filesystem, so that the program won't have to be rerun when nothing had changed.
JavaProps: Options for Java.
| Name | Type & Description | Default |
|---|---|---|
| jar | string | - |
| The JAR file to execute. | ||
| lang | string | sh |
| The markdown language of the output. | ||
| stderr | boolean | false |
| Whether to print STDERR instead of STDOUT. | ||
| children | string | - |
The arguments to the program, separated by whitespace. --arg "one arg" not currently supported.
|
||
| notrim | boolean | false |
| Whether to disable trim before printing the output. | ||
| console | string | - |
|
Print the console block (with user name set to the value of this property) before the result block in form of console-name:~$ java -jar lib.jar --arg1 --argN data |
When printing a shell command using console, new lines will be wrapped at DOCUMENTARY_MAX_COLUMNS env variable, which is set to 90 by default. This can be changed to a lesser value when compiling Wiki documentation, for example.
<java jar="path-to-jar.jar" console="doc-wiki" lang="css">
  --argument optionsA --pretty-print
</java>| Java Result |
|---|
doc-wiki:~$ java -jar closure-stylesheets.jar --pretty-print \
> example/example.css.left_hand_nav {
position: absolute;
width: 180px;
padding: 3px;
}
.content {
position: absolute;
margin-left: 186px;
} |

