The repository contain codes for calibrating camera, generating aruco marker and getting pose estimation from that using the calibrated camera. And then using that position estimation pluto drone position cotrol is implemented
The following libraries are required to be installed for the codes to work (make sure python version is 3.6 or higher):-
• Python library manager
  sudo apt-get update
  sudo apt-get -y install python3-pip
• opencv-contrib version 4.7
pip install opencv-contrib-python==4.7.0.68• numpy
pip install numpy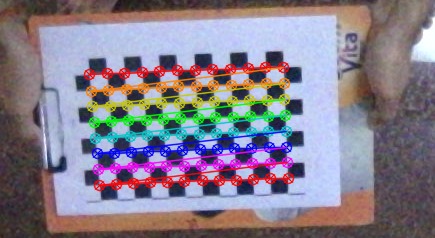
For getting the position estimation robustly using ArUco marker, it is necessary to have the intrinsic and extrinsic properties of camera. To do the calibration, a checker board pattern is needed. The size meintioned the code is 12X8 (counting the inner corners), where size of each square is 17.8mm.
To get the images for calibration run image_capture.py. A camera preview window will appear, where pressing 's' will capture the image and save them in 'calibration' folder.
Now to get the matrices, run mono_calibration.py. Matrices will be printed in the output, which needs to be update in pose_est.py at lines 45 and 49. Make sure to keep the correct checkerboard parametres on line 9 and 22.
https://github.com/niconielsen32/ComputerVision/blob/master/cameraCalibration.py
Run aruco_creator.py to generate the ArUco tag. Make sure to keep the desired marker type in line 29 'aruco_type'
Now we are ready to get the position estimation from the ArUco marker. There is a pose_est.py for the same, update the camera matrices at lines 45 and 49 with the values got after calibration. The class camera_pose() is called by the drone controller class quadControl() to get the position update.
https://github.com/niconielsen32/ComputerVision/tree/master/ArUco
Run hover_task2.py to make the drone takeoff and hover for 10 seconds and then lands automatically.
Run hover_and_rect.py to make the drone follow a rectangular trajectory and land automatically.
Incase of emergency, pressing ctrl+C aborts the task and lands the drone safely
Both code uses quadCopter() class for running a closed loop control, where feedback comes from camera using camera_pose() class.
Proper documentation of all the classes and methods related to task 2 is provided below.
For the documentation of socket communication and MSP (Multiwii Serial Protocol), follow the link below.
Link for report Task 1 and 2 Report