Before beginning, I highly recommend reading the following:
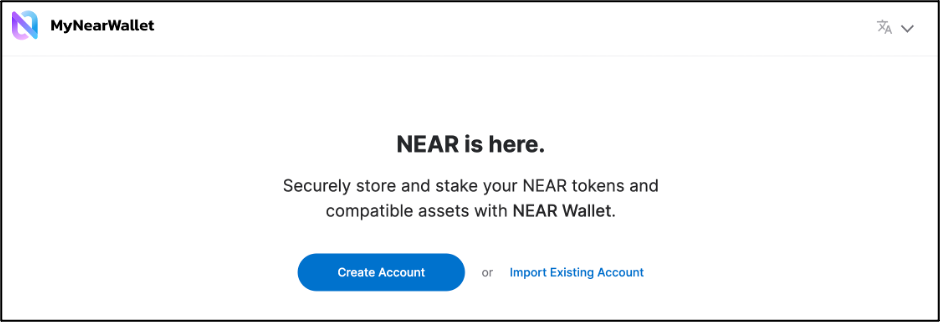
Use the Shardnet Wallet link and use the Create Account button.
We’ll be using AWS to host our validator. If you don’t have an existing AWS account, sign up for one here.
AWS provides a diverse set of on-demand cloud microservices. The company typically offers free tiers for most services but given that resource demands change based on your use case, a credit card is required at account initiation so keep it nearby.
Once your account is verified, you’ve stored your credentials in a safe place, and you’re logged in, use the search bar at the top of the AWS portal to query for the ‘EC2’ service – this will let us set up a containerized server instance for your node.
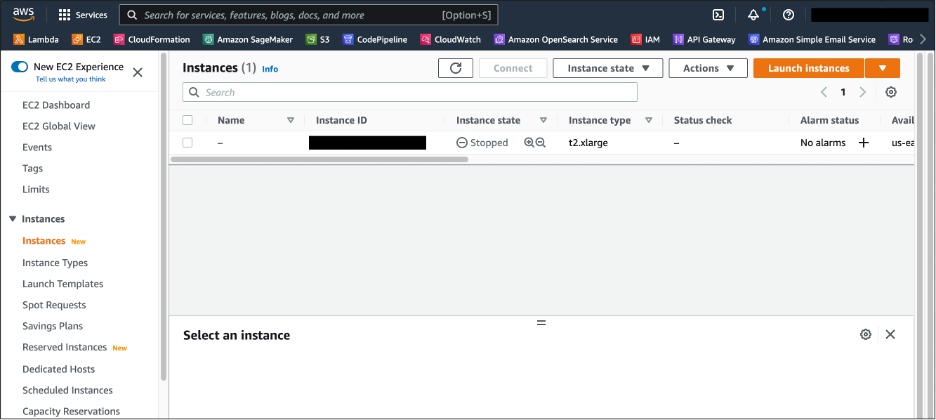
On the left-hand menu, select Instances and then select Launch Instances in the top right.
Scroll until you find the Ubuntu Server 20.04 operating system and select this option.
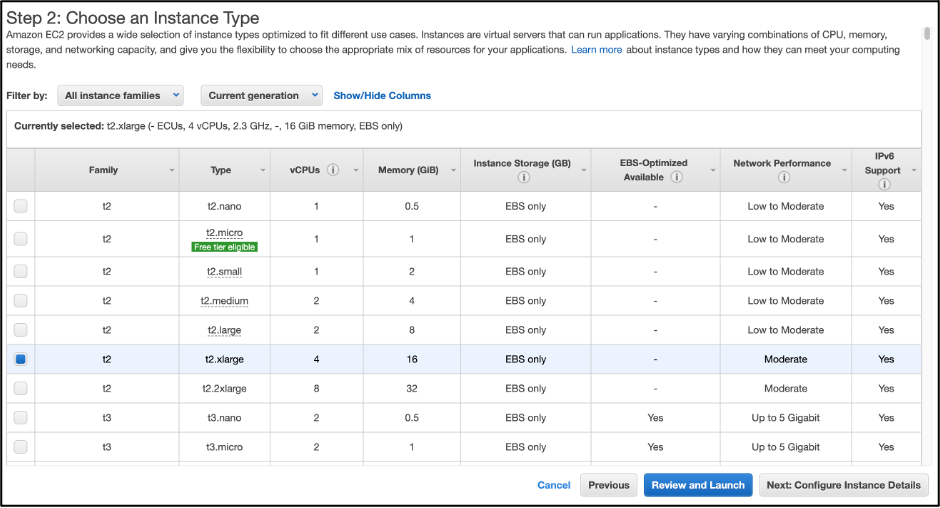
NOTE BEFORE PROCEEDING: it’s worth understanding that the required EC2 instance type (t2.xlarge) to run a node has a fixed cost per hour and this cost can depend on which region you are running the instance in. 500GB SSD storage adds an additional $47/month, for a total monthly cost of $185.49 to run an ‘on-demand’ t2.xlarge EC2 instance. There are options to ‘reserve’ instances for 1- or 3-year periods that lock you in to a lower monthly payment, but that configuration is beyond the scope of this guide.
For the US East (N. Virginia) region, the hourly costs are as follows:
On the following menu, check the t2.xlarge instance type, as this will provide us with the necessary specifications to run a chunk validator (4-core CPU, 8GB of memory). Select Review and Launch.
Next, scroll down to the Storage dropdown and select Edit storage. Once in the Add Storage menu, change the field in the Size column to 500 and then select Review and Launch. Then select Launch.
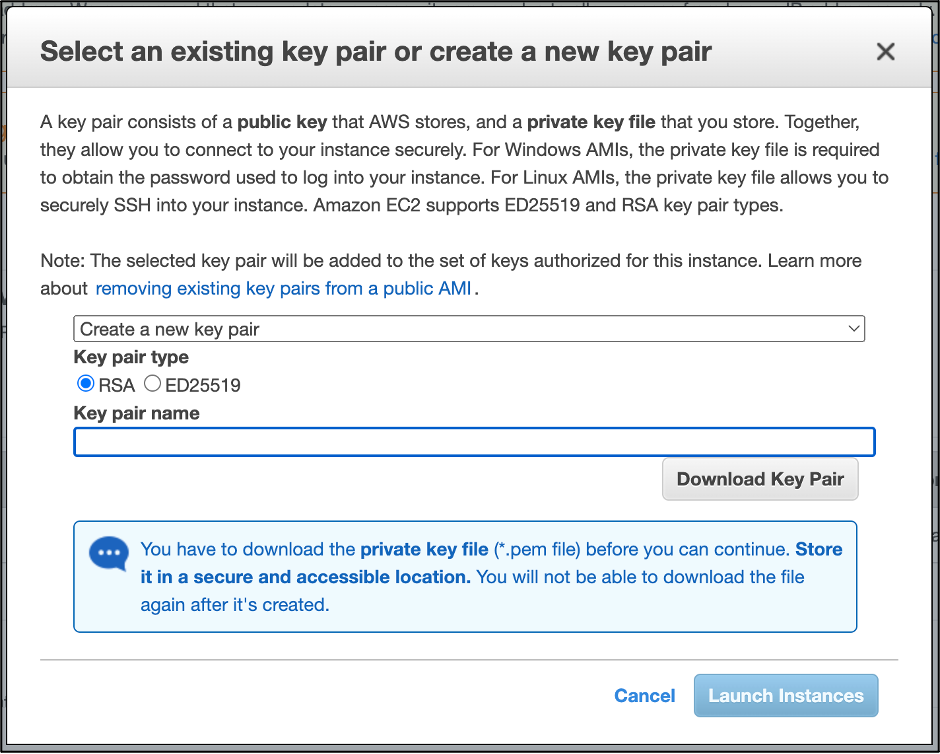
Click Review and Launch, then Launch. Here you will be presented with a menu to create a new key pair by naming it (or select an existing key pair). Download the key pair file into an easily accessible directory as we will use this in the next step to securely login to our EC2 instance remotely through our computer’s terminal.
Congratulations! You have just launched an EC2 instance capable of running a chunk validator on NEAR. After waiting a minute or so, your machine should have completed its checks and be shown under the Instances menu we visited earlier.
Check the checkbox next to your Instance ID in the Instances menu within EC2 and select Connect. Within the 'Connect to instance' window, follow the steps under the ‘SSH client’ section or following along with the simplified instructions I’ve laid out below.
-
Open a new terminal and change the directory to the directory you stored your key pair in when launching your EC2 instance. If you’re uncertain of how to change directories look here (other useful unix commands that are worth learning include: pwd, ls, rm, rm -r, cd, and cd ..). E.g.:
cd /<path>/<key_pair_directory> -
In the ‘SHH client’ section copy and paste the command in #3 into your terminal and hit enter. E.g.:
chmod 400 <key_pair_name>.pem -
In the ‘SHH client’ section copy and paste the command in the provided Example into your terminal and hit enter. E.g.:
ssh -i "<key_pair_name>.pem " ubuntu@<public_DNS> -
If it asks for access permission, type ‘yes’ and hit enter.
You should now have remote access to an Ubuntu terminal on your EC2 instance!
NOTE: You may want to open a second (or third!) SSH session in a different terminal on your local machine to run commands while you're other terminal is occupied with the output of a running process. The steps are the same as we just covered.
The following steps are a streamlined version of those covered in Challenge 1
Update your Ubunutu machine:
sudo apt update && sudo apt upgrade -y
Install Node.js and npm:
curl -sL https://deb.nodesource.com/setup_18.x | sudo -E bash - sudo apt install build-essential nodejs PATH="$PATH"
To check the Node.js and npm versions, run the following, respective commands:
node -v
npm -v
Install the NEAR-CLI:
sudo npm install -g near-cli
Set the environment to the correct network: NOTE: Each time you create a new SSH session, ensure that you set the environment to the correct network.
export NEAR_ENV=shardnet
Check validator proposals for entering the validator set:
near proposals
Check active validators:
near validators current
Check validators entering the validator set in the next epoch:
near validators next
The following steps are a streamlined version of those covered in Challenge 2
We created a t2.xlarge EC2 instance which has the correct specifications (4-core CPU, 8GB RAM, and 500GB SSD) to run a NEAR chunk validator. If you want to check for yourself run in your terminal:
lscpu | grep -P '(?=.*avx )(?=.*sse4.2 )(?=.*cx16 )(?=.*popcnt )' > /dev/null && echo "Supported" || echo "Not supported"
Install the necessary developer tooling:
sudo apt install -y git binutils-dev libcurl4-openssl-dev zlib1g-dev libdw-dev libiberty-dev cmake gcc g++ python docker.io protobuf-compiler libssl-dev pkg-config clang llvm cargo
Install Python pip:
sudo apt install python3-pip
Set the Python path configuration:
USER_BASE_BIN=$(python3 -m site --user-base)/bin
export PATH="$USER_BASE_BIN:$PATH"
Install the Building environment:
sudo apt install clang build-essential make
Install Rust and package manager Cargo:
curl --proto '=https' --tlsv1.2 -sSf https://sh.rustup.rs | sh
Set the environment:
source $HOME/.cargo/env
Clone nearcore from NEAR's Github repo:
git clone https://github.com/near/nearcore
cd nearcore
git fetch
Checkout the nearcore commit found in this file:
git checkout <commit>
Compile nearcore: NOTE: Be patient as this will take several minutes at minimum.
cargo build -p neard --release --features shardnet
Initialize the working directory for the necessary validator configuration files:
NOTE: Ensure you are in the /nearcore directory.
./target/release/neard --home ~/.near init --chain-id shardnet --download-genesis
Replace the config.json file:
rm ~/.near/config.json
wget -O ~/.near/config.json https://s3-us-west-1.amazonaws.com/build.nearprotocol.com/nearcore-deploy/shardnet/config.json
Start the node to begin downloading headers and then blocks:
cd ~/nearcore
./target/release/neard --home ~/.near run
Once the blocks download to 100% login to your near account:
near login --walletUrl https://wallet.shardnet.near.org/
Since we don't have a GUI on our Ubuntu machine, copy and paste the link outputted by this command into your local browser and login to your shardnet accountId to grant access to the NEAR-CLI.
Once the browsers loads to a refused to connect page, return to your SSH session and enter your shardnet accountId xxxx.shardnet.near under the line 'Enter it here'.
Generate your validator key, where <pool_id> is equivalent to <pool_name>.factory.shardnet.near:
near generate-key <pool_id>
Copy this generate file to the ~/.near directory that you initialized above, replacing <wallet_name> with your shardnet wallet name:
cp ~/.near-credentials/shardnet/<wallet_name>.shardnet.near.json ~/.near/validator_key.json
Use the command vim to edit validator_key.json:
vim ~/.near/validator_key.json
- In vim, hit
iforinsert, and replace theprivate_keykey value withsecret_key. Your file structure should similar to this:
{
  "account_id": "xxxx.factory.shardnet.near",
  "public_key": "ed25519:HeaBJ3xLgvZacQWmEctTeUqyfSU4SDEnEwckWxd92W2G",
  "secret_key": "ed25519:****"
}
- Hit
escto exit the insert,:thenwqto save and quit.
Start the validator daemon:
target/release/neard run
Use a second SSH session or quit the terminal ctrl + c and run the following to setup the Systemd Command:
sudo vi /etc/systemd/system/neard.service
Use vim and the commands we learned above to edit this file, replacing each instance of user with ubuntu:
[Unit]
Description=NEARd Daemon Service

[Service]
Type=simple
User=<USER>
#Group=near
WorkingDirectory=/home/<USER>/.near
ExecStart=/home/<USER>/nearcore/target/release/neard run
Restart=on-failure
RestartSec=30
KillSignal=SIGINT
TimeoutStopSec=45
KillMode=mixed

[Install]
WantedBy=multi-user.target
Enable neard and start neard:
sudo systemctl enable neard

sudo systemctl start neard
Download ccze to prettify your output:
sudo apt install ccze
Run your prettified logs:
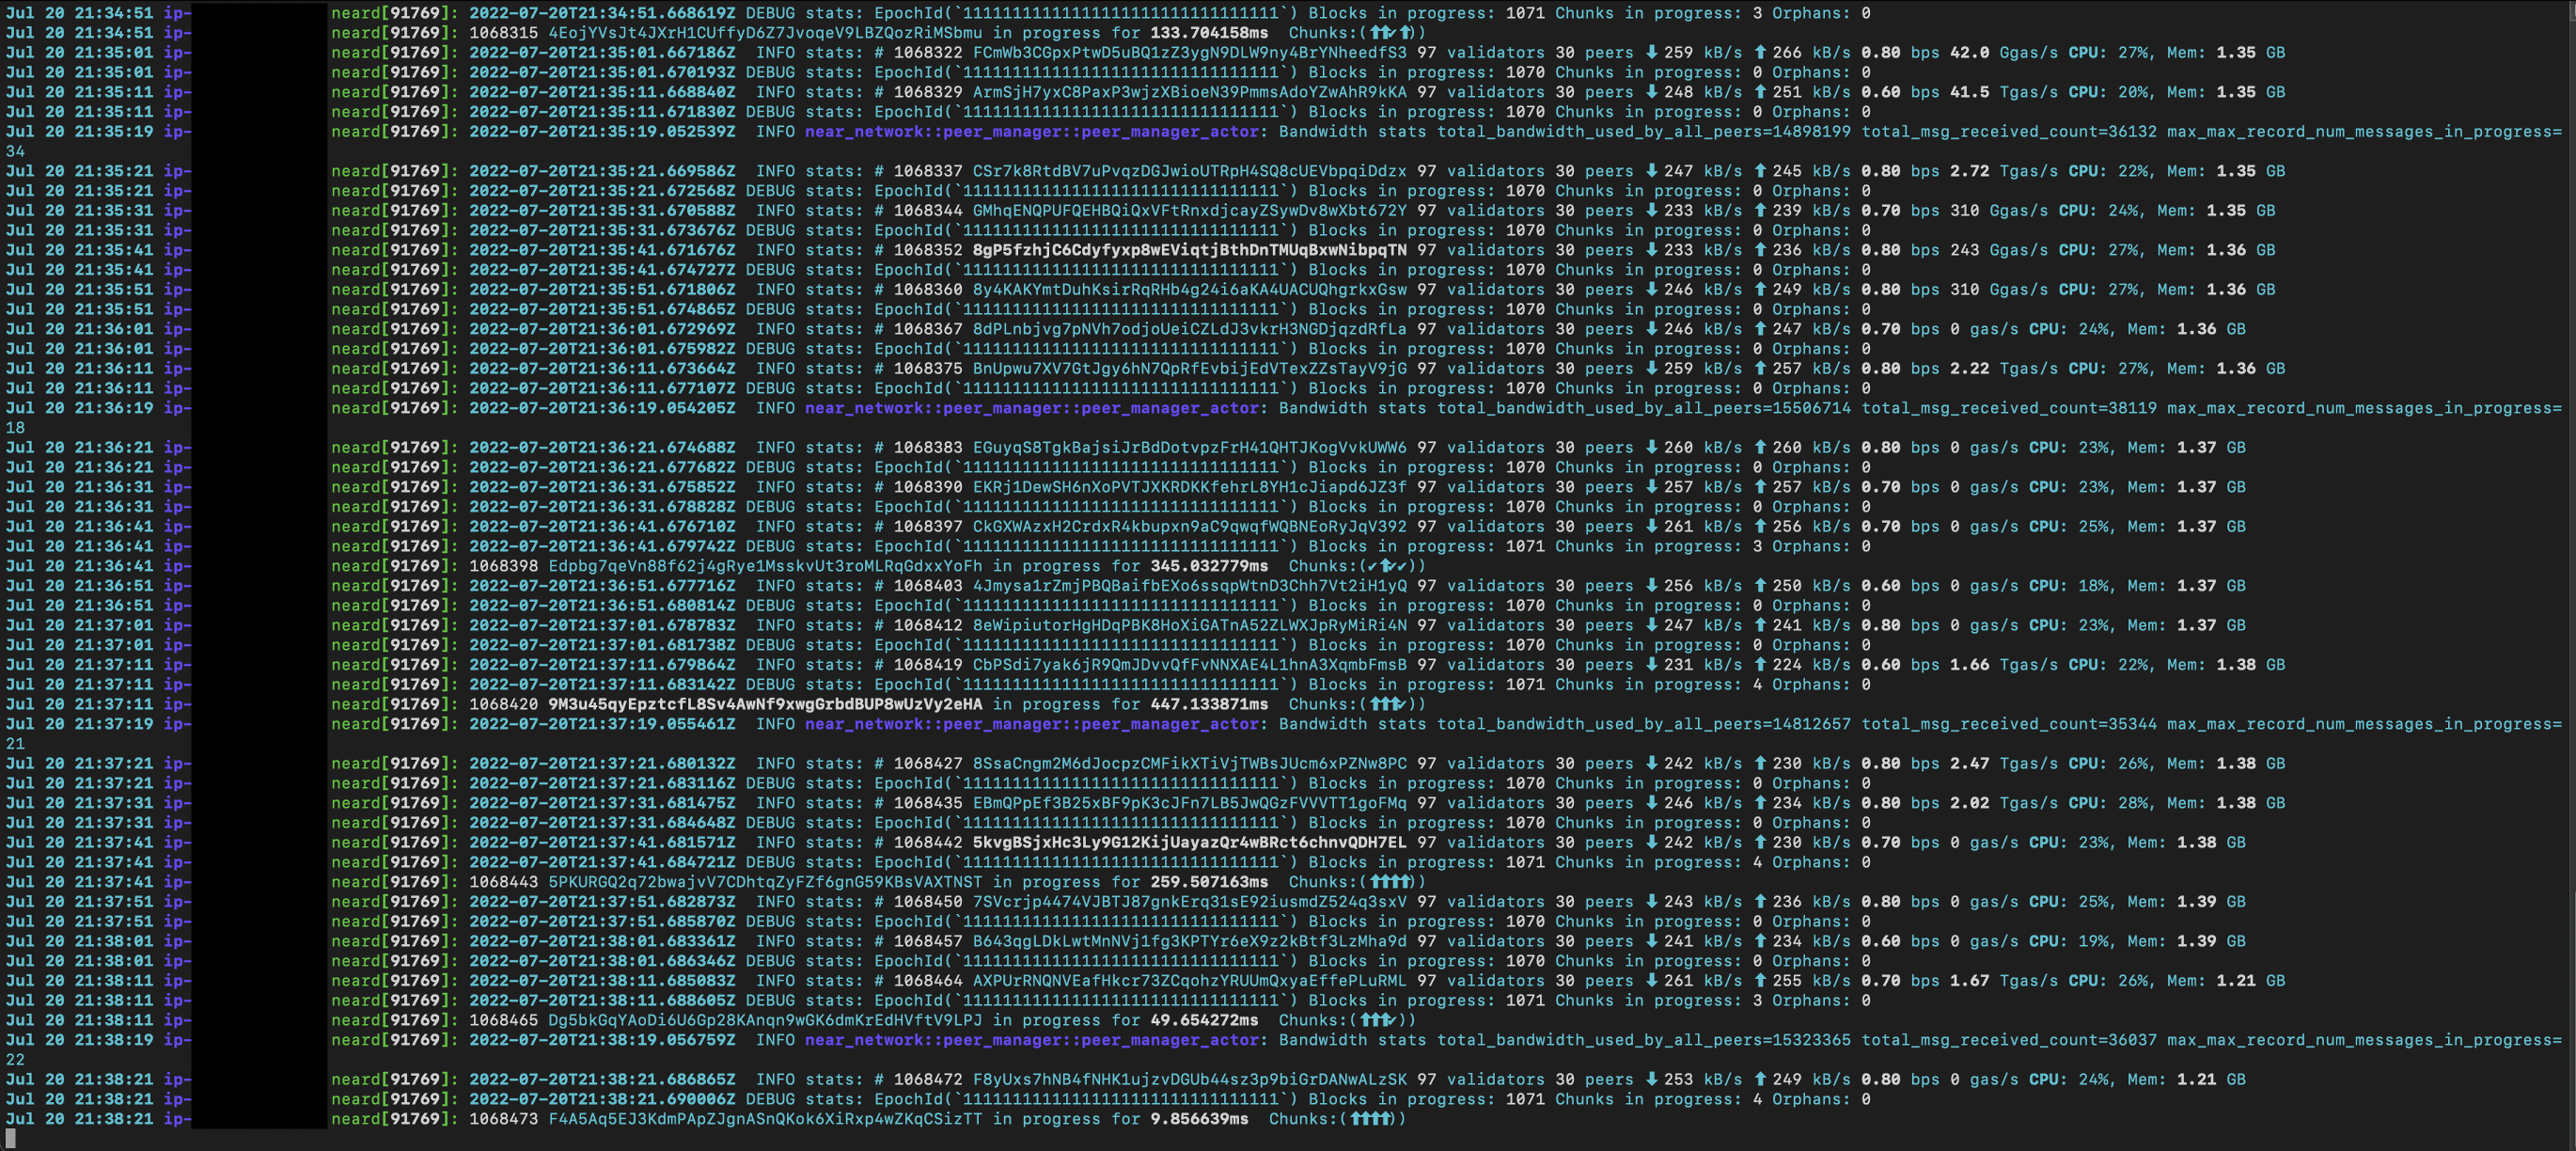
journalctl -n 100 -f -u neard | ccze -A
The following steps are a streamlined version of those covered in Challenge 3
Deploy a new staking pool:
near call factory.shardnet.near create_staking_pool '{"staking_pool_id": "<pool id>", "owner_id": "<accountId>", "stake_public_key": "<public key>", "reward_fee_fraction": {"numerator": 5, "denominator": 100}, "code_hash":"DD428g9eqLL8fWUxv8QSpVFzyHi1Qd16P8ephYCTmMSZ"}' --accountId="<accountId>" --amount=30 --gas=300000000000000
- staking_pool_id: use the
<pool_id>value before factory in your full account_id<pool_id>.factory.shardnet.near - owner_id: use your full shardnet wallet name, e.g.:
xxxx.shardnet.near - stake_public_key: use the value found in the
validatory_key.jsonfile in~/.near - account_id: same value as
owner_id
Once that command is entered correctly, you should receive a true response back.
Commands for depositing and staking, unstaking, and unstaking all NEAR:
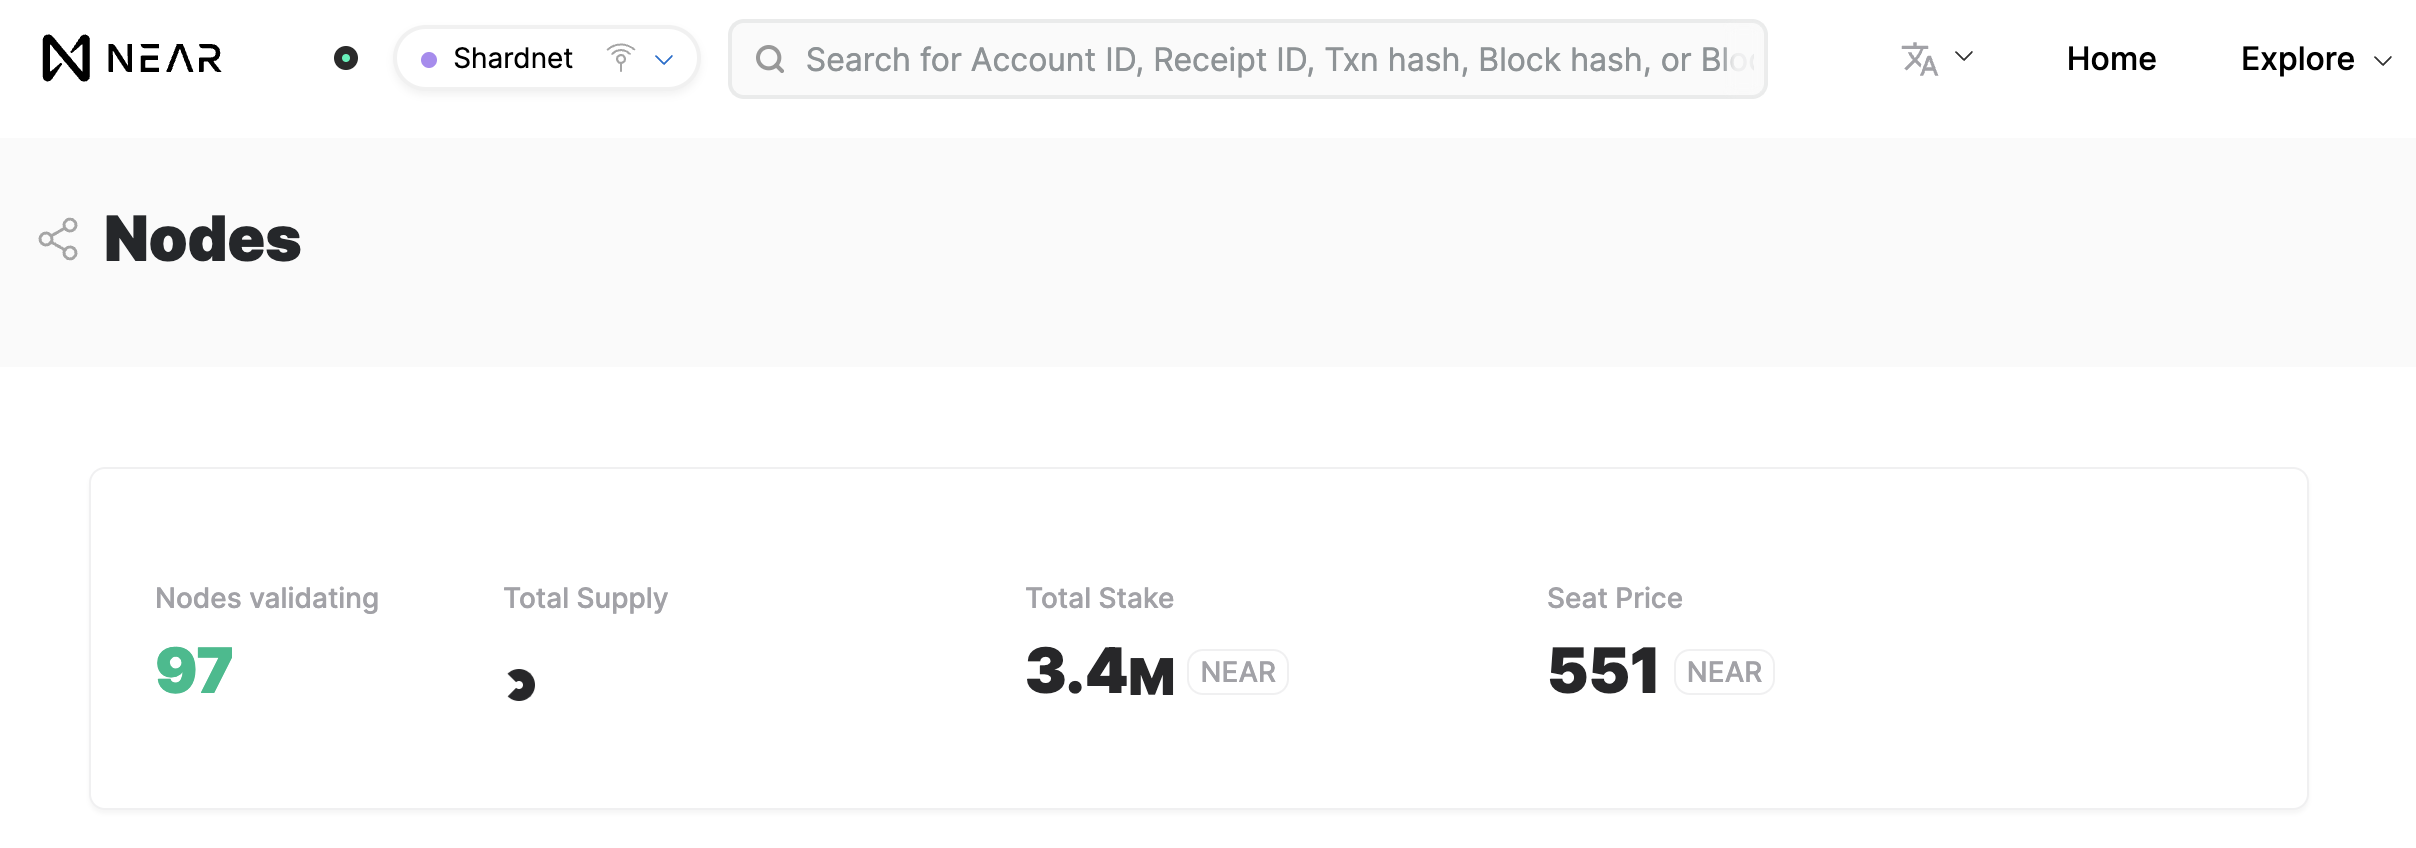
NOTE: You must deposit and stake sufficient NEAR to cover the validator Seat Price or your node will not be included in the next validator set. You can find the current Seat Price here: Shardnet Explorer
near call <staking_pool_id> deposit_and_stake --amount <amount> --accountId <accountId> --gas=300000000000000

near call <staking_pool_id> unstake '{"amount": "<amount yoctoNEAR>"}' --accountId <accountId> --gas=300000000000000

near call <staking_pool_id> unstake_all --accountId <accountId> --gas=300000000000000
Pinging is necessary at each epoch to ensure reported rewards are current:
near call <staking_pool_id> ping '{}' --accountId <accountId> --gas=300000000000000
Check Shardnet Explorer for your validator - it should be in a Proposal state awaiting to join the validator set in the next epoch. Congratulations, you have just set up a NEAR chunk validator!
