How the Blast Email Form Works
Using the Nodemailer module for Node.js and the Gmail API for our backend functionality and TinyMCE for our frontend rich text editor, we have made sending email blasts much easier for our SCE admins. These three technologies have allowed us to send emails with the SCE Email account through a simple but powerful form on our website (written mainly in JavaScript).
In order to use this function, you must be an SCE admin, as the function in on the admin side of the website. The intent of the Blast Email Form is for it to be used by SCE admins to send weekly announcements on all of the events that are going on. Making this functionality viewable to anyone who visits the site would be problematic.
This page will show you the ways to use this form and may address any questions that you may have about it.
From here on out, there will be instructions on how to get to the form, how to edit events, and anything you want (not really but you get the idea). To begin, all you have to do is go to our website and navigate to where the Blast Email Form is located. Note: Location may change in the near future, so if you can't find it, I am big sorry for you.
Again, make sure you are an SCE admin or have legitimate access to an admin account. If not we will sue (okay maybe not but BEWARE). Anyways from here you click 'Join Us' then there should be a drop-down with 'login' as an option. Follow that and log in to your account.


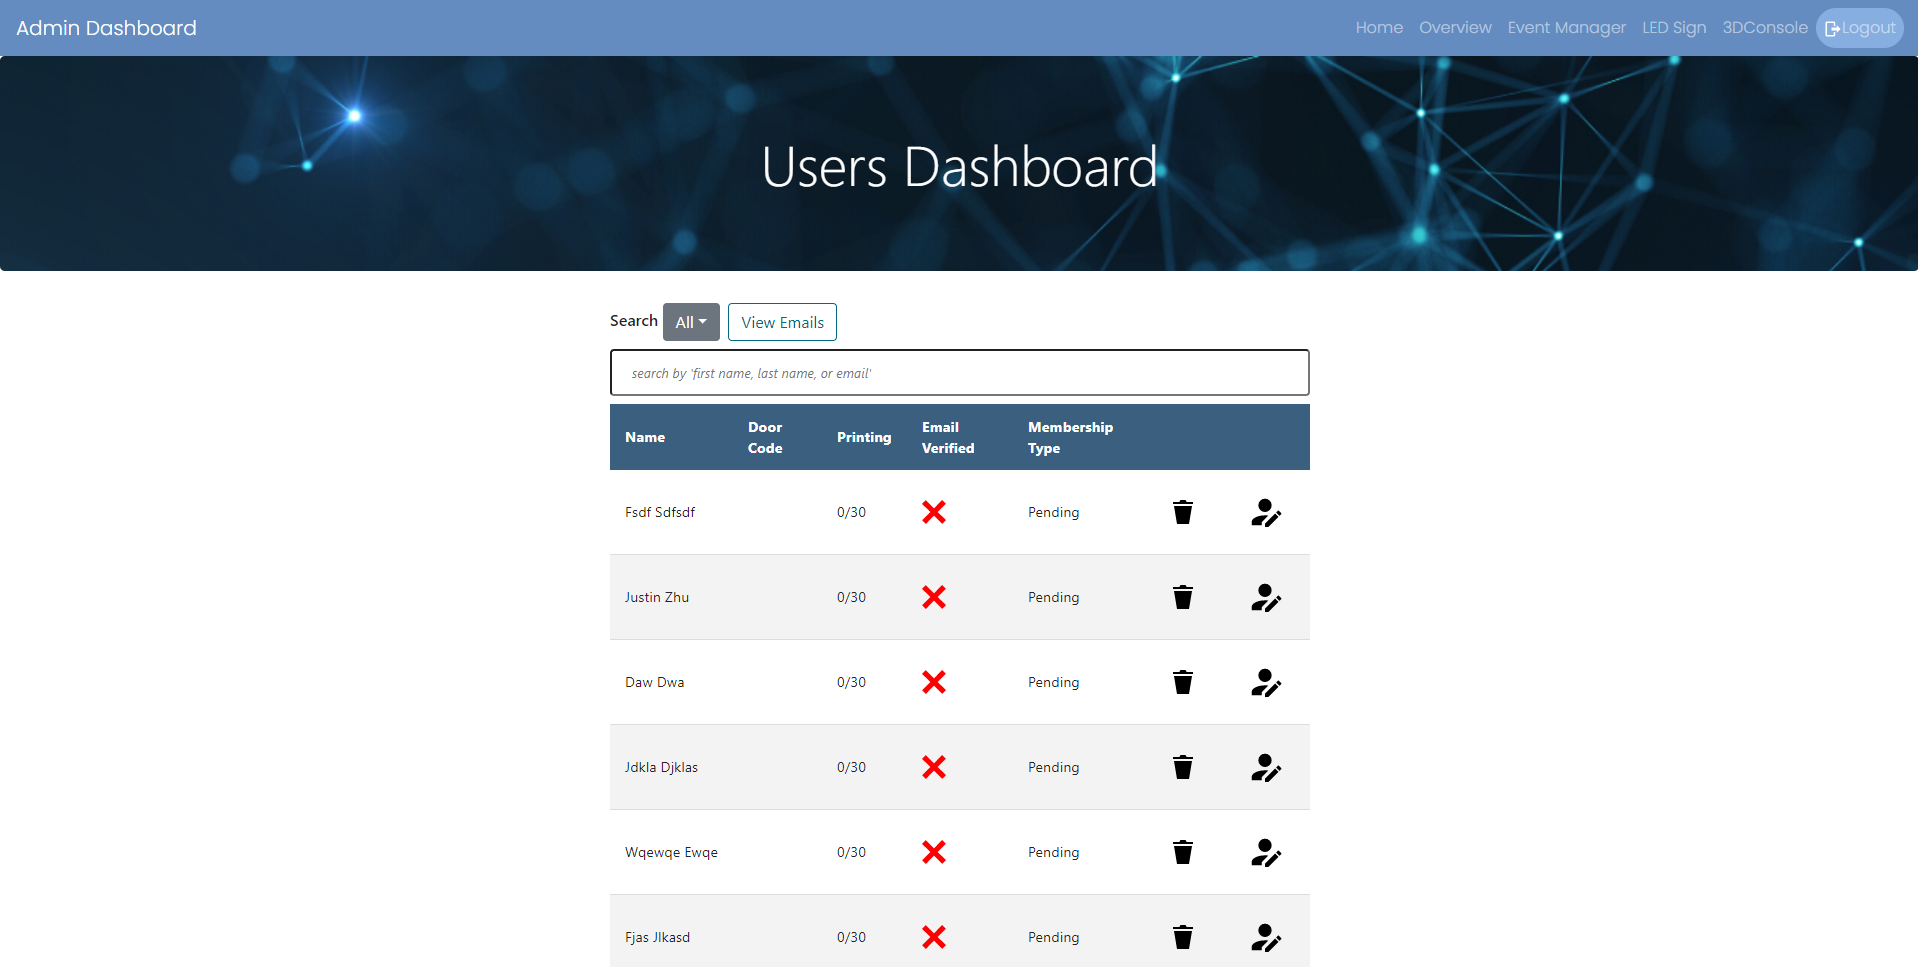
From here if your account is a valid admin account, you should be able to access the admin functions. Simple click on the drop-down (top-right) and click on 'Admin'. That should bring you to the 'Users Dashboard', where you can find the 'View Emails' Button. Click on that to get to the 'Email Page'. From there, click on the 'Send Email' tab and you have reached the endpoint! Send your emails with that beautiful form and be sure to leave a 5 star yelp review~


Now we will get to using the form itself. The form is really simple to use.
There are three buttons: 'Clear' (clear the form), 'Load Template' (load the text editor with a pre-formatted message that includes all the events from the database), and 'Send' (send the email).
There are also three components to the form (sorry I just really like the number three): 'Recipients' (drop-down to choose the list of recipients), 'Subject' (the subject of the email), and 'Text Area' (the contents of the email).
You can also type whatever you want in the text editor. If all goes well, you should receive an alert notifying you that the email has been sent successfully (depending on your web browser... google chrome is op). Note: If the send button is disabled, make sure your inputs aren't empty.

The 'Load Template' functionality is powered by the website's database. If your database is empty, only a header and footer should appear when you press on the 'Load Template' button. In order to add events and store them into the database, you will want to navigate to a different admin function on the admin navigation bar called 'Event Manager', then click on the 'New Event' button. If you want to edit old events, you can also do that on the 'Event Manager' page.
For your benefit (thank me), I will delete my old events and replace them with new ones to see what happens when you replace the events/add new ones. When you click on the 'New Event' button, a modal should pop up for you to create the new event. Fill it out completely and click on 'Create New Event'.


For those who are curious, the result of adding those events are below. I have made use of the fullscreen function on the text editor to show you all the events loaded into the text area of the form using the 'Load Template' button.

Specifying recipients is simply just clicking on the 'Choose...' drop-down on the form and choosing the recipients you want. There are three choices: 'Members' (All SCE members), 'Officers' (All SCE admin/officers), and 'Everyone' (self explanatory. if you want a better explanation direct your question to the president, k thanks).
So that you won't need to worry about whether or not you're missing an email or two, everything is automated. Within the code, the site will grab the email address data from the database and filter them into three different arrays. Depending on which one is selected at the time of submission, that array is used as the recipients to send the email to those people. But yeah, that's really all you need to know for now.
If you are running this locally and there are any issues that pop up, make sure that you have the right credentials to your email account stored into your code's config.json and token.json file and node dependencies installed. If you have any questions about that, please redirect them to admins, or ask me (if you can get to me).
The short and simple explanation for this process is to make sure you've gone through the Google OAuth and Google Cloud process to get keys (client_id, client_secret, refresh token, access token) in order to use the Gmail API to send emails, and make sure you have the correct node dependencies installed.
I've kinda ran out of things to write about. But if anything comes up, I'll write some more. If you have any questions direct them somewhere and someone will answer you eventually. Ok bye.