2.) Creating Shader Materials for your model
This is probably going to be the most tedious step so its recommended you do this step when you have the time to go over this guide fully.
Shader materials is what I use to refer to the material fx files that contain all the preprocessor directives to change how the shader looks.

Short answer: yes. Long answer: As long as your model isn't already split up into different parts. If it doesn't have more than 5 distinctly different pmx materials, yes.
Each model will have at least 3 different material names. In the case of Dehya, she has 3:Mat_Hair, Mat_Body, Mat_Face. Dehya may have 4 Face materials but this is actually a result of the way minmode's pmx script for noesis exports models. Since the face mesh is split into 4 parts but shares the same material. The script will automatically split the material per number of different meshes using the same material.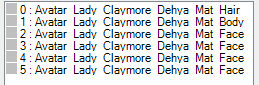
Some models may have more than just those kinds. There is alsoMat_Dressthat shows up. There may even more than I know or more that may be added in the future.
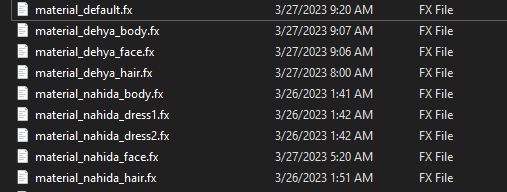
The easiest way to create new shader materials for your model is to just simply make a copy and rename it something you will recognize per pmx material. These also all need to stay in the same folder as the original material_default.fx file so it can access the header and the included sub files.
Going back to one of the previous images. This is the naming convection I use to keep track of the materials.
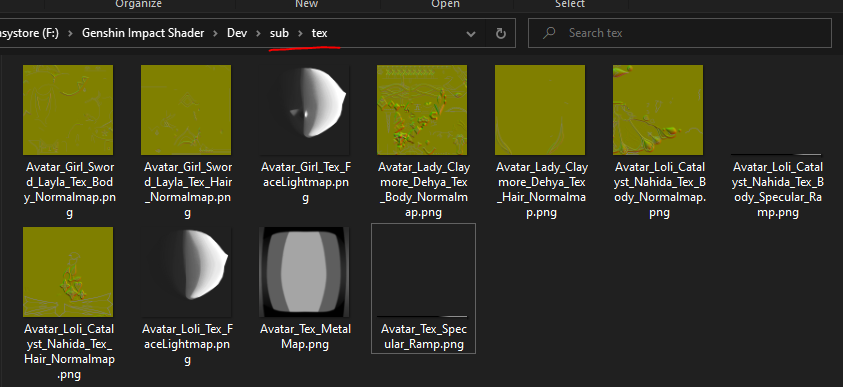
Next you will copy the rest of the needed textures to your texture folder located in
sub(your root shader folder will be different as I'm using my dev version for these screenshots)
These textures are the_Normalmap,_FaceLightmap,_SpecularRamp, &_MetalMapRemember the names and where they are as the paths will need to be input in the correct string fields in the shader material
It can be a little intimidating with the amount of values but they're pretty straight forward and not all need to be edited.
This is where the unity materials come in handy. All the shader values correspond to a value in the unity materials files. These are files that can be extracted with the models from the game. Though you may be able to find them online already in a readable format. I won't be providing any files myself.
In the next page, the different variables will be explained.
There is an alternative to editing the values yourself now. You can instead use the new material generator plug-in to do it for you.

This plug-in is very simple and easy to use. Simply just click the go button and it will ask for a material json file. This is something that is ripped from unity and contains all the shader properties for a given material.
The plug-in might take a second but it will generate a new material fx for the shader. It will automatically guess the name of the required textures but it will always make the path to them default to a tex folder located in the sub folder here:

So you may need to go into the material fx to change that if you don't want to keep your textures in there.
You will no matter what need to change the string on the line#define BLUSH_SLIDER_NAME. I don't want to read about any encoding errors coming from people downloading from the main repo instead of the releases so you have to fill that in yourself with the name of whatever blush morph/facial you want to use to control it.