This is guide will walk you through the process of installing Qubes OS and also, in addition to the official guide, this repo will give you configuration files and additional instructions to set up the system environment, VPN qubes
-
You need hardware with virtualization supported. Read more and google you hardware virtualization compatibilities
-
Enable all required virtualization features: HVM, IOMMU, TPM, SLAT
-
(recomendation) Set up BIOS admin&user passwords
Follow the official guide
Set up the disk password
Set up the system languages
Set up the language layout hotkeys
Set up the user password
Choose debian as default and leave preconfigured VMs
When Qubes OS installed, boot, login and configure the system
Connect to the Internet first
For automoving screenshots from dom0 to the vault appwm use this script
Download this repo.
Copy it to the base debian template.
Make folder for repo: sudo mkdir /etc/myqubes
Save repo globally for debian templates and AppVM's: sudo mv path/to/this/repo/* /etc/myqubes
Give access to execute scripts: sudo chmod +x /etc/myqubes/setup/*.sh
Execute script that prepears base debian template for use: sudo /etc/myqubes/setup/base-template.sh
Then shutdown template.
Download windows iso, put in into untrusted qube. Or download it on usb, then connect usb to untrusted qube.
Then run in dom0 terminal:
qvm-create --class TemplateVM --property virt_mode=HVM --property kernel='' --label black windows-10-x64-template
qvm-prefs windows-10-x64-template memory 4096
qvm-prefs windows-10-x64-template maxmem 4096
qvm-prefs windows-10-x64-template kernel ''
qvm-prefs windows-10-x64-template qrexec_timeout 7200
qvm-volume extend windows-10-x64-template:root 60g
Start the qube. DO NOT CONNECT QUBE TO THE INTERNET BEFORE INSTALLATION DONE. Replace with you windows iso path
qvm-start --cdrom=untrusted:/home/user/windows_install.iso windows-10-x64-template
Then install Windows as usually.
Recomendation: install the lightest edition - Windows Home edition.
Note: Install on the first disk
Note: windows qube could be shutdowned unexpectly a several times, just restart it and wait after installation done.
Note: see windows standalone installation and windows template installation official tutorial for details
Once Windows is installed and working, as administrator in Windows, set: powercfg -H off and pause windows updates as max as can in Settings->Updates&Security->Advance Options
Then go to Settings->Devices->Display and set up display resolution as you wish. By default window is so small.
Now install Qubes Windows Tools (QWT) according to official article.
And finally install all windows software you need.
Optionally: Activate windows, type in cmd as admin:
slmgr -ipk 7HNRX-D7KGG-3K4RQ-4WPJ4-YTDFH
slmgr /skms kms.03k.org
slmgr /ato
ignore errors if occurs, check is windows activated
Optionally: My own personalizations:
- Display resolution 1920x1080
- Settings->Personalization->Colors: "Choose your color": Dark and check "Automatically pick an accent color from background"
- Browser->Settings->Appearance: Dark
- Browser->Settings->Start: Open previos session
- Setup wallpapers
Create default AppVM with whonix workstation as template.
Then choose wallet to install. See list of BTC wallets that
- non-custodial (you own you keys)
- desktop (for installing in our qube)
- privacy and anonymous driven
See:
Installation: manual Should be installed into AppVM, NOT IN SEPARATE TEMPLATE
Preinstalled in whonix workstation
Preinstalled in whonix workstation
- Know another one?... pull request welcome
Choose what you want. I'd preffer wassabi wallet.
Manual install wassabi wallet according provided instruction bellow.
Some warnings:
- Wasabi wallet should be installed into AppVM (NOT into separate template)
- Manually installed software like Wasabi wallet sometimes not display into qube appmenu list. See Manually installed software
If you need safe develop envirenment clone the base debian template and then run into clone template:
sudo /etc/myqubes/setup/dev.sh
Execute following in the all new AppVM that we created bellow
sudo /etc/myqubes/setup/appvm.sh
Clone base debian template into debian-vpn template and run into created qube
sudo /etc/myqubes/setup/vpn-template.sh
For details see: Installation openvpn for NetworkManager
Create sys-vpn NetVM, set the debian-vpn template as a template, add network-manager and qubes-firewall into services of the qube then run into created qube
sudo /etc/myqubes/setup/vpn.sh
For details see: Installation of vpn qube
Some ovpn configs are preloaded, you can use this and you can import you own ovpn configs:
sudo /etc/myqubes/setup/openvpn/import.sh /path/to/ovpns username password
or without creds
sudo /etc/myqubes/setup/openvpn/import.sh /path/to/ovpns
NB: Use TCP VPN connection for vpn-tor/tor-vpn/vpn-tor-vpn
NB: Edit sudo nano /rw/config/rc.local and set in the last line one of imported config of vpn server to which you want connect automatically after qube boot
Setting up the sys-vpn done. Now you can use at as proxy for another AppVM or NetVM.
Set up for as you wish.
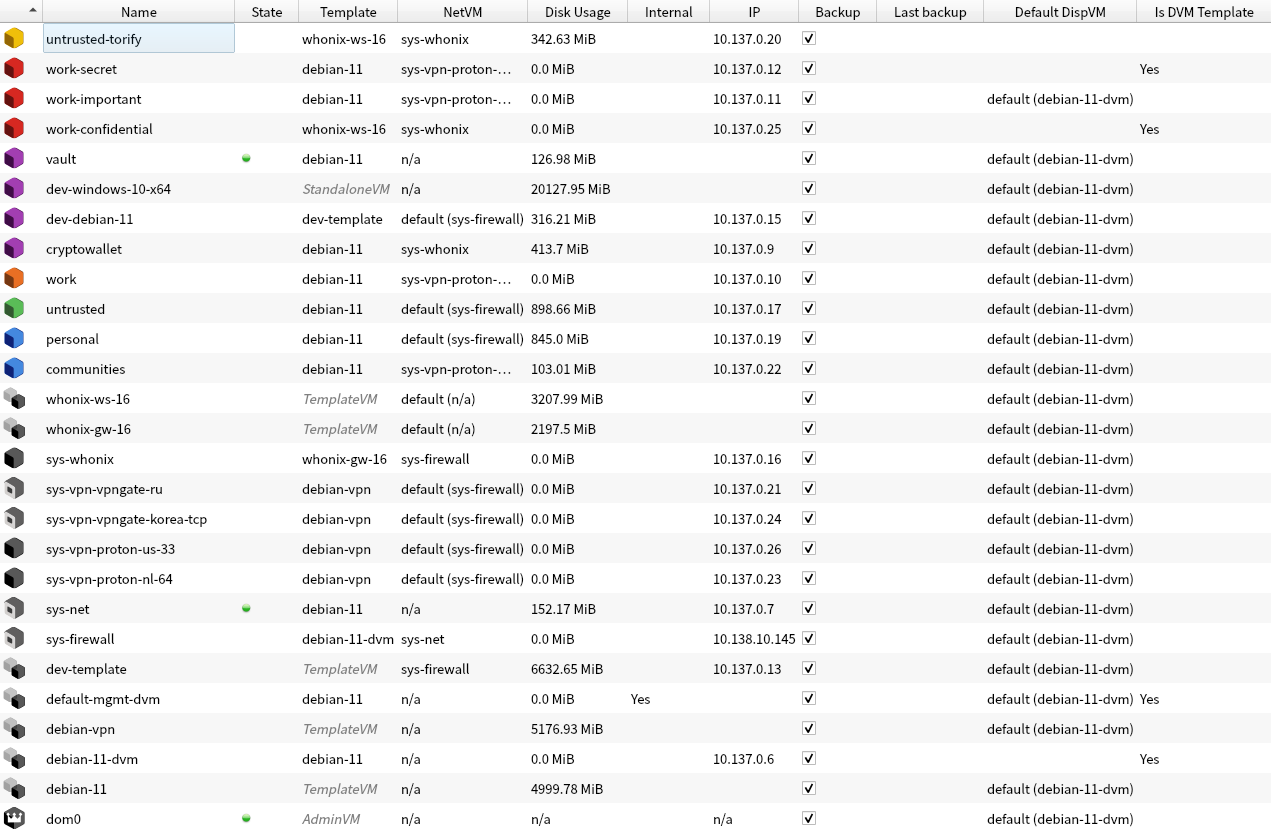
My setup: color meaning what a special things could do on this qube. Where every color means: Black: no work on this qubes Purple: qubes without Internet, base tasks, minimum browsing (or no browsing at all) Blue: browsing, known sites visiting, such as forums and using telegram\irc\other common IM clients Gray: skipped Green: browsing same stuff Yellow: browsing same special, important stuff Orange: common browsing of some special, important staff Red: very important browsing\other, should use secure network and can be disposable
In case you install something like dpkg -i package.deb - new app sometimes not display into appmenu list. This script fix it for Wasabi wallet. See coments in thi script for details. For another app do analogically and see oficial wiki about this problem.