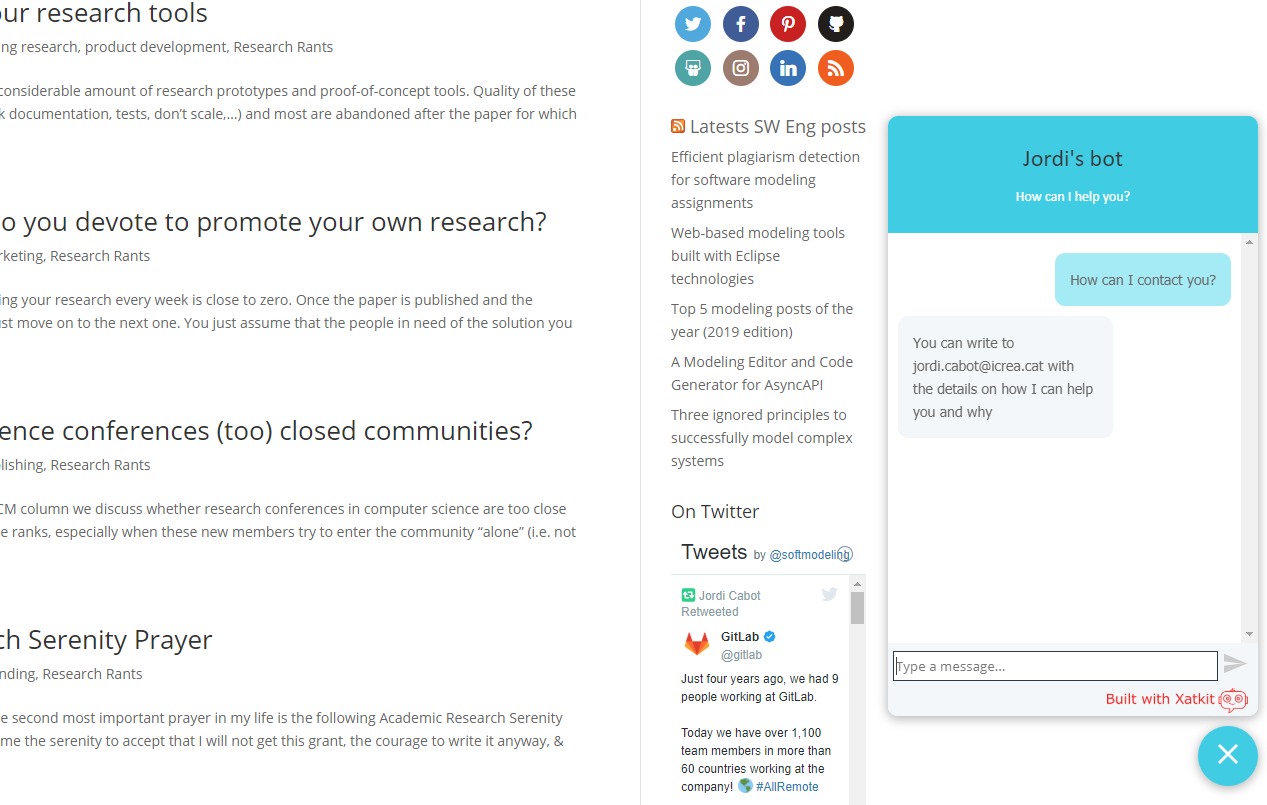
Add your bot to any page
You can add your Xatkit bot to any web page you with thanks to our Chat Widget. Go to the docs of the widget to learn about all the ways to customize the rendering of the widget but the TL;DR version is the following
- Download xatkit.min.js and xatkit.min.css and add them to the page
- Add
<div id="xatkit-chat"></div>to the HTML - Call the
renderXatkitWidgetwith an optional JSON ``args``` parameter to configure the widget
<html lang="en">
<head>
    <meta charset="UTF-8">
    <title>My title</title>
    <link href="./assets/xatkit.min.css" rel="stylesheet">
</head>
<body>
<div id="xatkit-chat"></div>
<!-- <div id="my-id"></div> -->

<script src="assets/xatkit.min.js"></script>
<script>
   xatkit.renderXatkitWidget();
  //xatkit.renderXatkitWidget(args);
</script>
</body>
</html>
Also, you can always just look at the HTML page that displays the bot when testing your installation and do the same on your own web page.
If so, installation is even easier. Just download our free WordPress chatbot connector plugin and enter your bot URL in the WP plugin configuration options

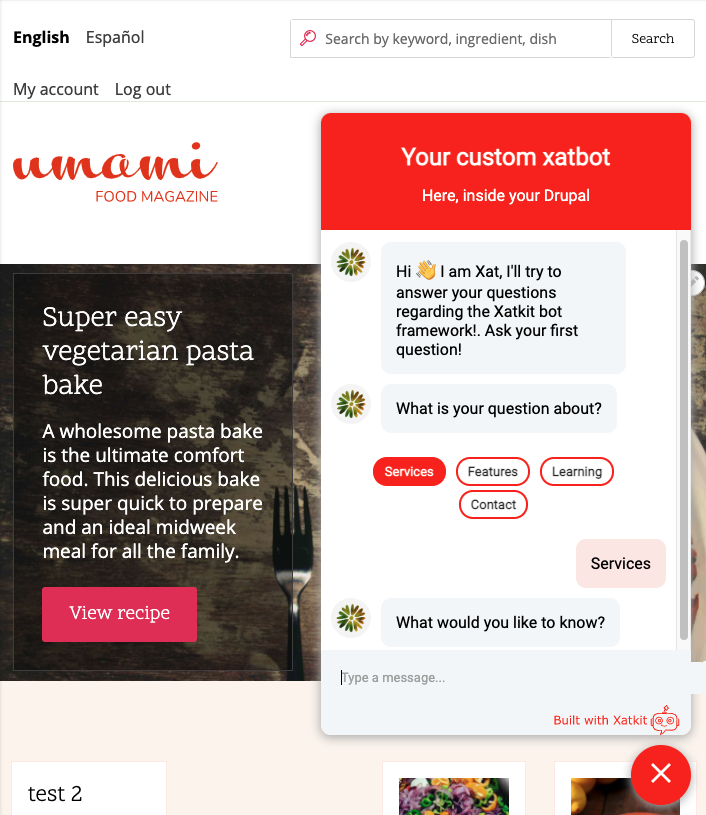
If so, just install the Integration plugin for Drupal. https://www.drupal.org/project/xatkit
We recommend the installation via composer:
composer require drupal/xatkit
Just enable the module and set the URL of your Xatkit server instance. Then, you can go to admin/config/xakit and customize the text, logo, colors, and position of your Xatkit widget as shown on the Drupal project page.