Home
Video Game Capture with a NVIDIA Jetson Nano: Internet live streaming and compressed recording
This script is to live stream captured video games to Twitch TV. You need an payed Twitch account or Amazon Prime to stream. You can parallel record the stream to a storage device.
Streaming to YouTube or Facebook should work, too. But you will have to modify the script on your own. The script makes use of GStreamer and the RTMP protocol for network transfer. So every ingest server provider with RTMP should work.
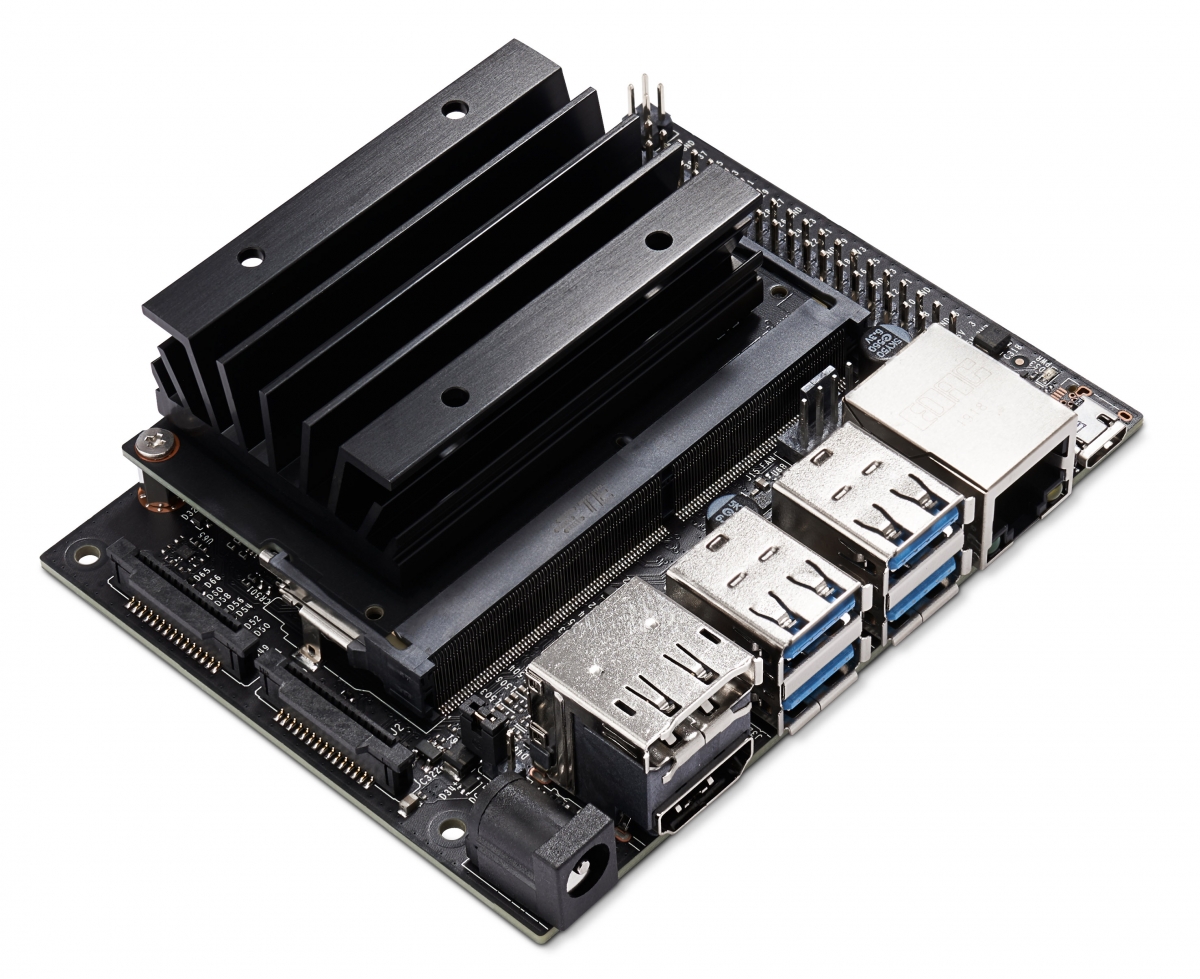
For first steps you will need a NVIDIA Jetson Nano 4 GB with preinstalled, hardware accelerated GStreamer. I used JetPack 4.5.1, and a 15 bucks Macro Silicon video capture HDMI to USB stick. Other HDMI capture devices, CSI-2 camera connector or USB and USB sound cards, which are supported by Video for Linux 2 on Ubuntu Linux 18.04, may work (at your own risk).
For sound in and out you could use the Behringer UCA202 and plug in the game console, a mixer or whatever you want. It works out of the box with the NVIDIA Jetson Nano.
The webcam I used is a 30 bucks Logitech C270 with MJPEG video out over USB. The usb webcam must support 16:9 video formats.
A Raspberry Pi 3b+ Micro-USB power supply will work, but it's better you buy a power supply with barrel jack (5.5 mm outside, 2.1 mm inside, 5 Volt, equal or greater 3 Ampere). For magnetic hard disk drives you must use a 20 Watts power supply (, 5 Volt, 4 Ampere,) or more! Don't disable the WiFi power management of the Intel 8265AC M.2 WiFi module of the Jetson Nano without a heat sink on the WiFi module!
Add at the end of the default.pa file for Pulseaudio in /etc/pulse directory this line to remap the 96KHz PCM mono sound output (stereo encoded in mono) to a Pulseaudio stereo source. Change master=alsa_input.usb-MACROSILICON_USB_Video-02.analog-mono to fit with your MacroSilicon 2109 usb stick.
load-module module-remap-source source_name=macrosilicon-reverse-stereo master=alsa_input.usb-MACROSILICON_USB_Video-02.analog-mono channels=2 master_channel_map=front-right,front-left channel_map=front-left,front-right
If you use the Behringer UCA202 or other devices, you can list the name of the audio output (sinks) with:
pacmd list-sinks | grep -e 'index:' -e device.string -e 'name:'
The audio inputs for the Behringer and other devices:
pacmd list-sources | grep -e 'index:' -e device.string -e 'name:'
When you use an usb sound card don't forget to mute the Macro Silicon usb audio device or better disable it in ALSA or Pulseaudio.
IMPORTANT: Please, delete the file videoconfig.cfg in .config/livestream_with_jetson in your home directory, if you've installed a new version of the script!
Open a xterminal from your desktop on the Jetson Nano and clone the GitHub repository with:
git clone https://github.com/NibbleHalfebyte/livestream_with_jetson.git
Change your directory to livestream_with_jetson with:
cd livestream_with_jetson
List the directory with the command ls -al and make the script executable with:
chmod a+x livestream_with_jetson.sh
Now you can check again with ls -al, if it's executable and run it with:
./livestream_with_jetson.sh
If you use a new version of the script, it's important to delete videoconfig.cfg in .config/livestream_with_jetson_conf/ of your home directory of your user account.
The script will ask you a few question. Keep your stream key read from your Twitch Login and enter it if you'll be questioned. The script will save it into a configuration directory in your home directory with the path ~/.config/livestream_with_jetson_conf/. You will find all important files, which this script generates in this directory.
Next the script will ask you to choose an ingest server in your area from a list. Enter the number of the server you want to use. You can find the list in the configuration directory, if you want to modify it. The file is named ingest_server.lst. It's copy and pasta text out of the browser, without empty lines, from Twitch Status. The server will be saved for future use.
In the next dialog you can proceed with the default settings or add and save presets for future use of different video input and output resolutions and recording etc. This would come handy, if you have different game consoles with different output resolutions. You can also crop the border of the input signal about 3.5% to get rid of NTSC/PAL borders.
You can add a background image in JPEG format. It must be named, e. g. .0000.jpg or -000.jpg. Use the full path to the directory, when the script asks, don't use '~' as shortcut for your home directory! After that you'll be asked about the filename. You must use a fprint compatible format. If your background image has the name background.0000.jpg e. g., you must write background.%04d.jpg into the script! %04 are the number of digits with zero. You have the option to create a folder with a sequence of jpeg images for an background animation. The naming convention is like above, e. g. image.0000.jpg, image.0001.jpg, image.0002.jpg, etc.
If you have an USB3 pocket hard disk or stick you can record your stream. Enter the full path to the directory where you want to save your files, if you asked by the shell script. The files will be saved with date and time in the name.
After all you can start your live stream. Follow the text. When the video pipeline runs onscreen overlays (For fail safe and the sake of speed.) will appear with the picture from the Video for Linux input sources, normally /dev/video0 and /dev/video1.
I tested successfully live streaming with the HDMI Video Capture USB stick, Macro Silicon 2109 (for example these once), a not very expensive Behringer UCA202 and Logitech C270 usb webcam.
If you have problems or installed a new version of this script delete in directory .config/livestream_with_jetson_conf/ the videoconfig.cfg. Other options are quit the script, unplug and replug your USB to HDMI frame grabber or do a reboot in the worst case.
You can't change contrast, brightness, saturation and hue of the video in the pipeline, but it's on the todo list. To solve this temporary you can use a some kind of consumer av electronics with an video equalizer.
Have fun!