Quick Start
Refer to the Releases Page of github to download the latest version of EasySpider, based on your own operating system and platform (x64 or x86).
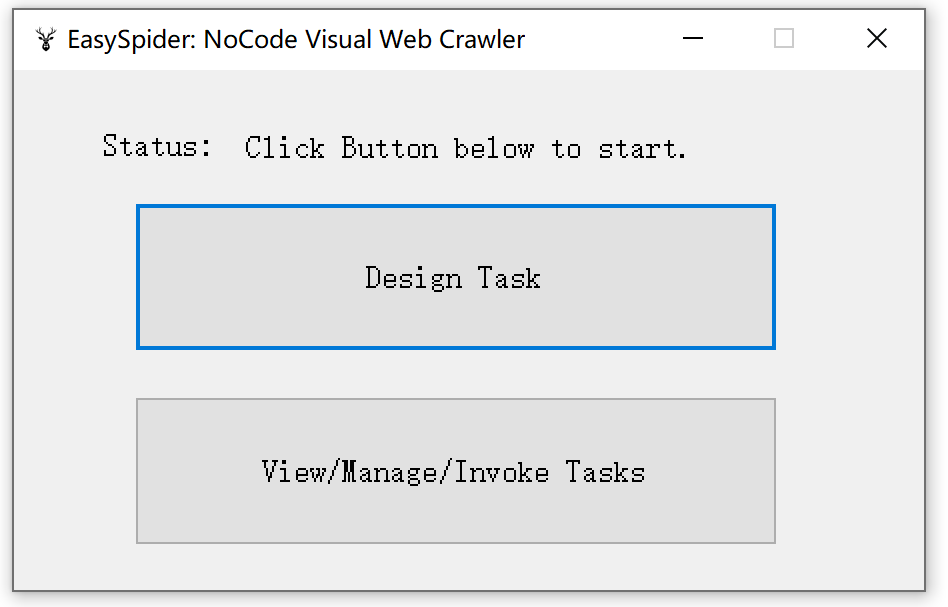
Take Windows 10 x64 version for example, unzip the EasySpider_0.1.0_windows_amd64.7z file, then click the "EasySpider.exe" to run EasySpider, which shows the main UI of EasySpider:
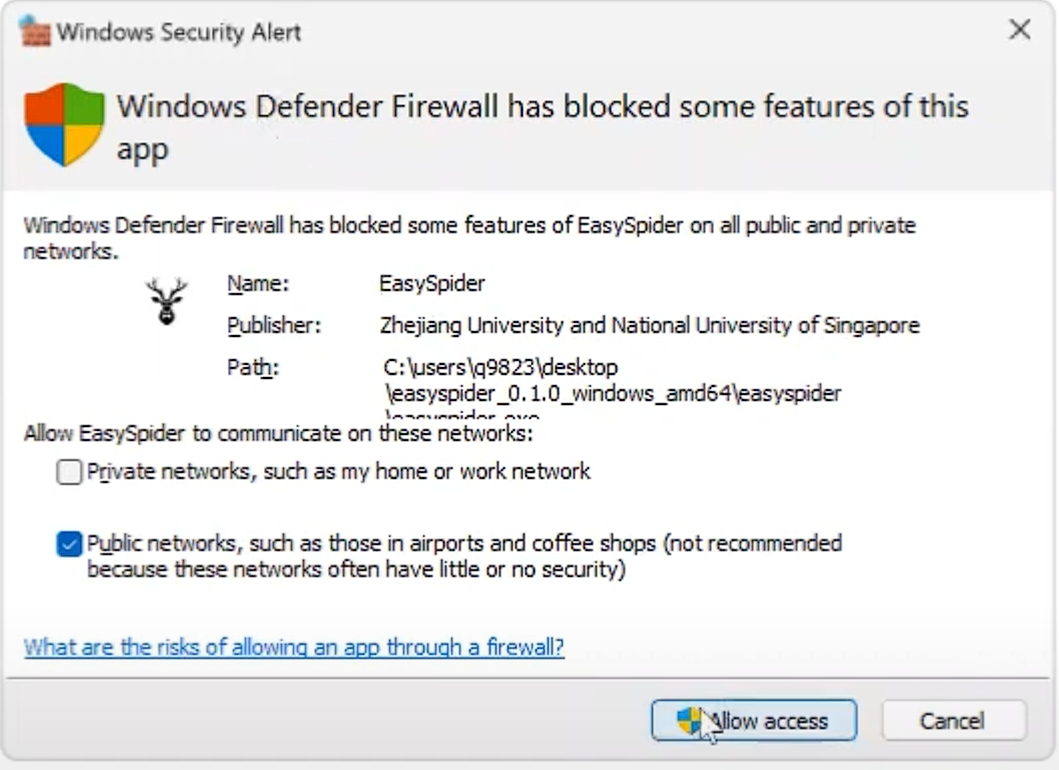
[Important] Set "Allow Access" in your Windows Defender Firewall, otherwise EasySpider will not able to access the Internet!
[Note] EasySpider requires port 8084 for comminucation, which is very rarely to be occupied by other programs; in case it is in use by other program, try to kill them before open EasySpider by this link.
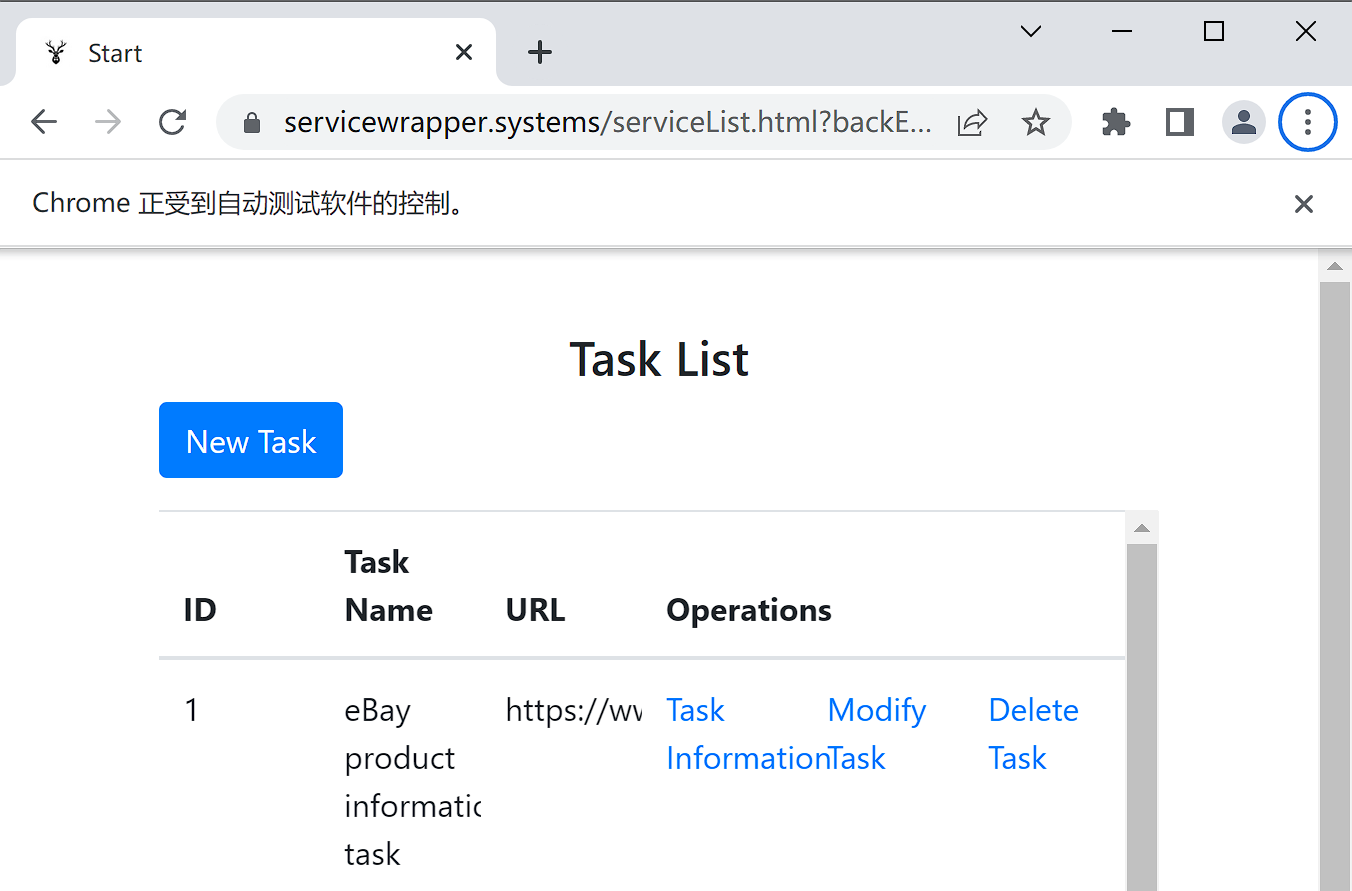
Click the "Design Task" button at the main UI to design the task. Wait for at most 10 seconds, then a web browser will automatically started and the task list will be shown:
Remember don't close the command line window, otherwise the browser will also be closed:

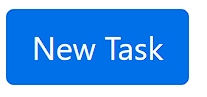
Click "New Task" Button to start design a new task, click "Modify Task" link in the task list to modify existing tasks:
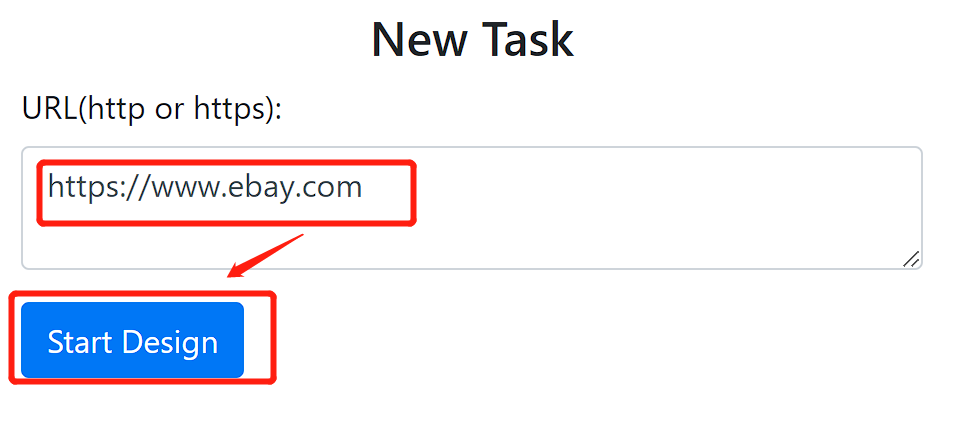
Input the URL of the web page (must start with http:// or https://), and click the "Start Design" button:
Then the Web Browser will open the URL you entered, and the Workflow Manager will be shown above the browser, then you can design the task freely.
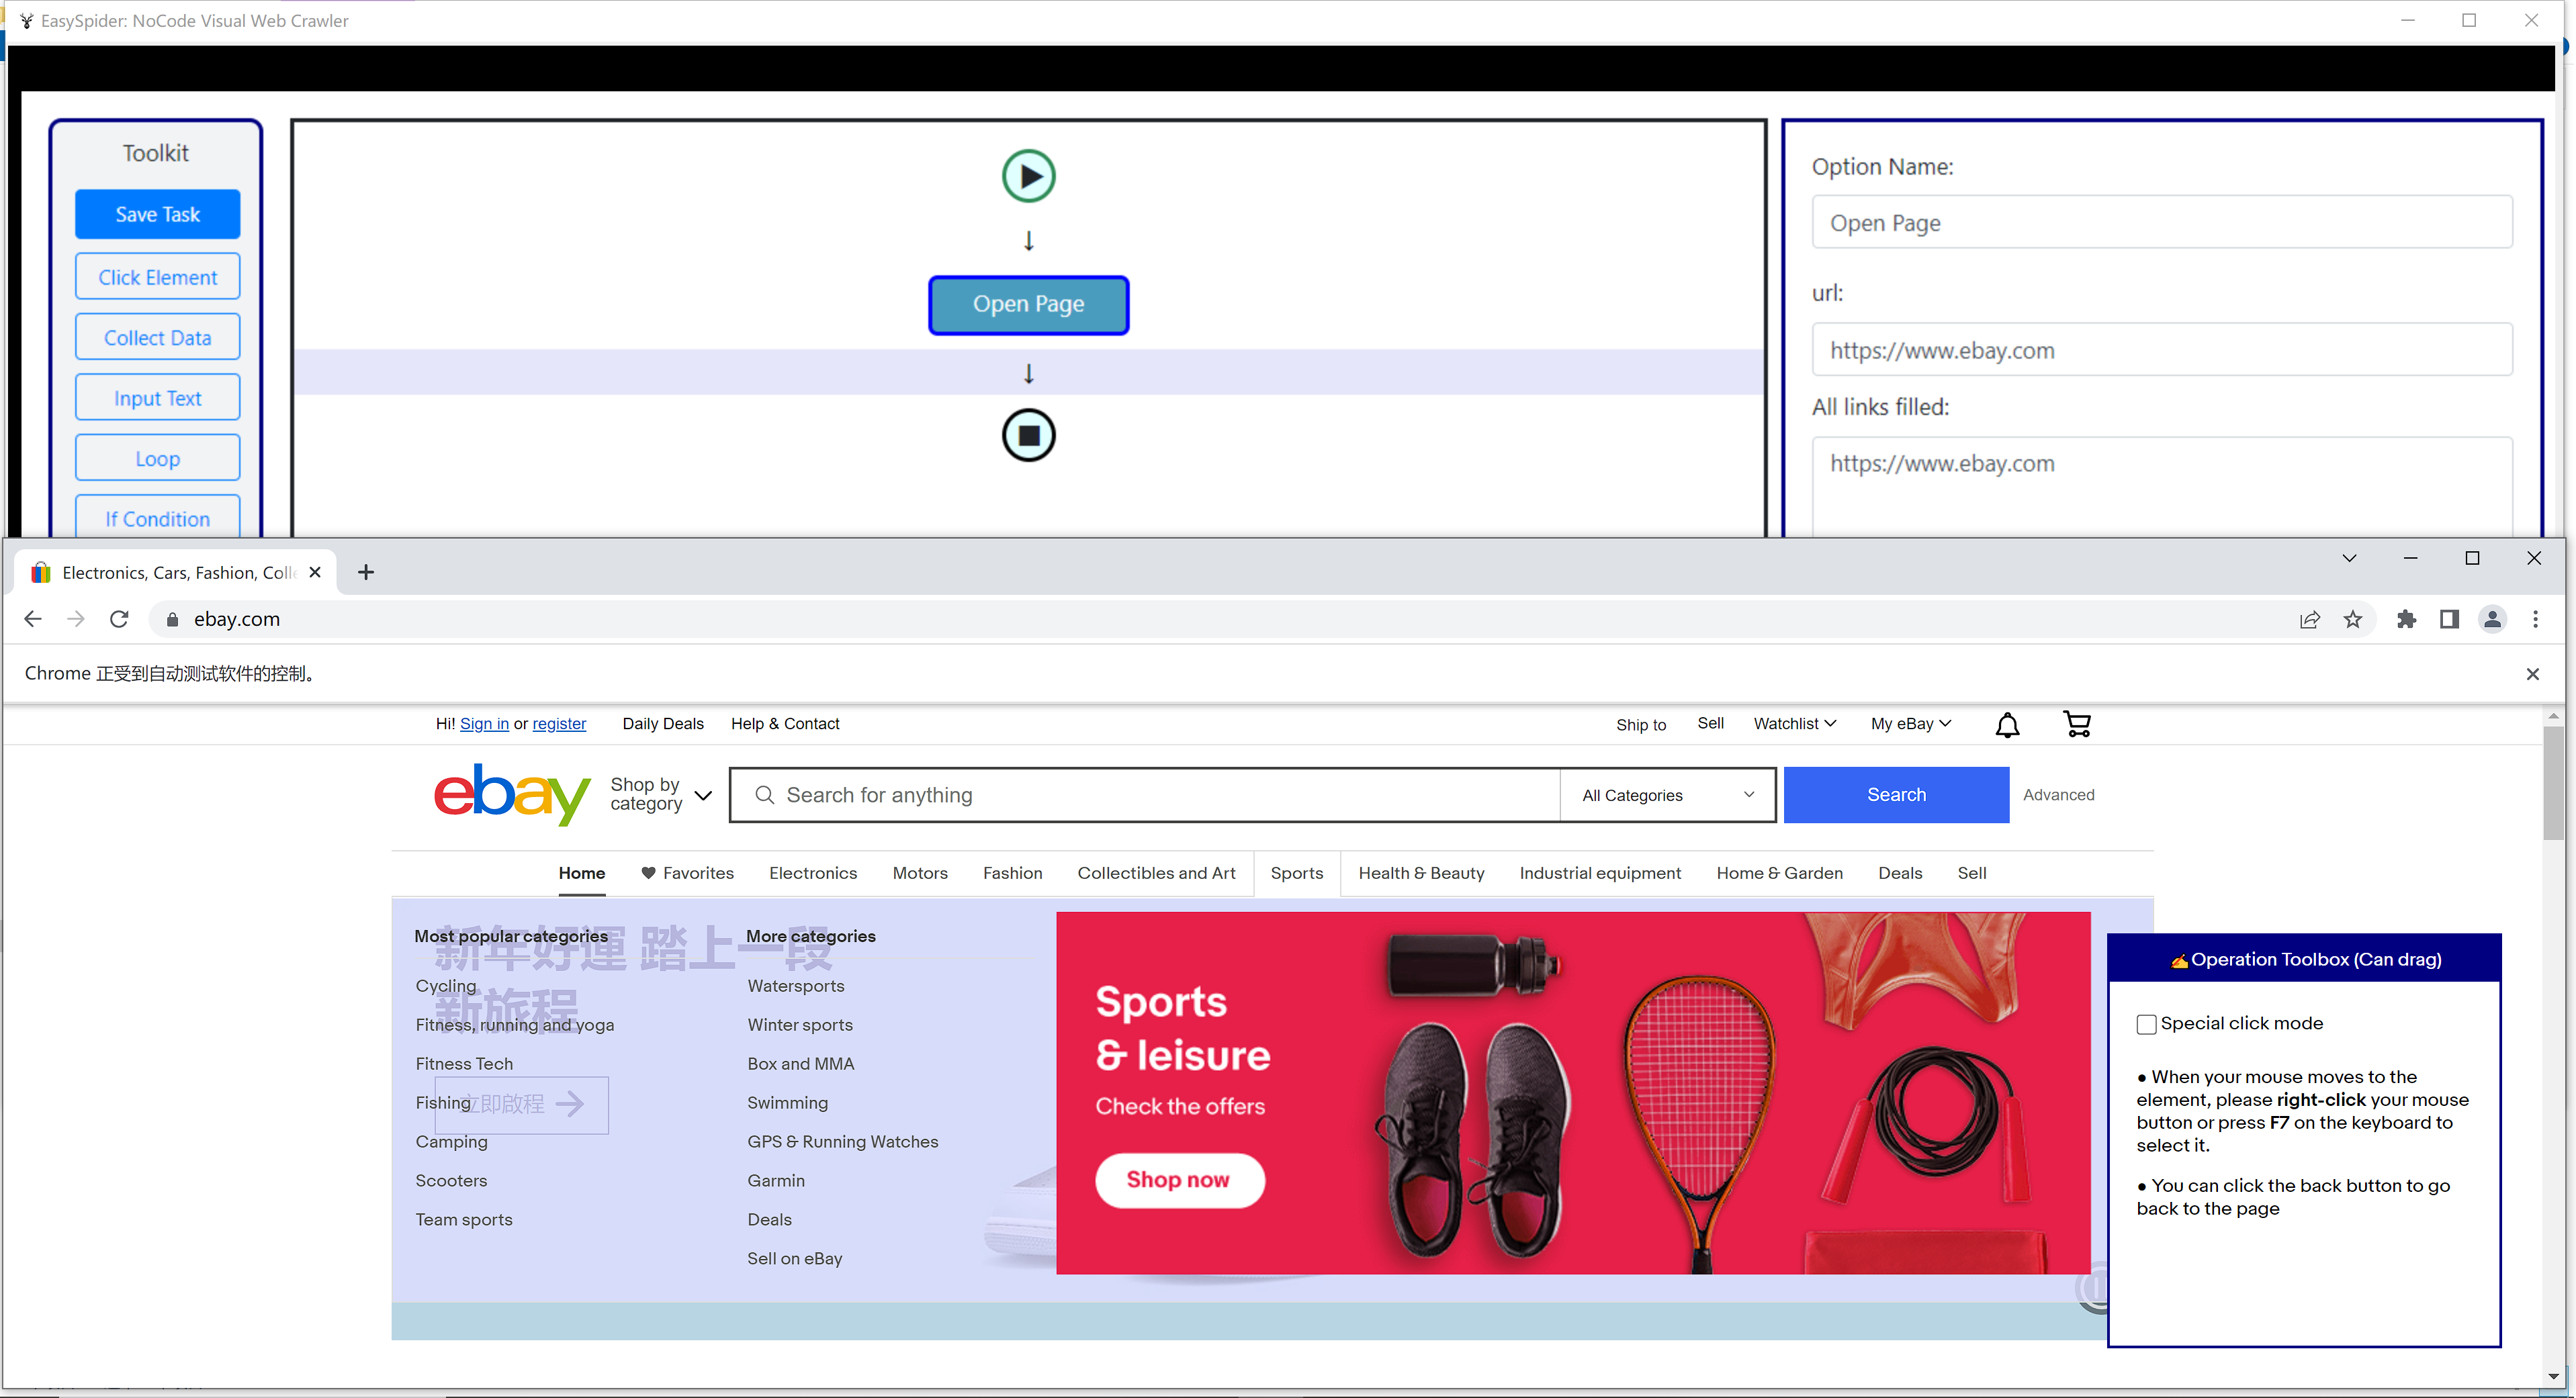
You need to select element(s) at the web browser by right-click your mouse, then set task operation(s) by following the toolbox in the browser by left-click. Your defined operations will then be shown in the Workflow Manager, please refer to subsequent pages in this documentation see the details of every operation.
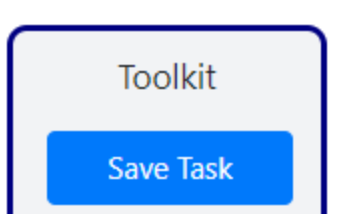
After finished designing the task, click the "Save Task" Button in the top of the Workflow Manager Toolkit to save the task:

Click the "View/Manage/Invoke Tasks" button at the main UI of EasySpider, and click "Task Information" link to view the information of the task in the task list:


Click the "Invoke Task" Button at the task information Page to invoke the task:
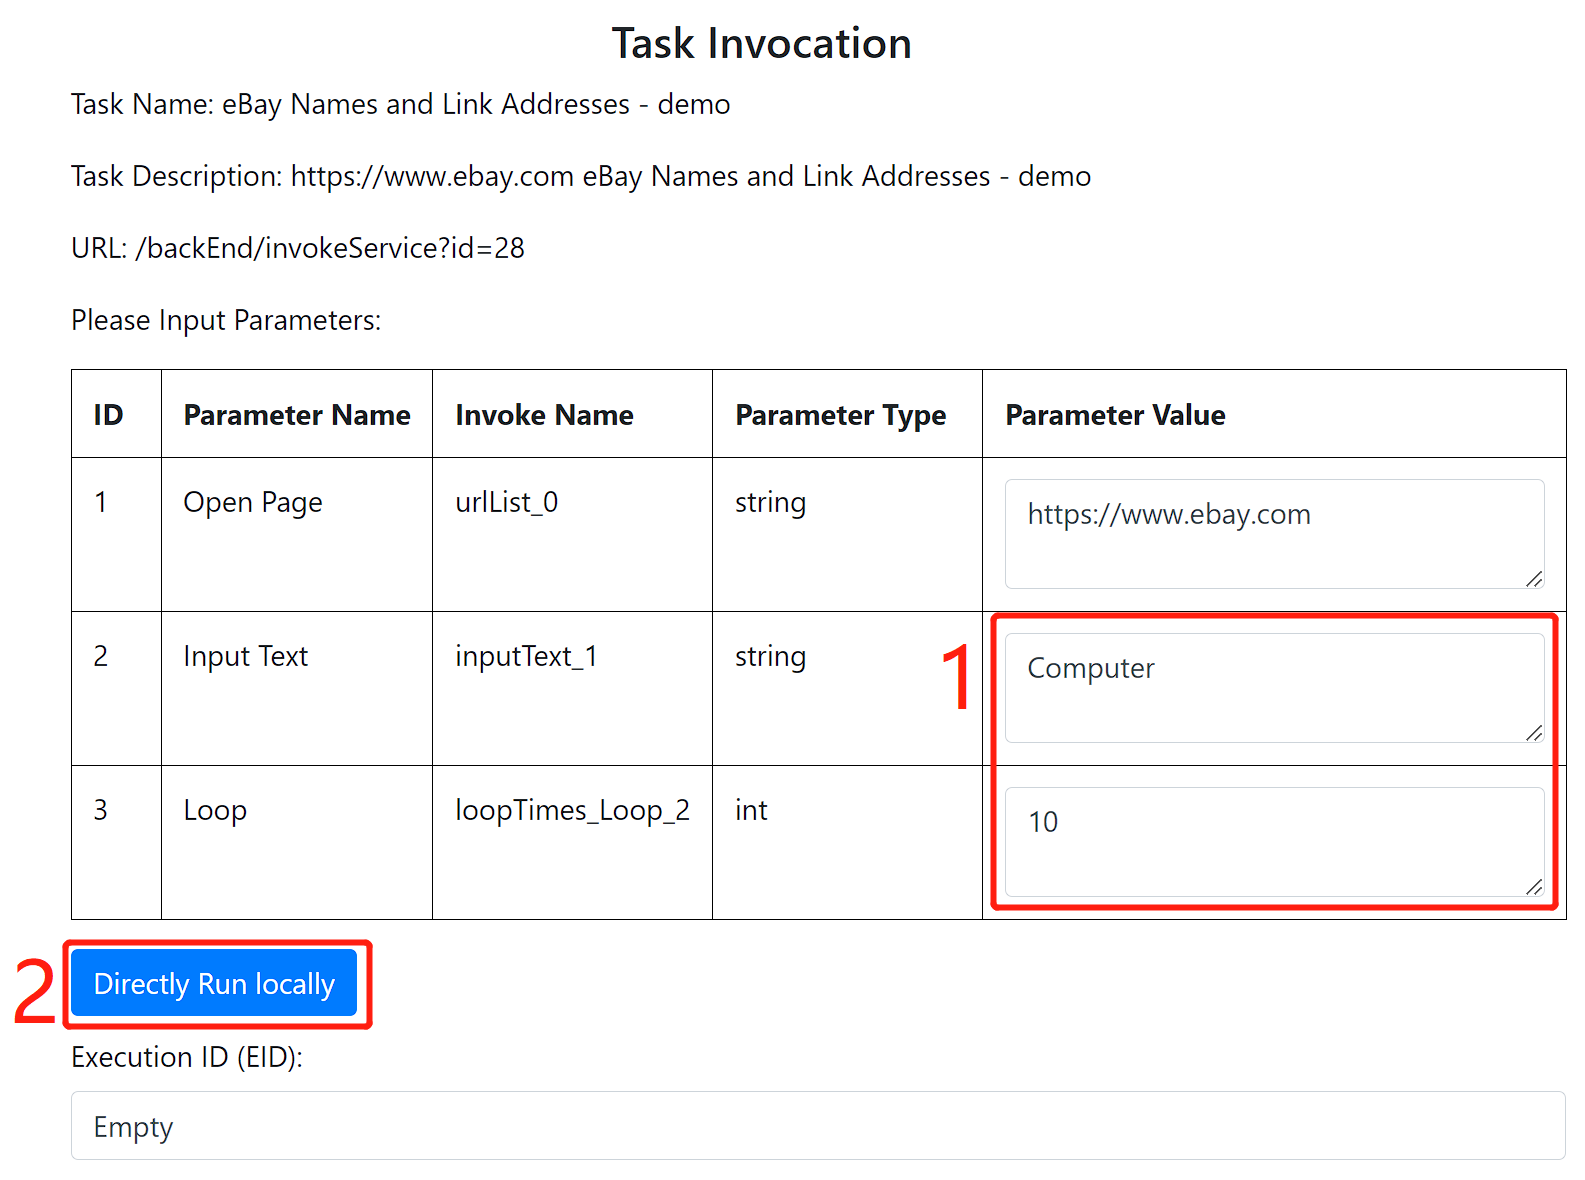
You can change input parameters to your own needs, and click the "Directly Run locally" button to run the task locally:
Wait the task to be executed automatically:
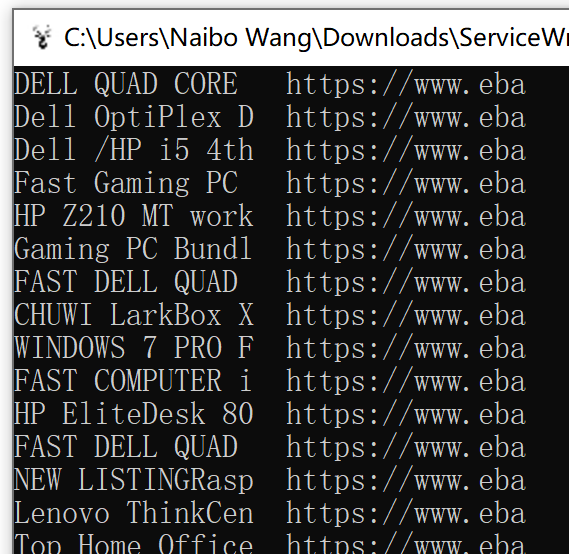
And see the final collected results in the "Data" folder, which is a ".csv" file:
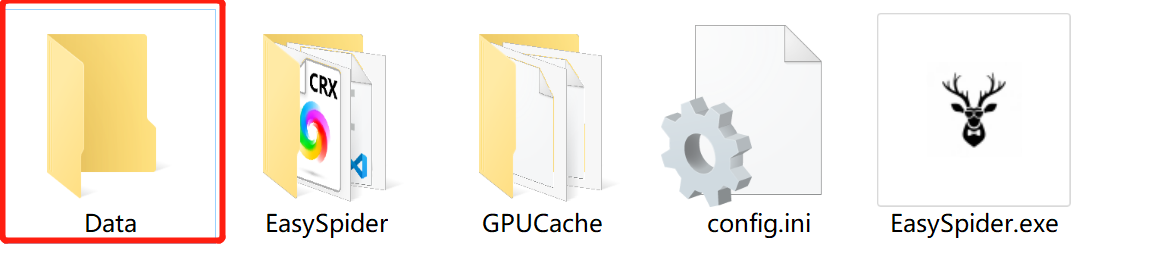
Note the current version uses author's own server, therefore task information will be saved there without any authentication (password) thus everyone from the Internet can access it. Please build your own web server by the code in the folder "ServiceGrid" with MongoDB database to make your task information saved in your own machines.
After you build your own server, change the "frontEndAddress" and "backEndAddress" item in the "config.ini" configuration file to your own server addresses.
In the near future, the software will support _Local Mode, which means all task information will be saved to user's local machine instead of a web server, then you do not need to build a web server to use the software.
When encountered any errors from the software, close all windows of the software and restart it. If problem still exists, please contact the author by email for assistance.